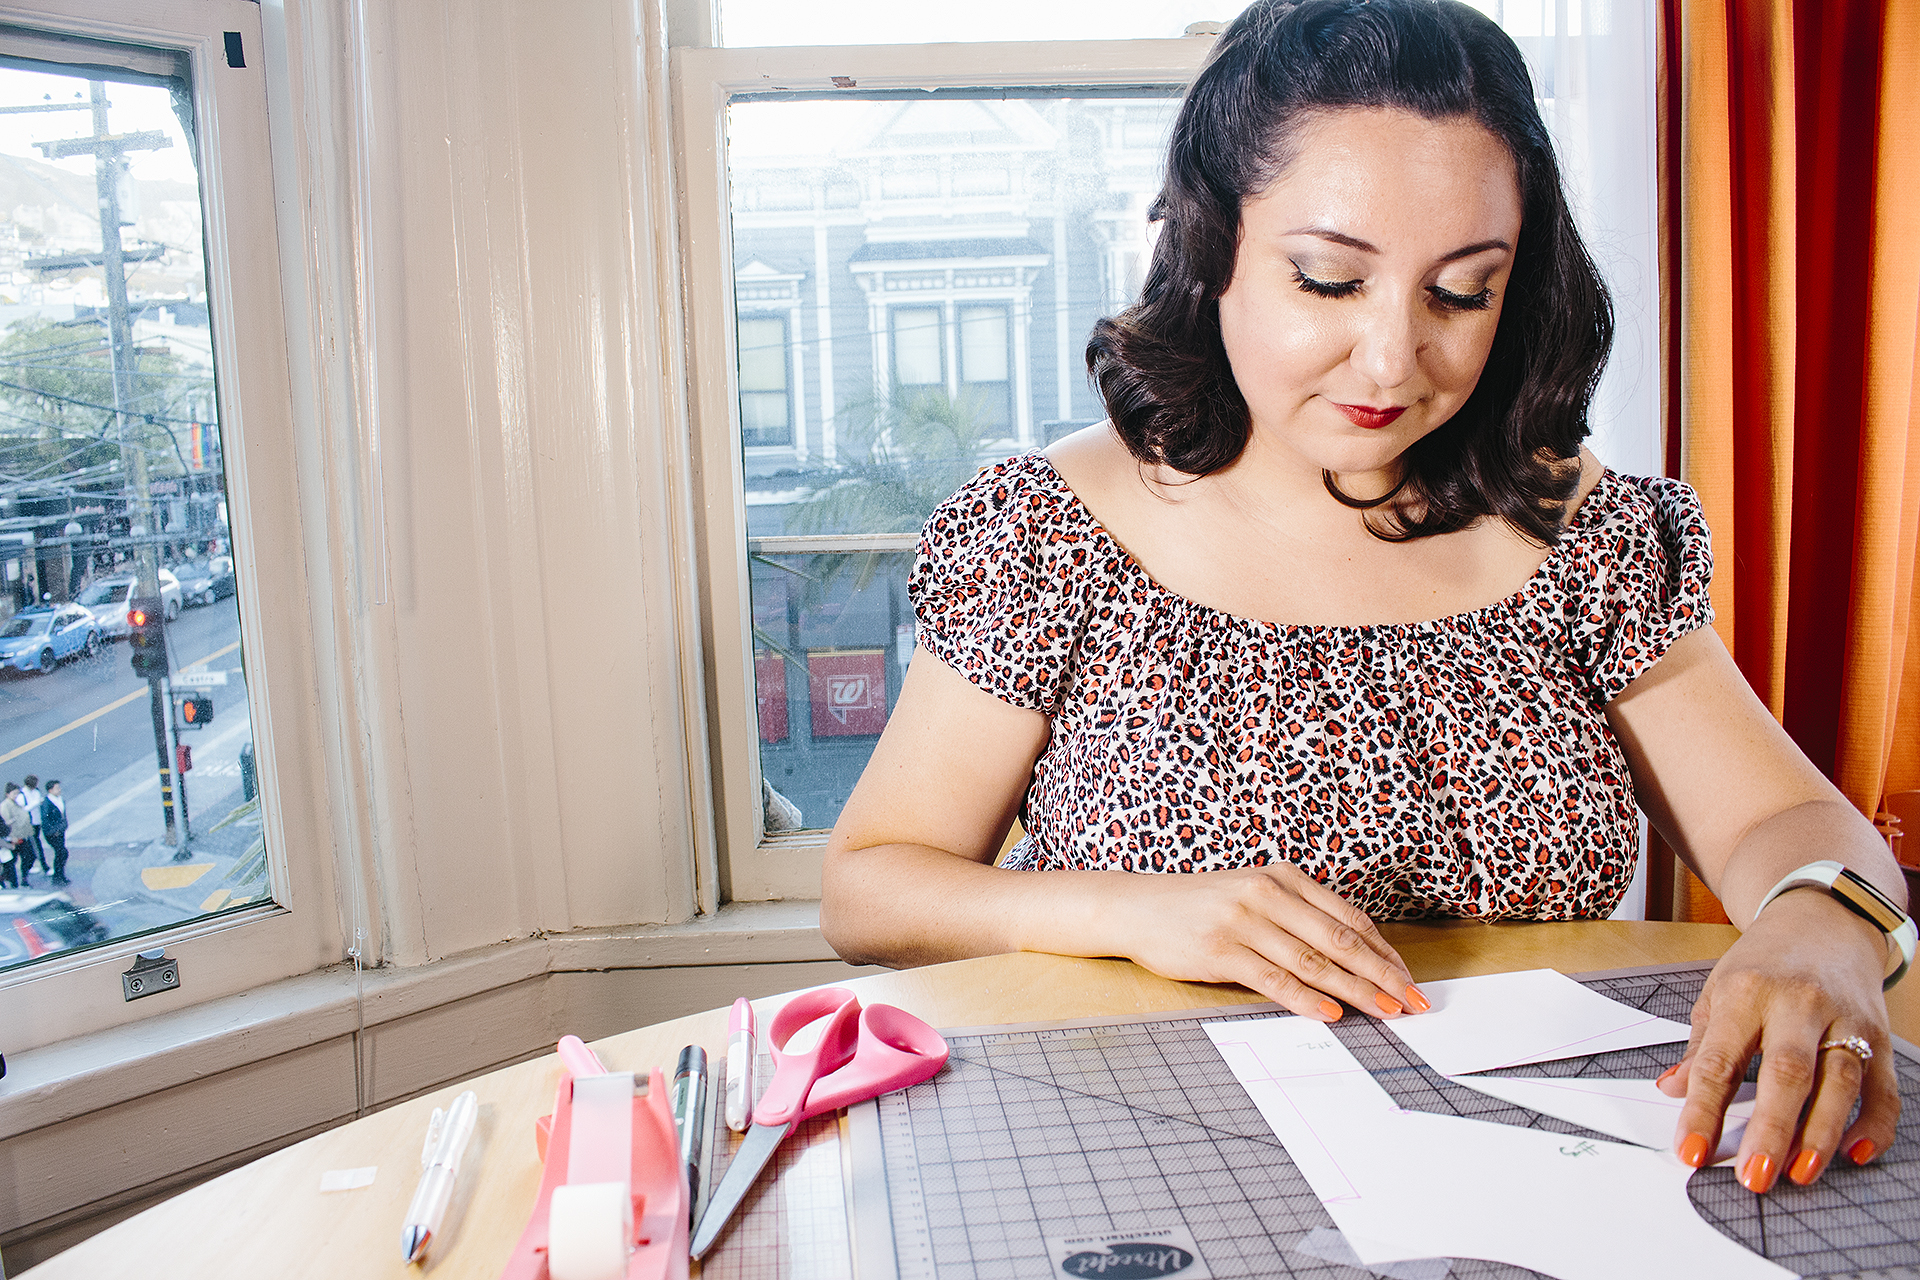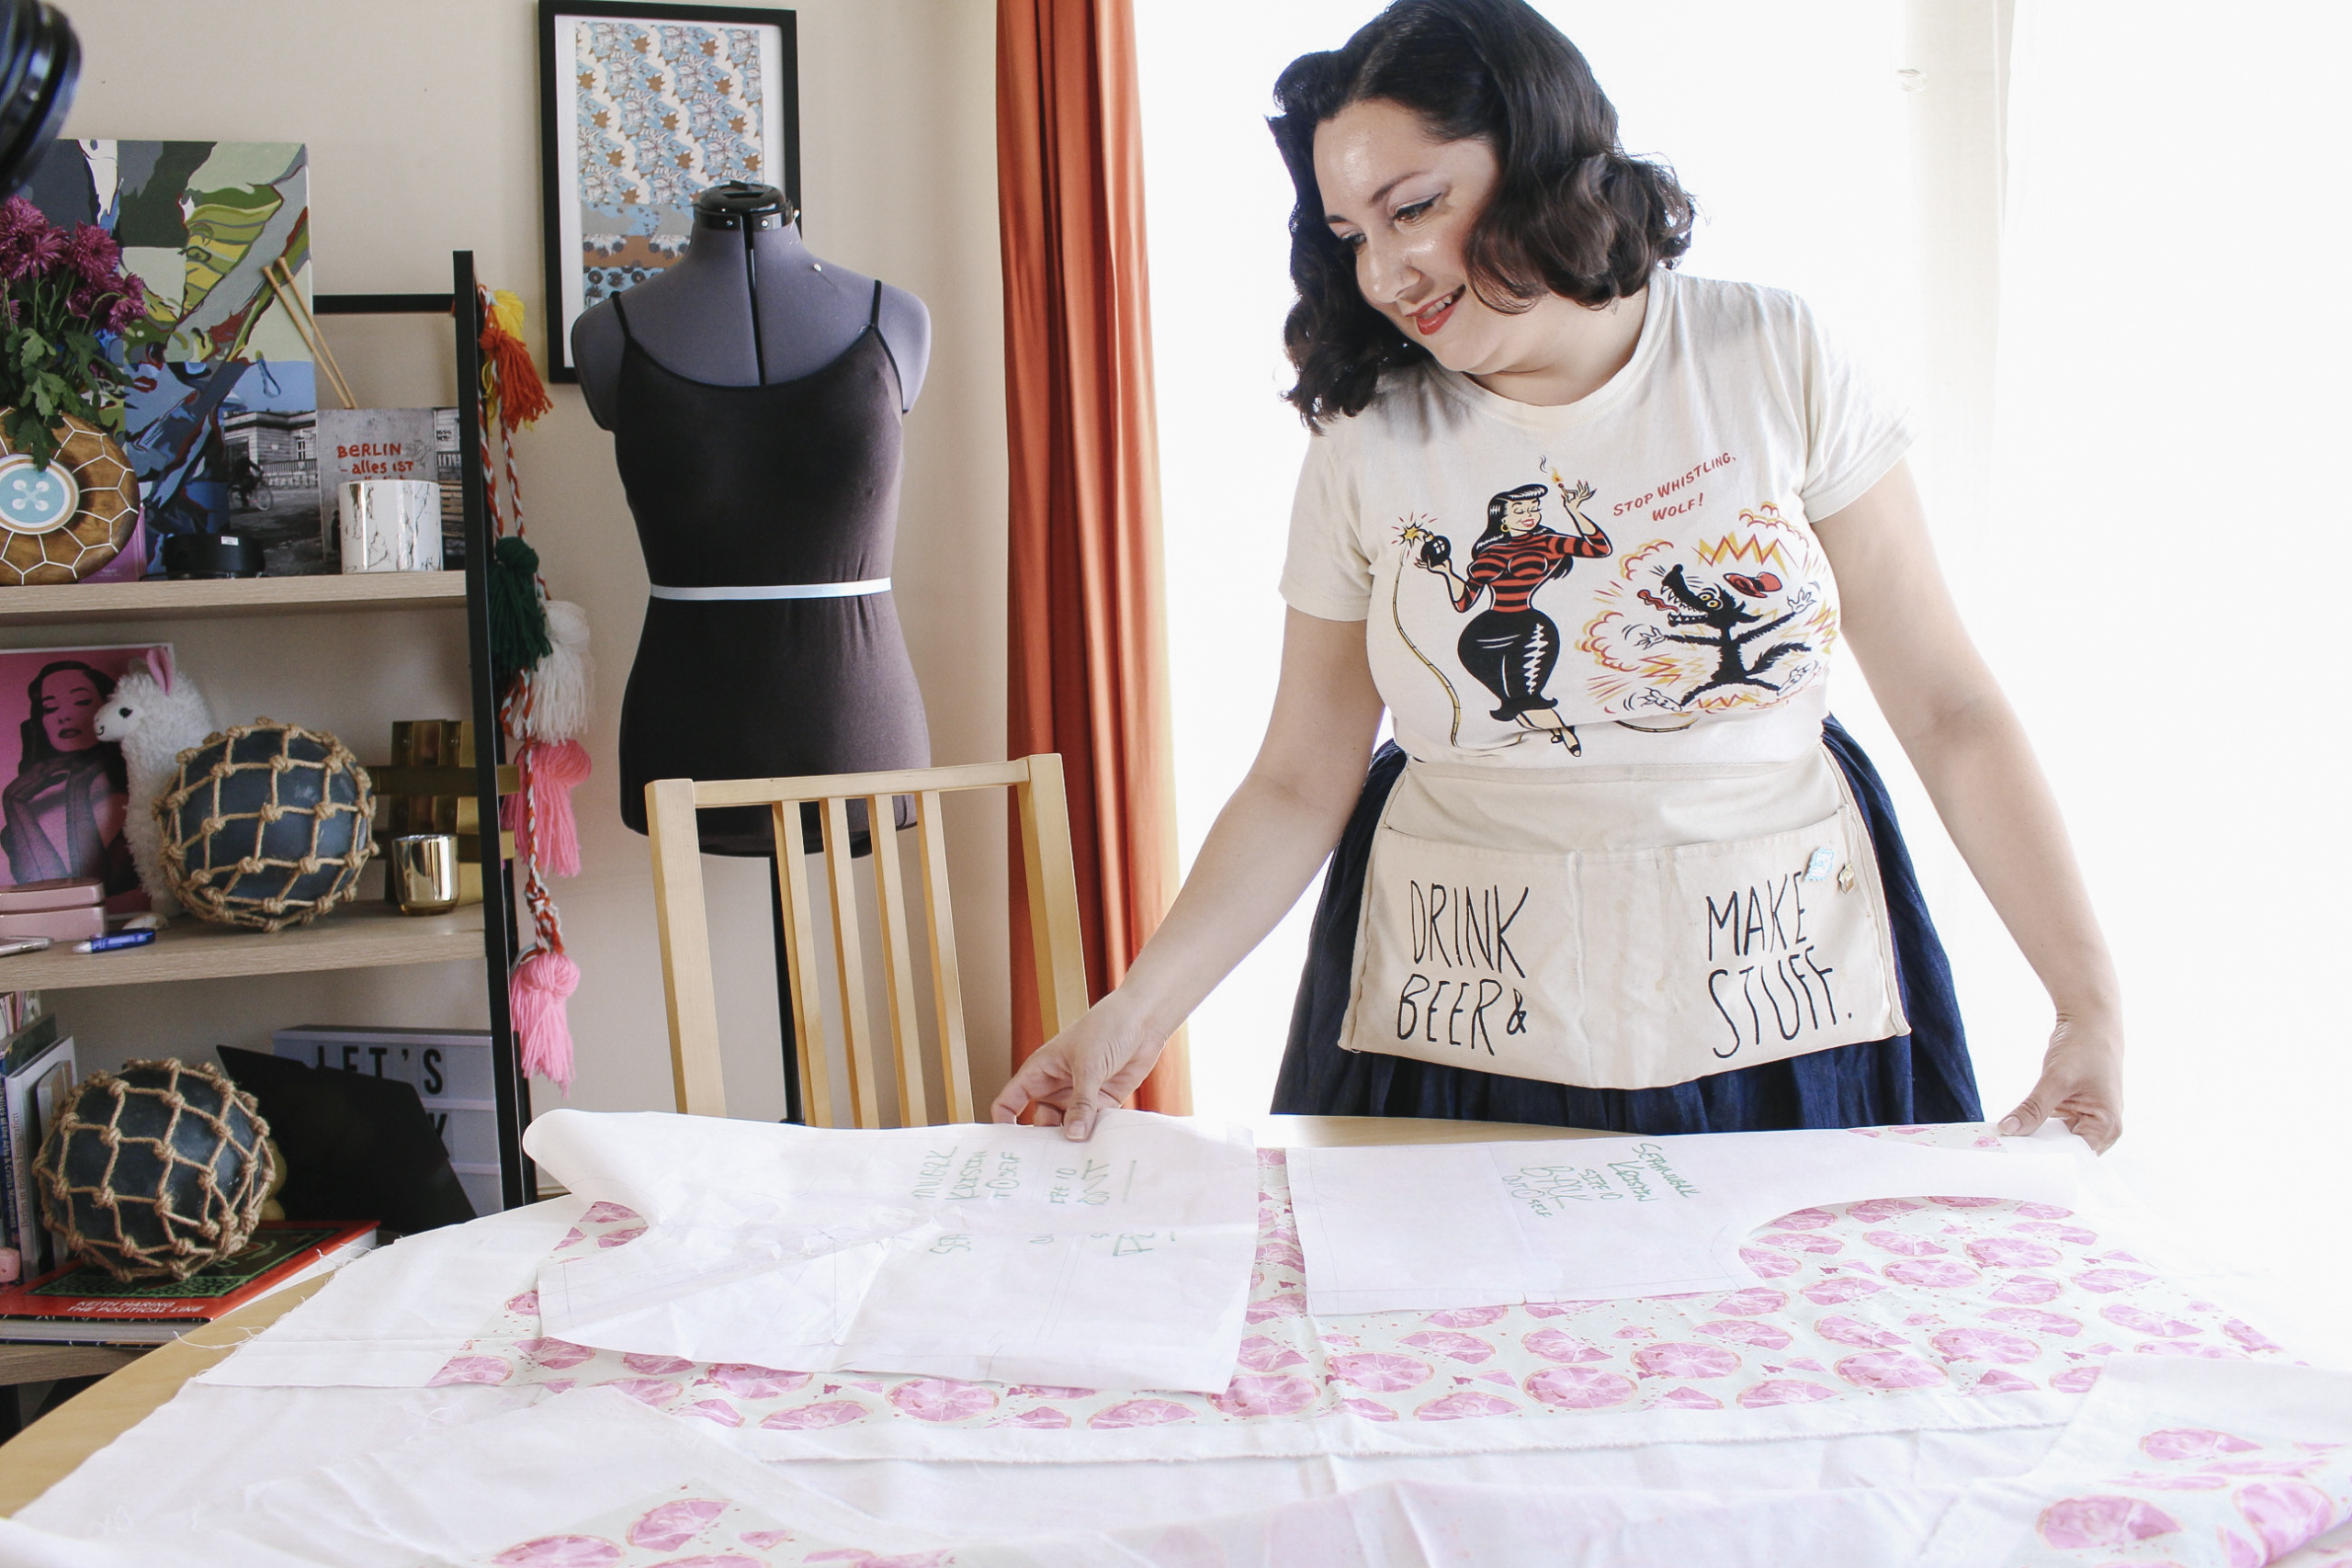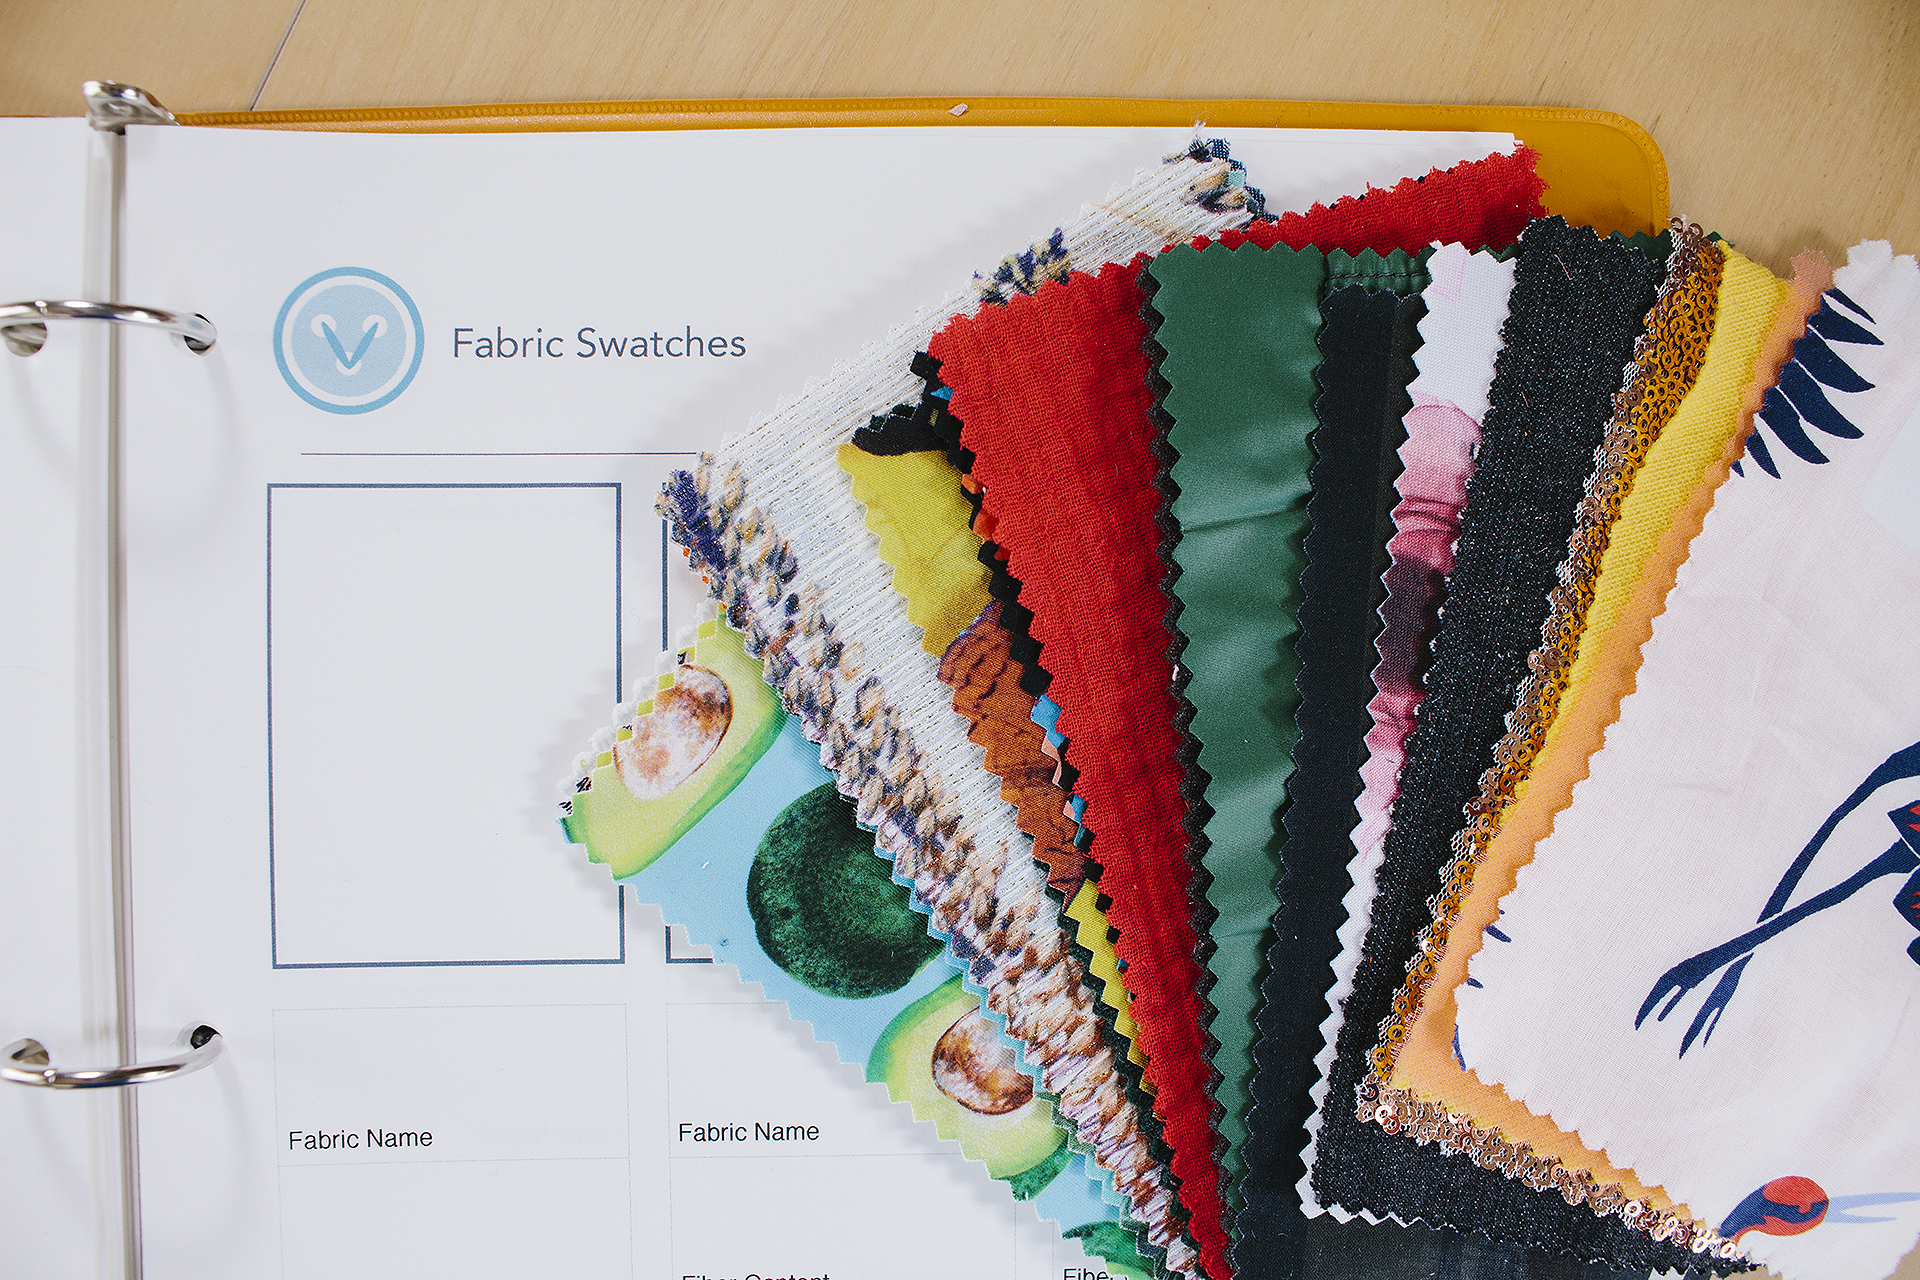
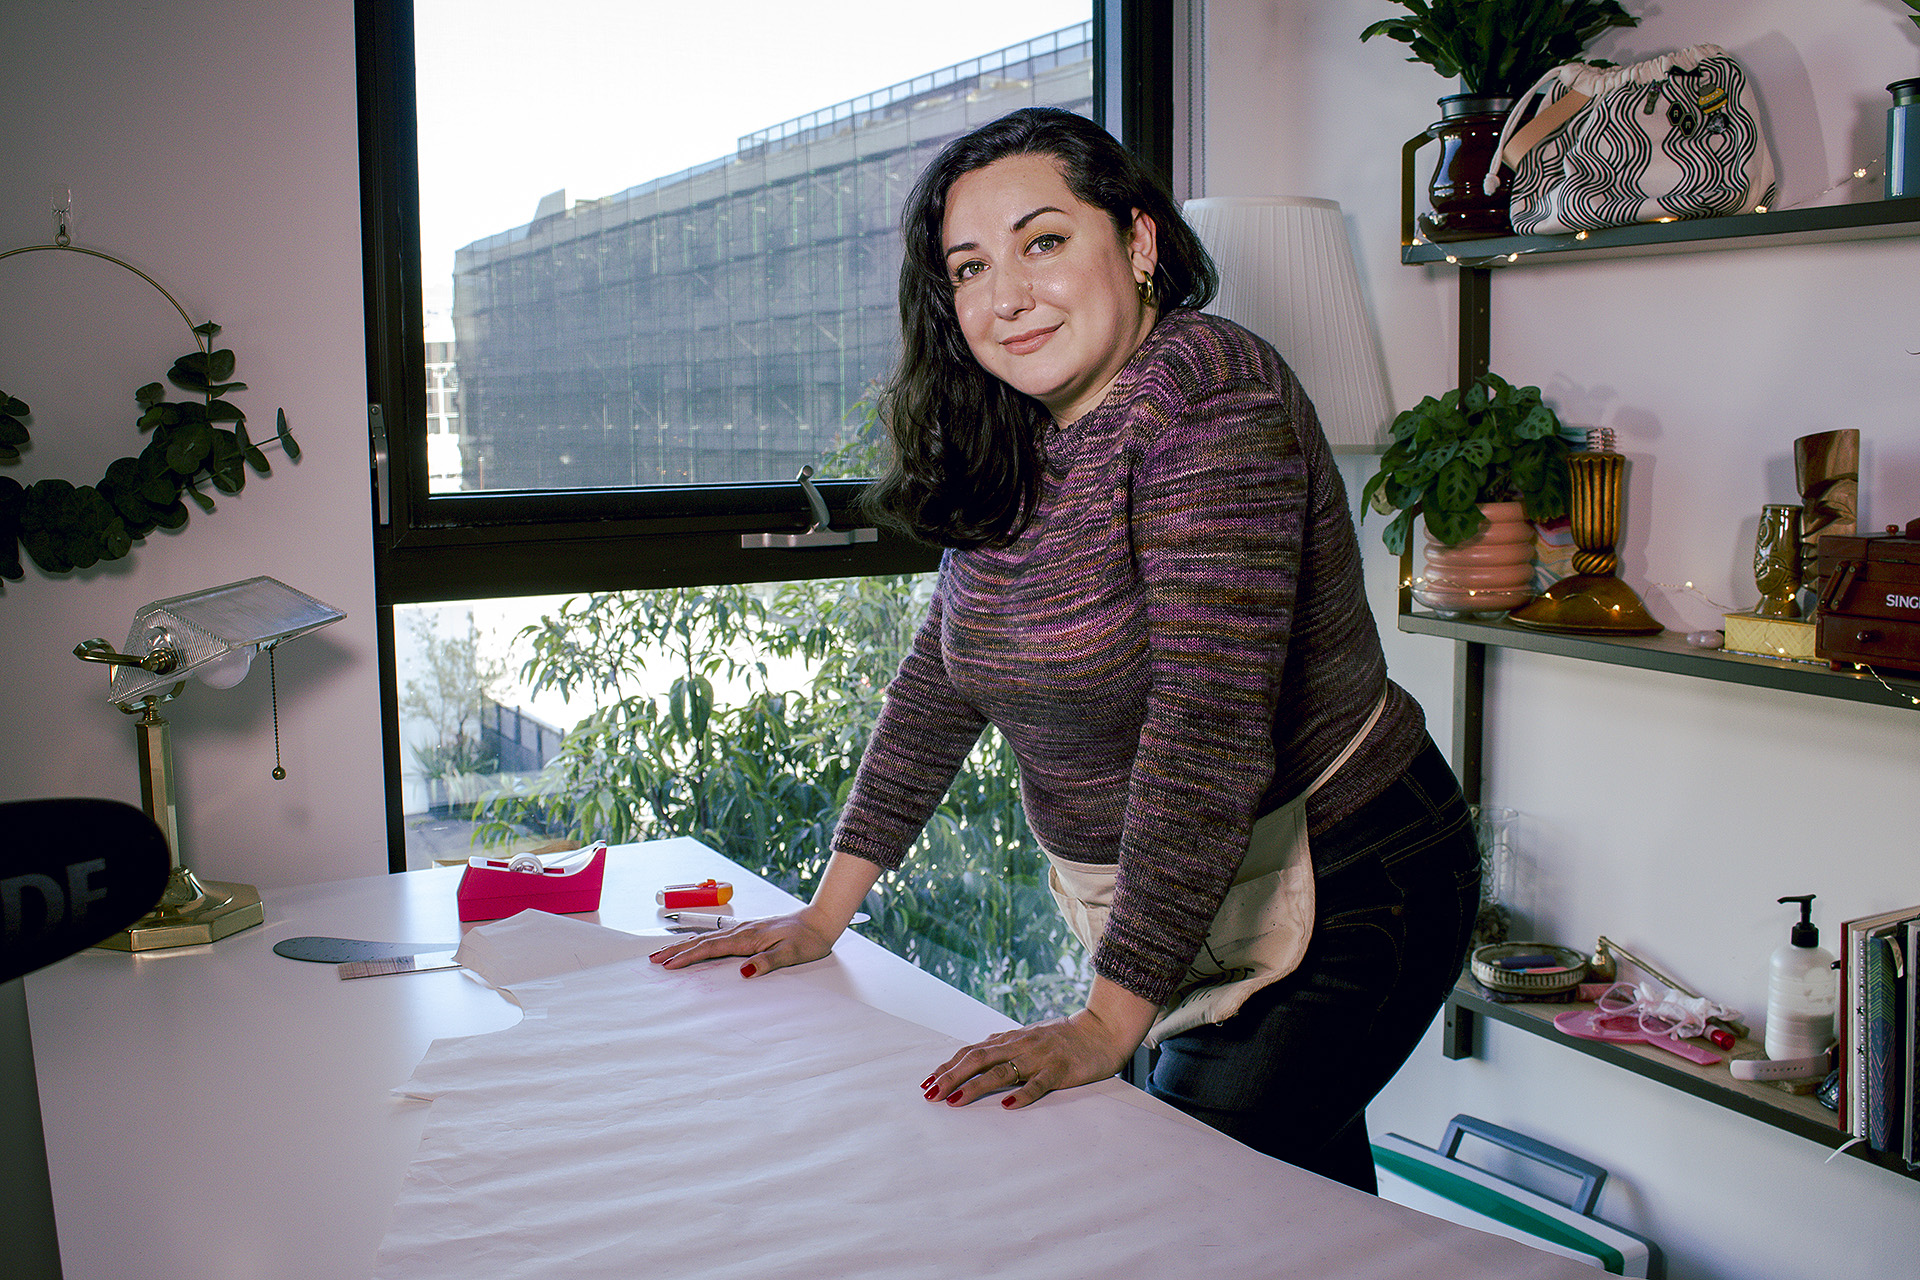
After too many hours, the shimmery blue fabric pinned to my body amounted to a potato sack that looked nothing like what I saw online.
Standing in front of my sewing room mirror, my brain was ready to start the comparison game.
Would the blue dress even fit? Would it rip down the back when I sat down? Why did it highlight my gut like that? Why was it twisting that way? How many hours had I spent on it?

I snapped a quick pic to send to my best friend Fernando, part of the wardrobe team for a touring Broadway show: “I don’t think this dress is going to make it.”
After a moment, the side eye emoji I got back was pretty on brand; he was disappointed. His motto is the familiar RuPaul refrain, You Better Work.
And this dress was decidedly not working. As a YouTuber who focuses on vintage clothing, this was just about rock bottom.
Like all chronically online people these days, dealing with disappointment is a good excuse to self soothe with the internet.
I opened up Instagram to start scrolling for a dopamine fix.
On cue, the recommendations algorithm pulled up a beautiful true-vintage dress, on sale via DM for $150, 32” inch waist. Another swipe to a beautifully staged photoshoot at a tiki bar, complete with flamingos, fake orchids, and Alfred Shaheen.
A look back at the mirror confirms I don’t look like these photos at all. I remember the whistleblower story about how Meta can mess with teenage girls’ self esteem just by the images it serves. I feel the sinking in my stomach; approaching 40, the same effect can happen to me, too. That good ol’ comparison game.
Defiance bubbles up.
Maybe if I practiced more Self Love I wouldn’t feel this way? Caring about how I look is vain and childish. I should be focused on being mindful, focused on living in the moment.
“Who cares about what other people think, it’s all about what I think. Be confident.“
Doesn’t Jose say he’ll love me just the same if I’m dolled up in full pinup or proudly in my sweatpants?
I thought, “Enough!” and I swiftly deleted Instagram off my phone.
I wish I could say that the concern about my appearance was a new thing, with the comparison game playing a big role in my self esteem.


In the early 2000s I discovered Japanese street style and Elegant Gothic Lolita (EGL) as a senior in high school. I was obsessed.
The “aesthetic” was ruffles, lace, ribbons and bows inspired by Rococo, all adding up to a style that was so different from the Western clothes I had access to. The outfits I saw in Fruits Magazine and The Gothic Lolita Bible felt like home and I was desperate to look like the people I saw in the photos.
Using my retail pennies from my first job, I got busy saving, buying second hand Baby the Stars Shine Bright accessories and knockoff Vivienne Westwood rocking horse shoes, trying to perfect the look.

Reality hit when I bought my first $400 dress: it didn’t fit.
It was designed for Japanese standard sizes which my curves wouldn’t conform to, forcing me to lay on my back to even stand a fighting chance at the zipper.
Soon, it became routine to go to EGL meet ups, wearing my ill fitting dresses and sit amongst petite women, each fitting their imported dresses beautifully.
Everyone else wore the latest outfits with complete sets of matching headpieces, accessories, dresses, purses, shoes, and frilly knee high socks. All while I couldn’t walk, breathe, or eat comfortably in the chair next to them, with my breasts bound to my chest to squeeze into what I’d worn.
I wanted to be there so badly that I actively tried to suppress that the experience was actually a nightmare.
After a particularly long and difficult meet up surrounded by people dressed in head-to-toe ribbons, I hit rock bottom.
Physically squeezed, exhausted, and climbing out of my car, I heard a distinct POP of the zipper on my gothic lolita dress.

The side seam burst open, exposing me between my armpit and my hip, with my curves winning against the seams.
My humiliation was bottomless.
I knew I couldn’t keep doing this: being so physically uncomfortable in my clothes that they not only made it impossible to breathe, but made me a walking wardrobe malfunction. I knew I couldn’t keep showing up to these meet ups feeling less than every one else, self conscious of not having the full look, and shrinking away from my own body’s curves. I couldn’t keep playing the comparison game with my friends about clothes this way.
I made the decision to give up the EGL street style, choosing to search for an aesthetic that would make me feel happy and comfortable.
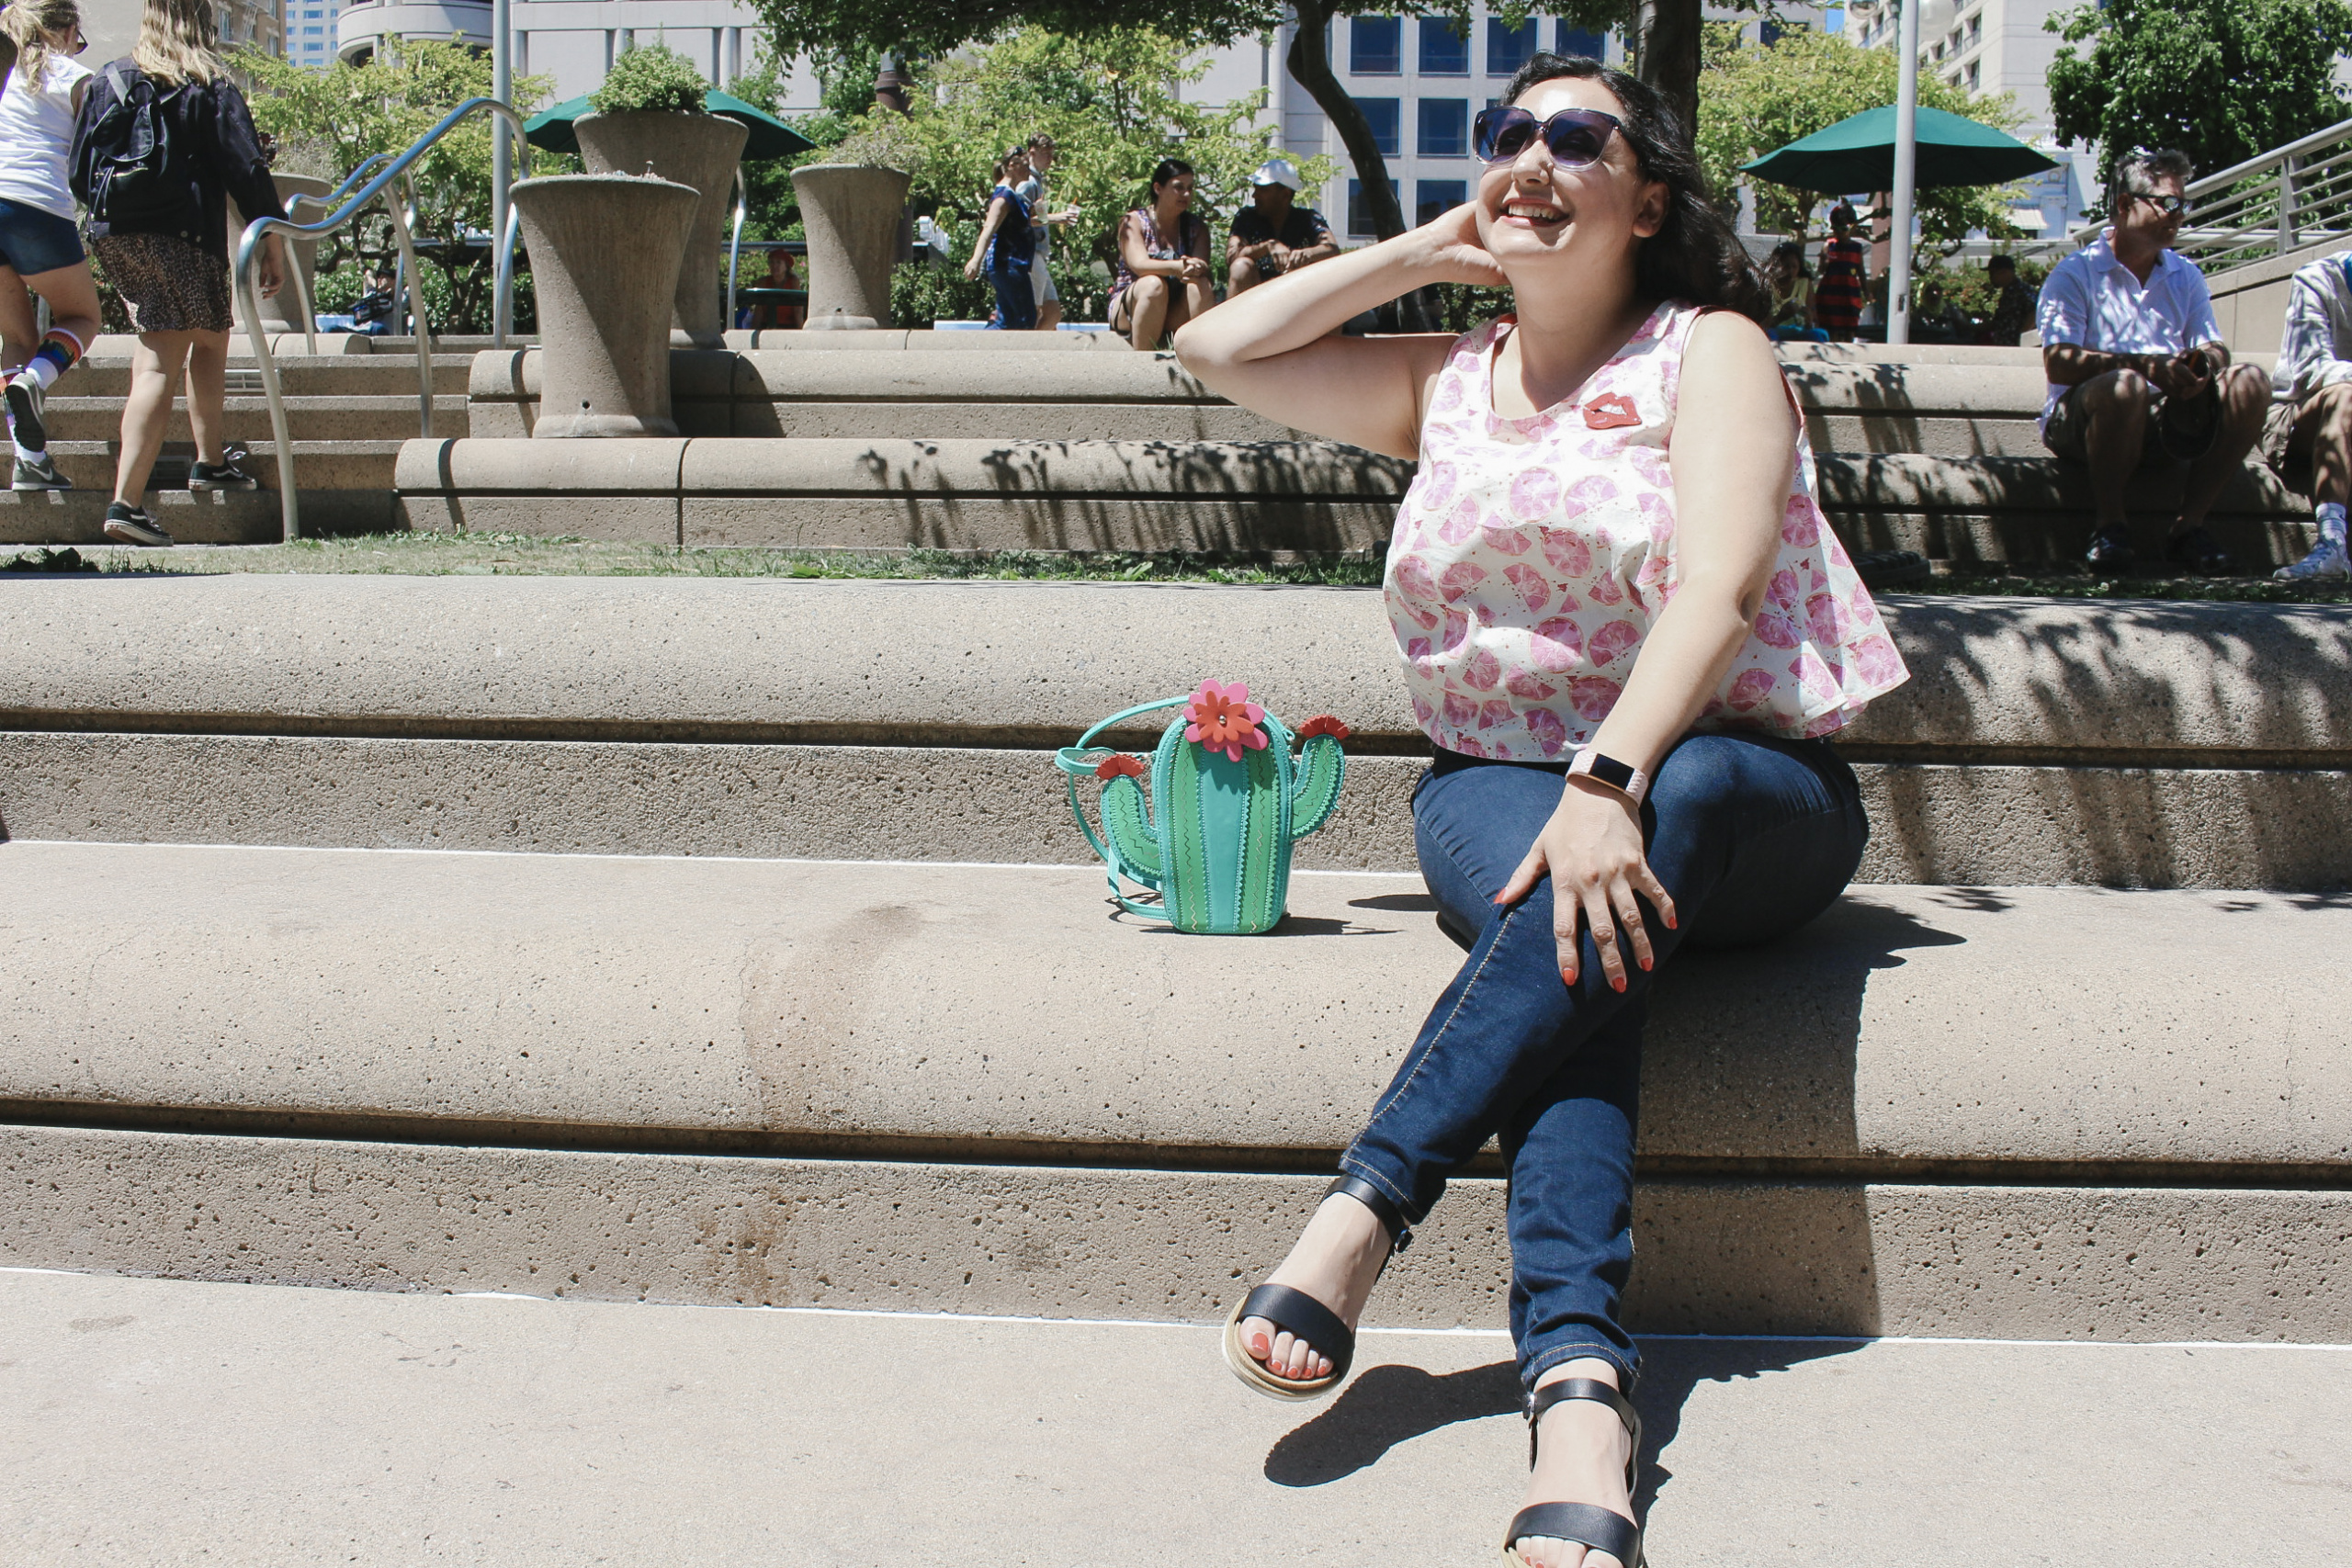
It was easy transition when I discovered that Vintage 40s/50s and Pinup fashions were more flattering to my body and close enough to the feminine aesthetic I loved.
I embraced the new style and immediately felt better.

Similar to the Japanese Street Style community in the United States, the vintage scene is vibrant and beautiful.
Events like Viva Las Vegas bring people together, with Friday night of the Weekender being an opportunity to go all out. All year, attendees source the most rare, one-of-a-kind pieces to wear for an opportunity to see and be seen. This year was no different.
Within the sounds and lights of the slot machines, every woman in my line of sight is dressed to the nines, with full hair and makeup, luscious sequin dresses, and vintage 40s Lucite handbags. Men wear sharp true-vintage 40s and 50s suits with matching hats. In some cases, couples wear matching outfits, purposefully coordinating to signal their shared love of the style.
It’s modern day peacocking and the comparison game is strong.
But amongst the beautiful people, Jose and I are not dressed up like them. And amongst the crowd, we stand out like a sore thumb.
I mentally remind myself, “I don’t care about what other people think!” as we move through the evening events, wandering from ball room to ball room to watch live music, drink champagne, and people watch. But I keep thinking longingly of the blue dress I couldn’t make fit.
On Viva’s second night, I wore a 40s casual daytime look: a simple skirt and peasant top I’d worn since 9 AM, limp from the Vegas dust outside. My makeup was worn out, my hair unkempt. Jose, as someone decidedly NOT into the vintage scene, settled in his usual jeans and t-shirt with matching Air Jordans.

I reminded myself to be present, not play the comparison game, focus on the fun evening and prioritize laughter and dancing. We even won a bottle of wine!
Yet, the sinking feeling grew through the night.
We passed the Glamour Ball, with its women wearing velvet, silk, and shimmering 40s and 50s dresses, opera length gloves, and beautiful hair flowers. The women stood in groups by the entrance to the ballroom, fixing each other’s hair; wafts of expensive perfume encircling them.

I repeat, “Be in the Moment,” silently to myself, pulling my shoulders back as I walk by with my straw daytime bag and dusty sandals. Jose squeezes my hand, watching me from the corner of his eye. His shoulder is bumped by a man wearing a pristine 40s wool suit, who quickly apologizes.
Over the next several hours, the sinking feeling turns into a pang when I step out of the bathroom stall in the Women’s room, where a line of beautiful women carefully powder their nose and tend to their red lipstick in the mirror.
My heart beats hard in my chest, trying to ignore my regret, sadness, and humiliation at my bare bones clothes.
“You’re just here to have fun, it doesn’t matter that you’re not dressed up,” I repeat again and again, washing my hands quickly under the warm water.
Jose stands outside in the line of impeccably dressed men waiting for their partners, his hand outstretched to meet me and pull me close to him.
“Do you mind if we go back to the room for the night?” he asks quietly.
I exhale, “Sure, ya- it’s getting late,” looking forward to the relief from battling my self consciousness, of having been strong against my insecurities.
I’d won the battle, I had kept my head up high, had stayed present and in the moment even when it was painfully hard.
We made our way to the elevators, away from the bustling crowd, the champagne and beer, and laughter of partying.
Waiting for the elevator doors to open, Jose squeezes my hand. I look at his face in profile. He gazes straight ahead at the elevator just beginning to open.
The ding of the door as it signals us.
“Next time let’s try and dress up.” A pause before he looks over to me, “I didn’t feel good about myself out there. I don’t want to feel that way again.”
I nod, in quiet understanding and no words to say.
Turns out you can’t will yourself out of your feelings.


![How To: No-Dart Full Bust Adjustment [2022 Update]](https://vintageontap.com/wp-content/uploads/2022/04/nodartfba_needsadjustment2.jpg)