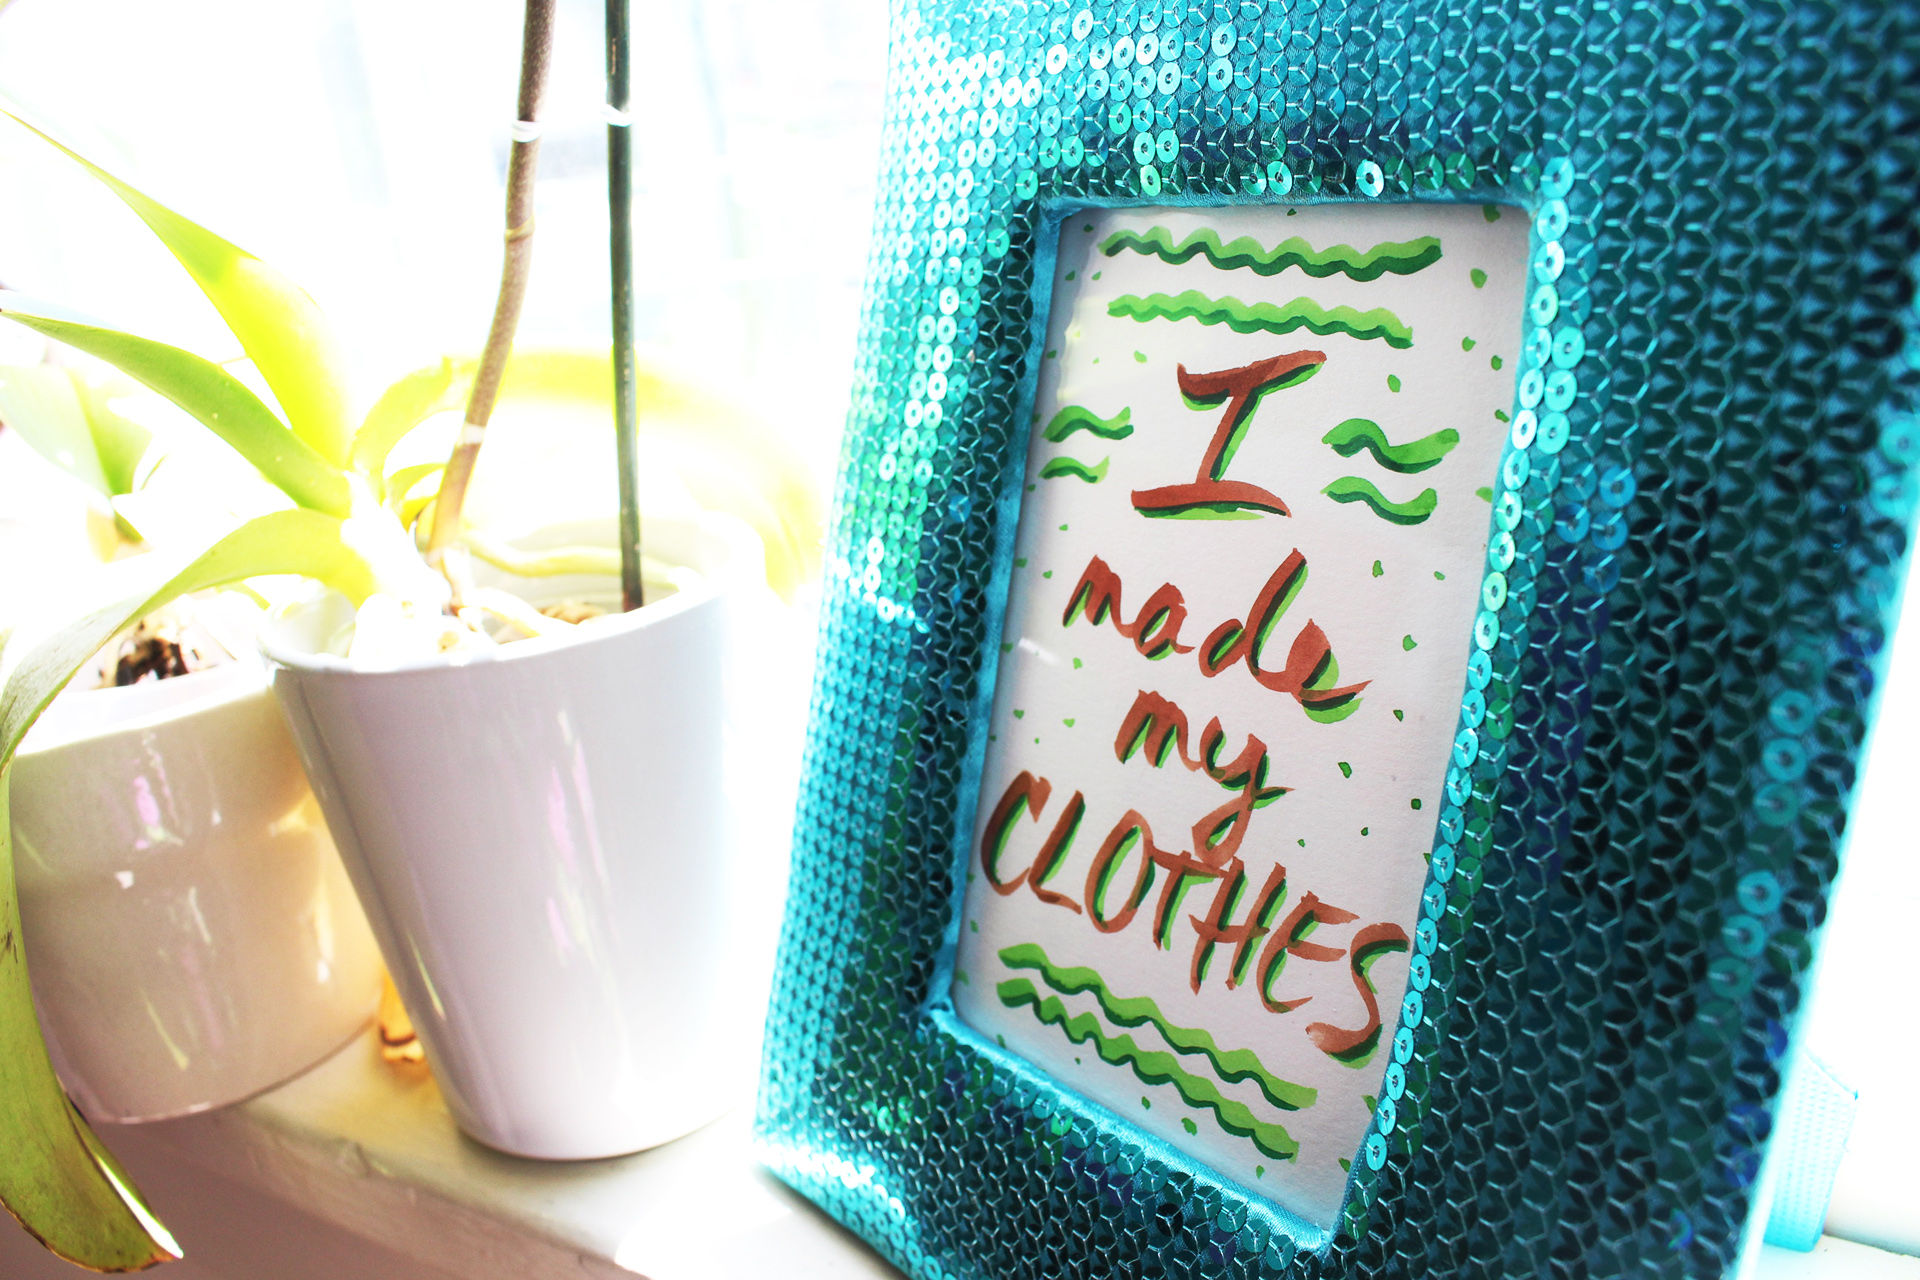
It’s been about 1 year since I last wrote about weightloss as a seamstress.
What inspired me to write the post initially was that I was trying to find healthy coping mechanisms for my own weight gain. I was trying to understand what that meant for me and my projects– and how to cope in a body positive way.
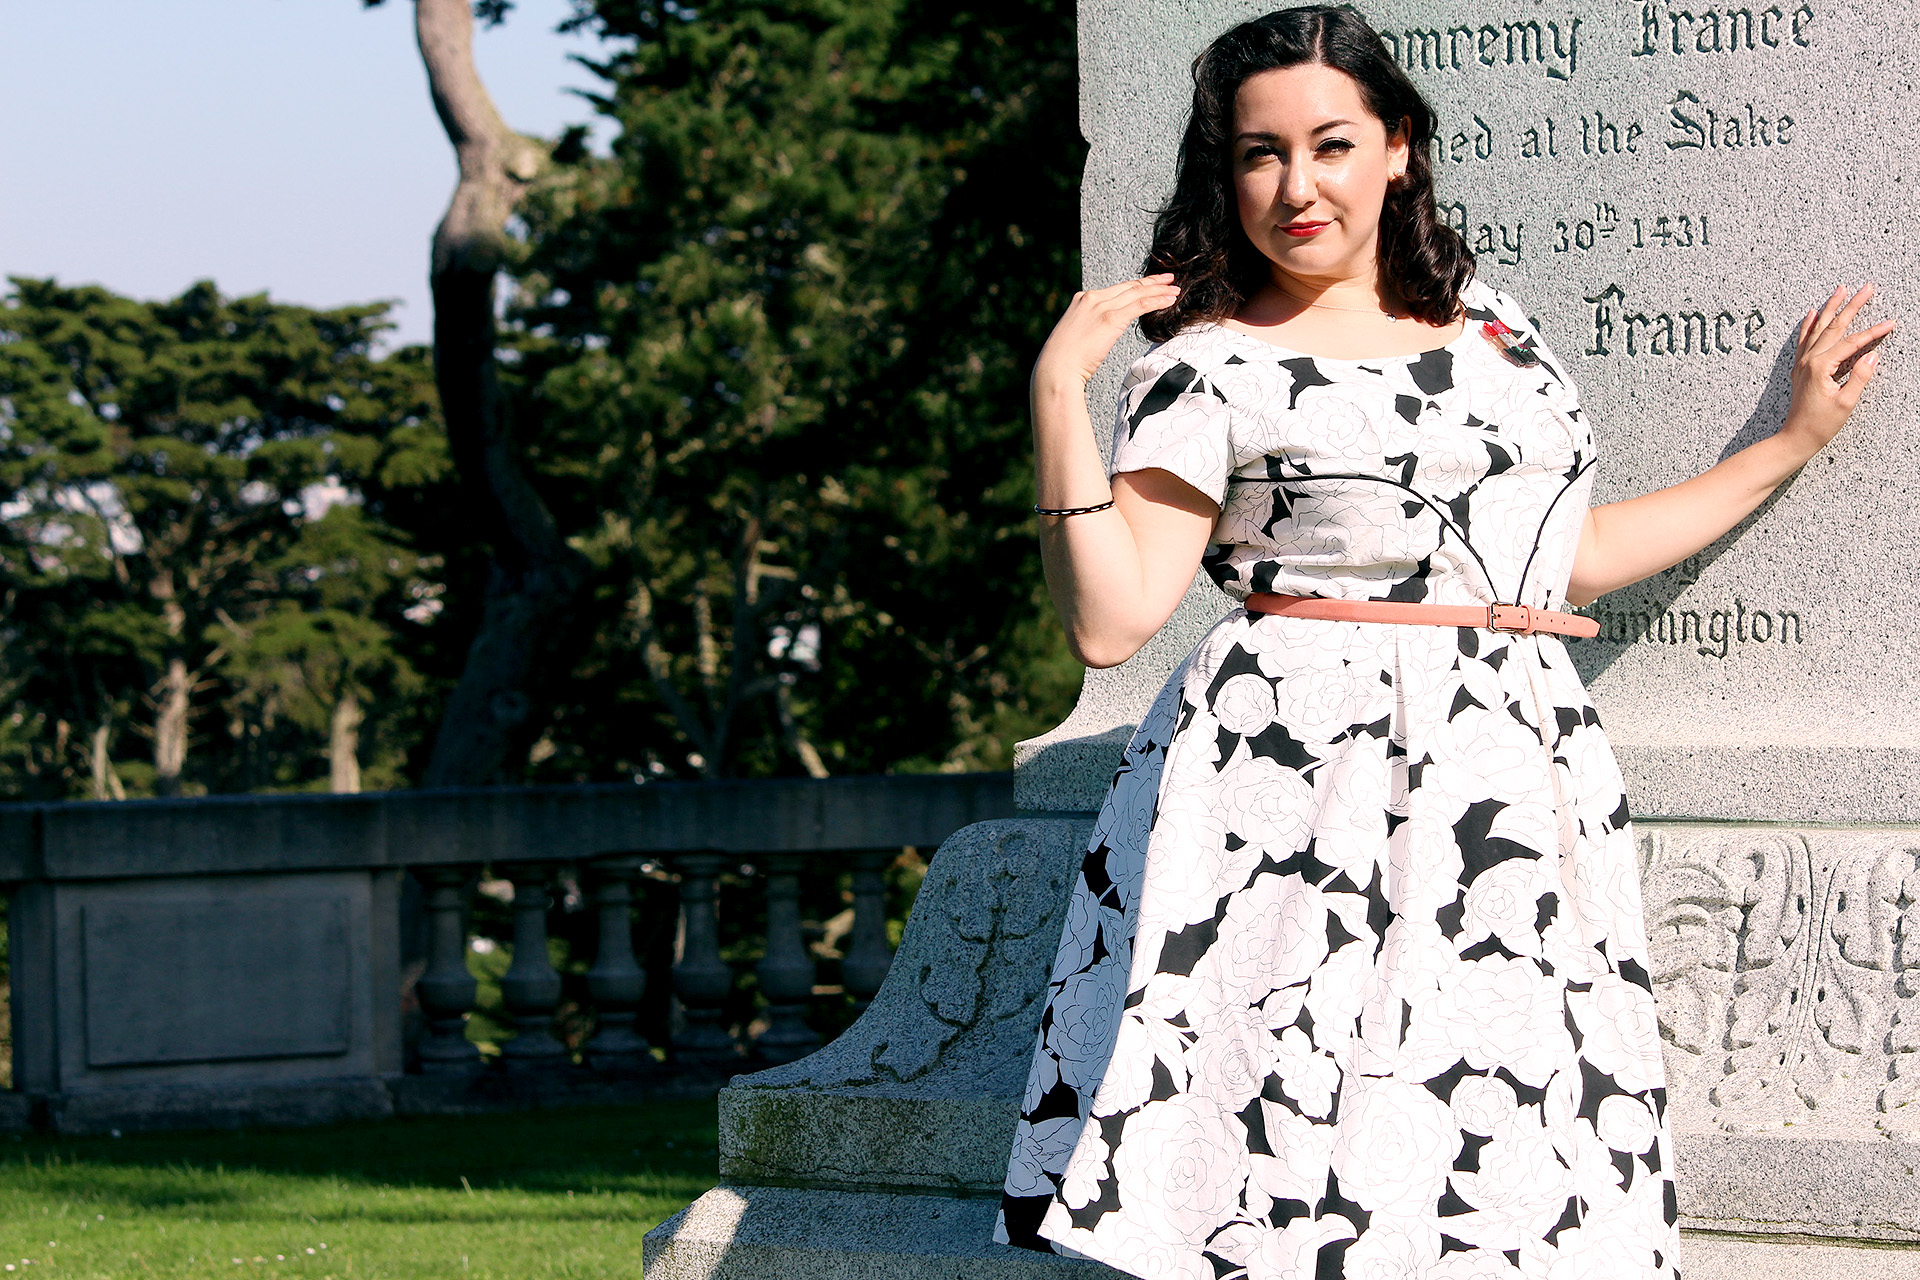
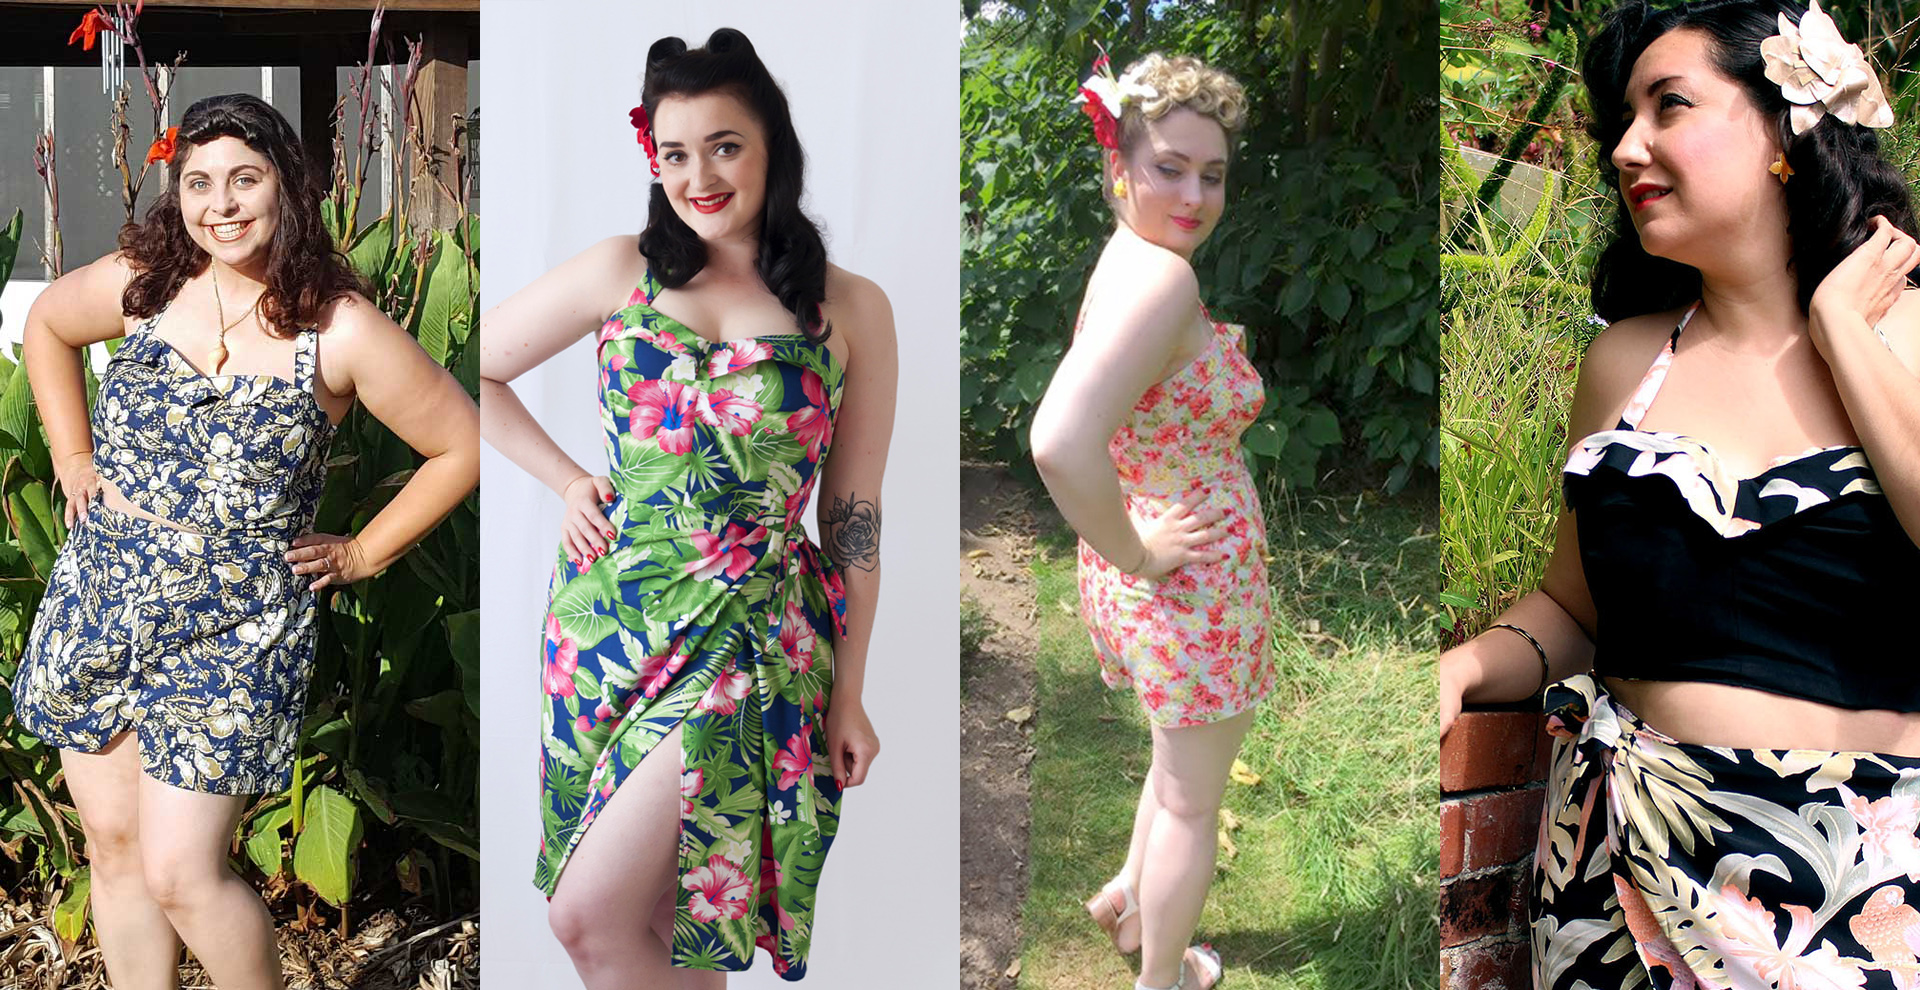
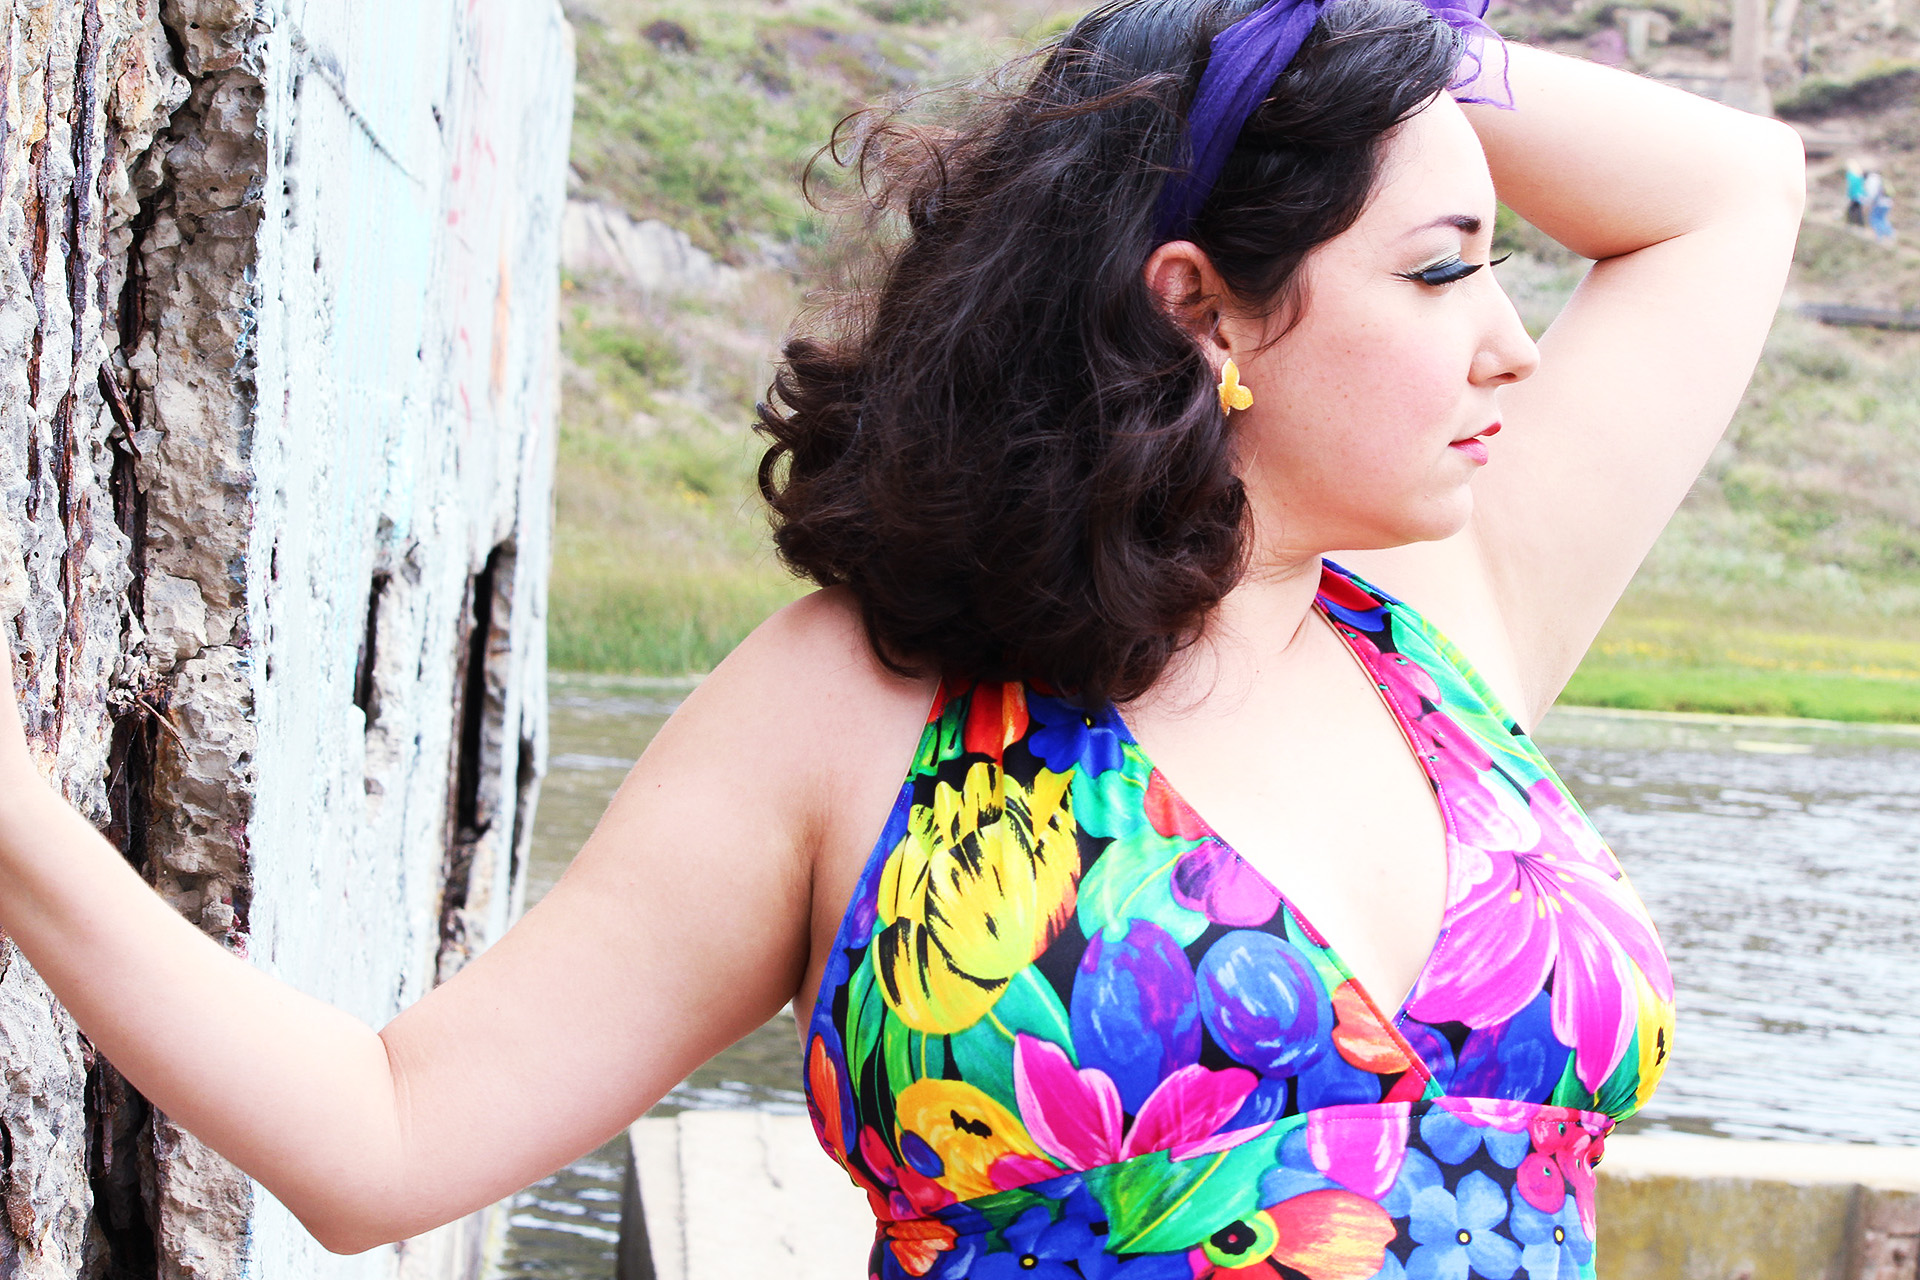
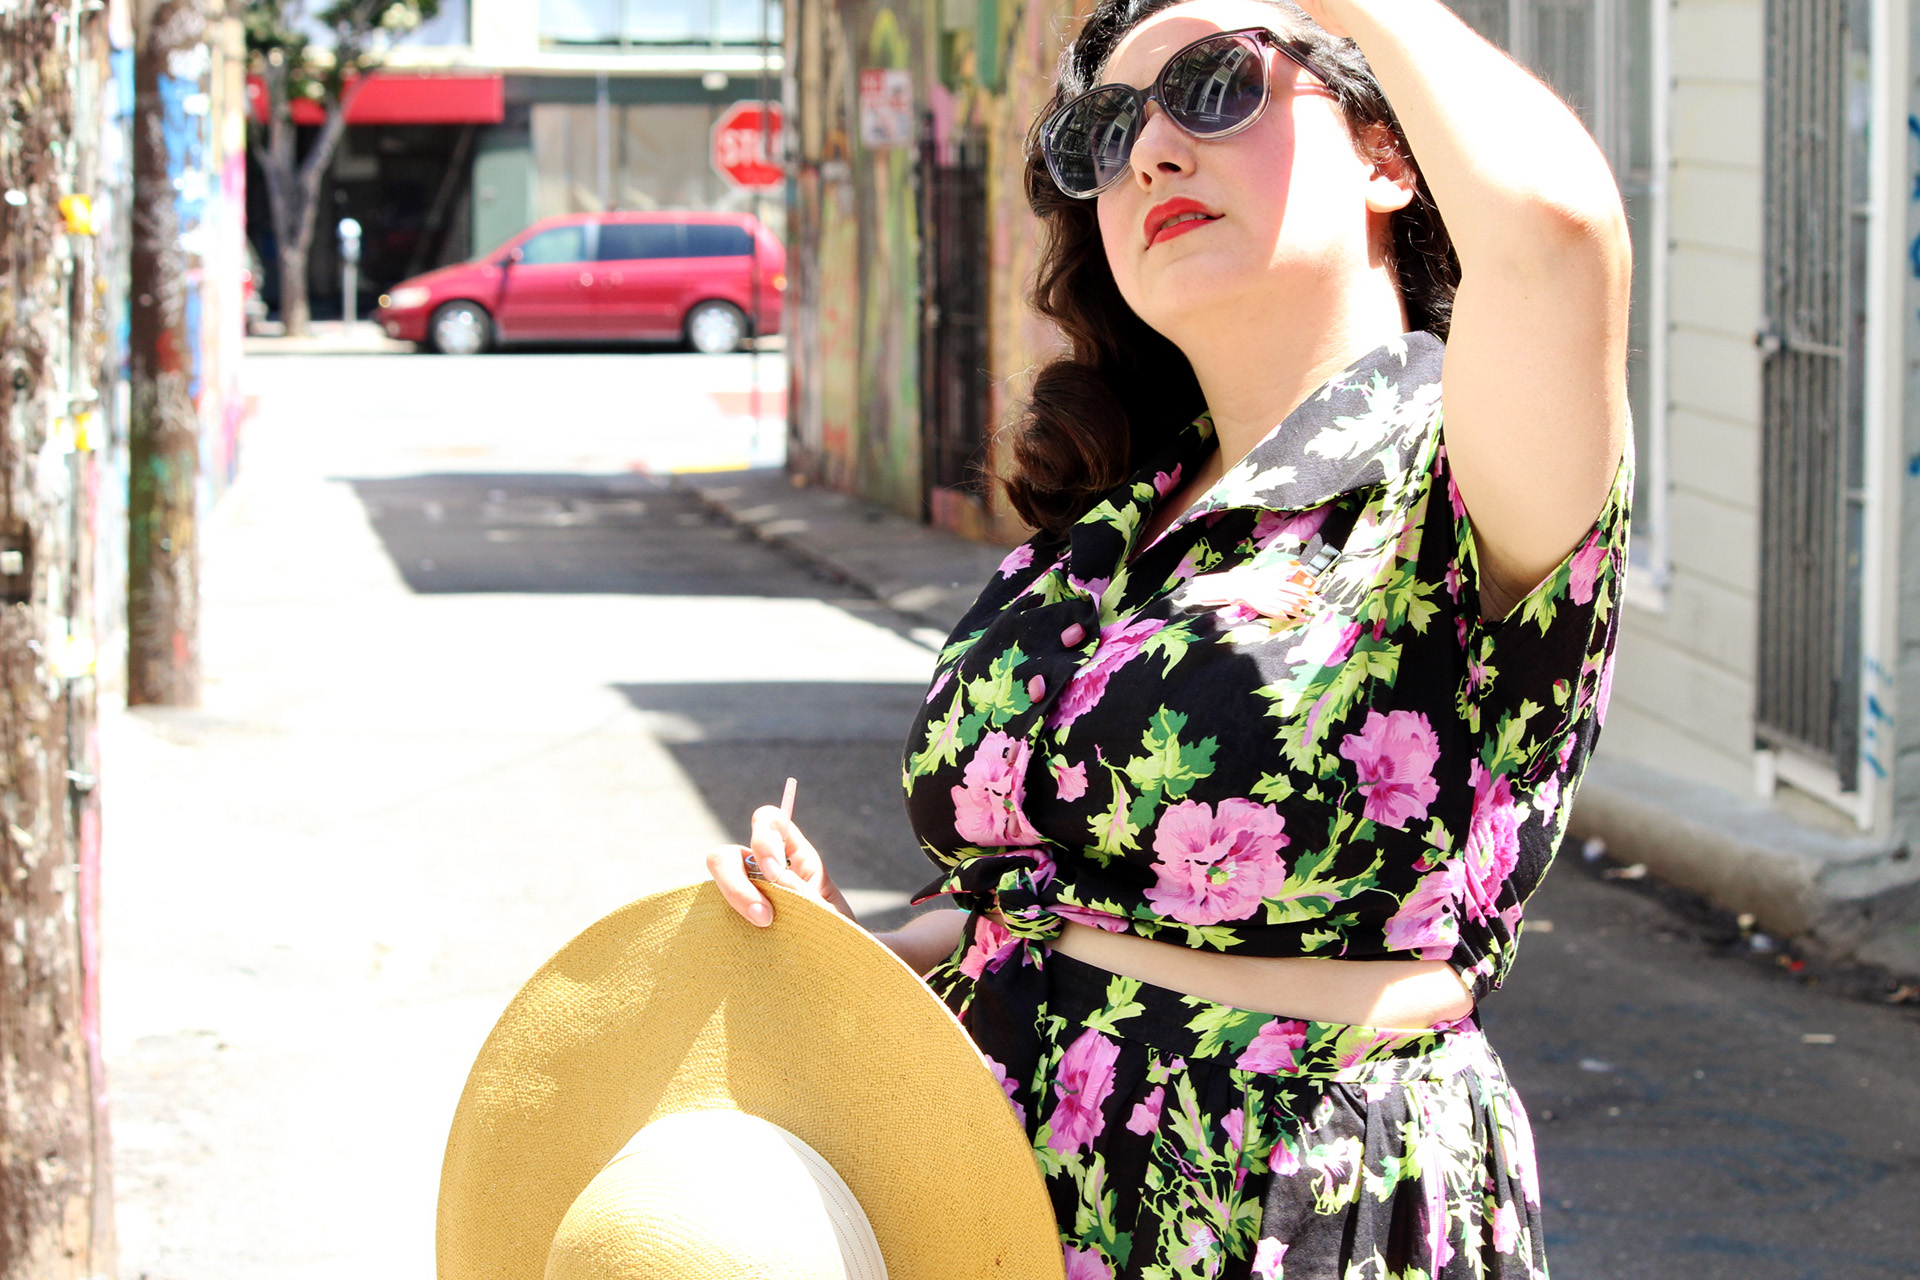
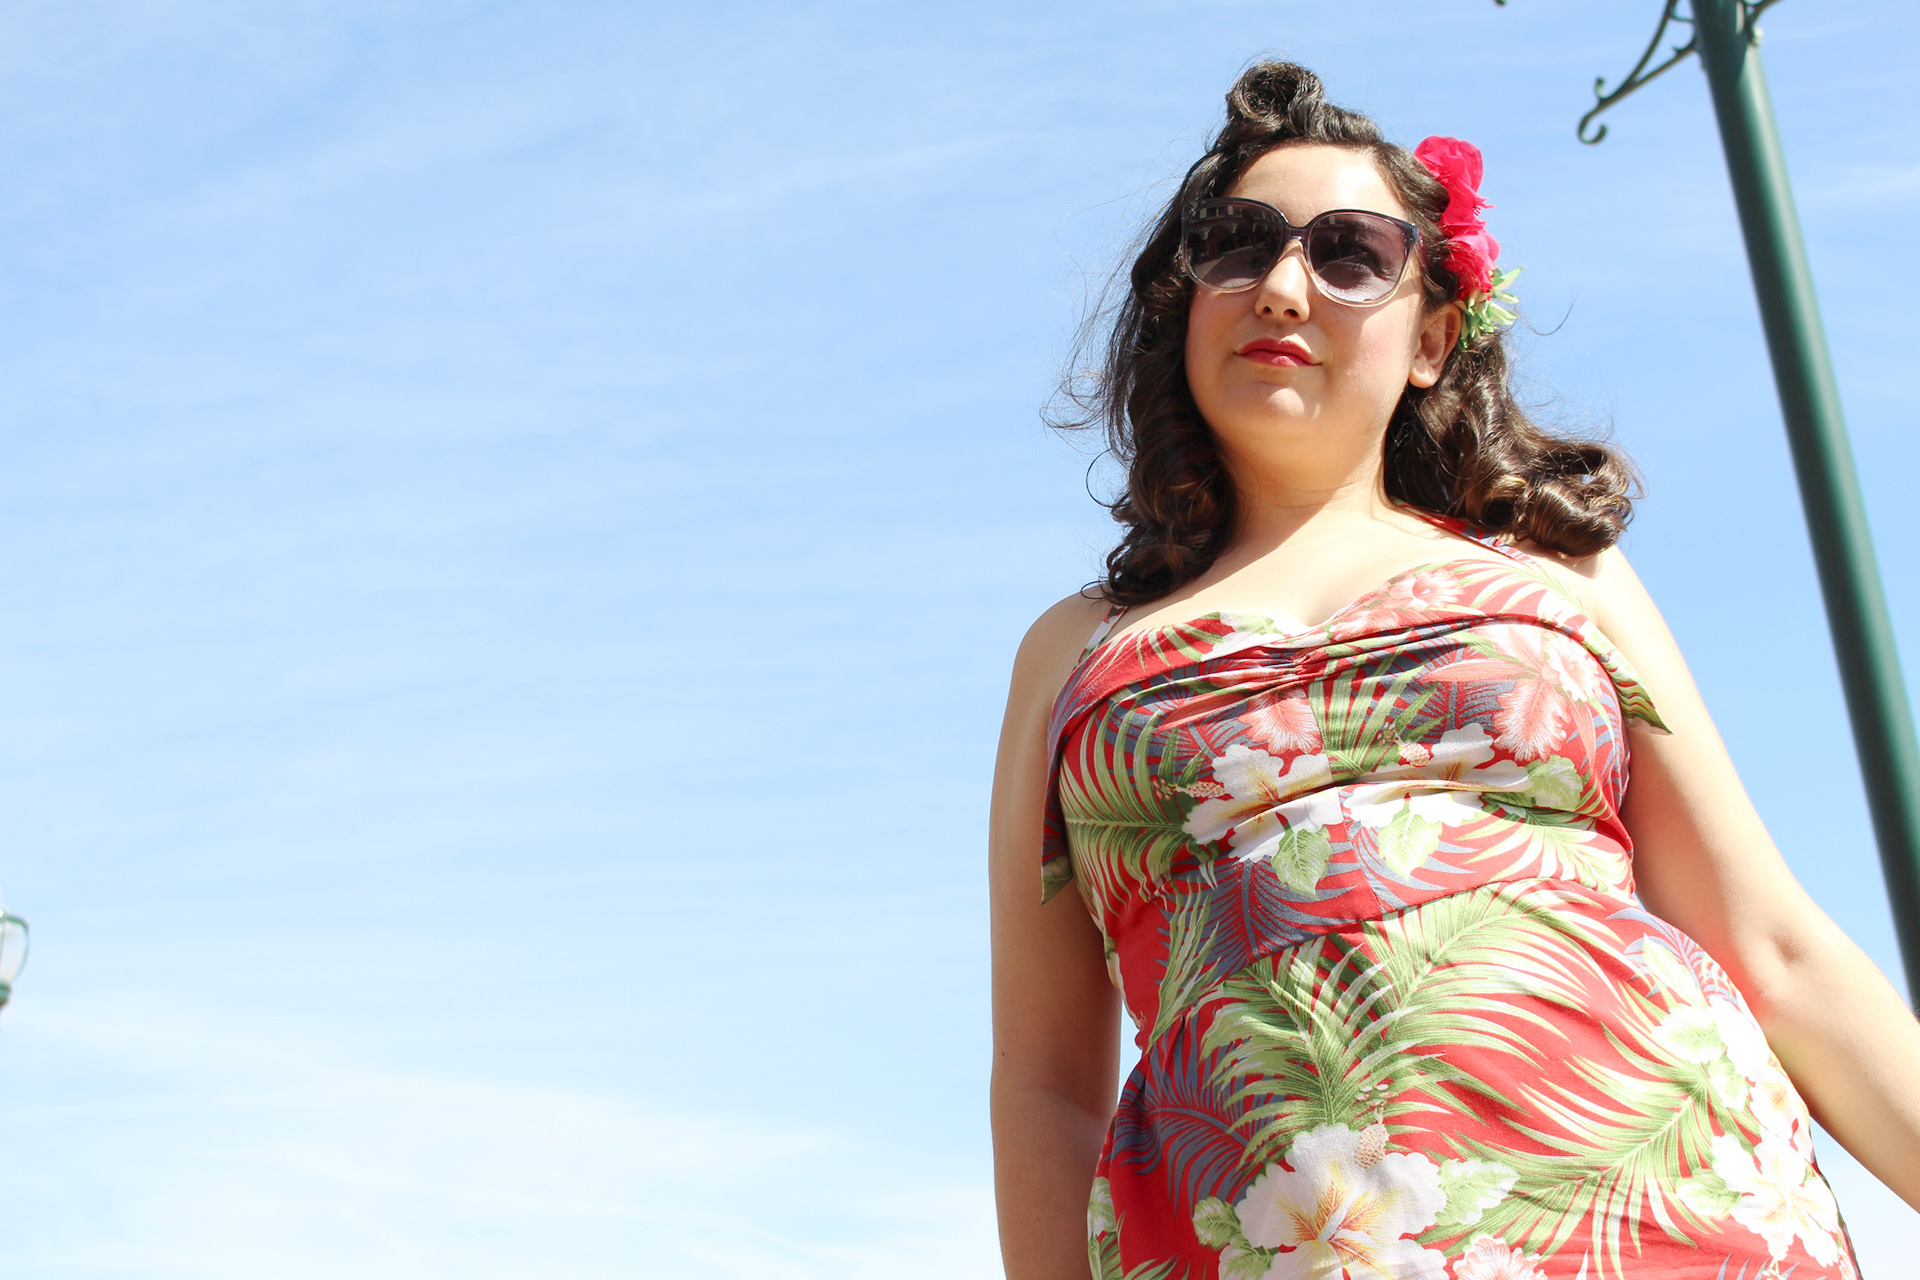
Since last year’s post, I’ve gained even more weight- and again, that’s ok. There’s no reason to shame myself for having done so; its natural and happens. What has also changed since last year is that my sewing hours have ramped up and I produce a new garment every couple weeks. The weight gain has not stopped me from taking on projects that are form fitting or that expose a little bit of tummy. Seriously, I made a swimsuit this year and posed for photos in it. I can still pose and be fierce, even with the extra pounds packed on.
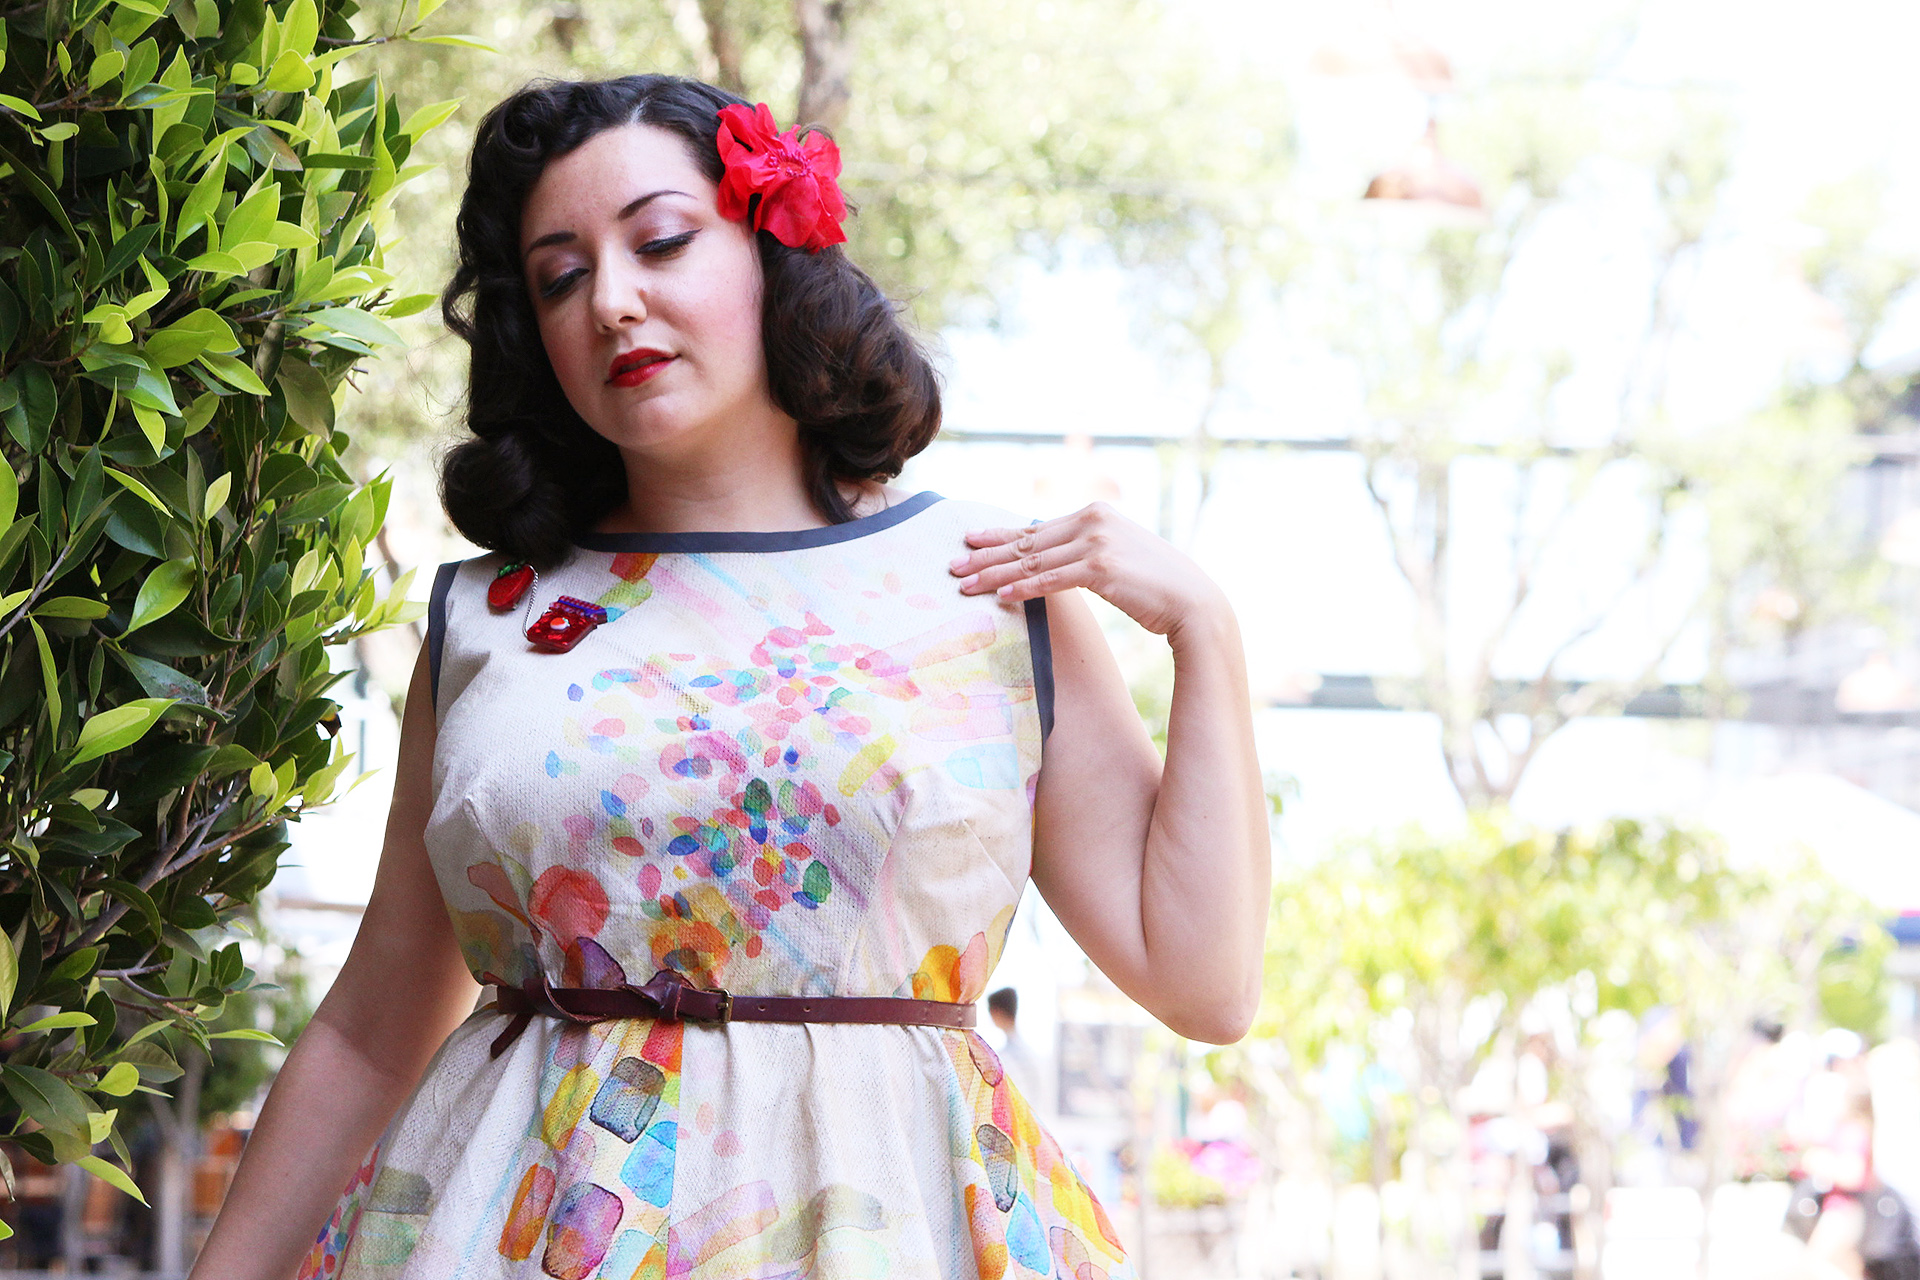
Full disclosure, my best body-affirmation doesn’t come from fashion magazines or traditional media- it actually comes from drag queens. One of my favorite aspects of drag culture is that it encourages you to love yourself at any size and rewards those who can step out of their shell and really “feel the fantasy” (see Drag Race, etc.) Of course even having been a fan of the culture for years still means I have a lot to learn. But that doesn’t mean I can’t channel that happiness and confidence when I’m in public, trying to pose for a photo for the blog, even with a little extra curve on my body.

Being fierce at any size doesn’t mean I don’t want to be healthy, though.
I can candidly admit that I do have to lose weight. Not for vanity, but for health. I’ve officially reached my 30s and want to be mobile, healthy, and glowing, especially as this blog grows and grows. The added weight to my height isn’t helping my blood pressure and making steps to improve my longevity can always start now. Like wearing sunscreen.
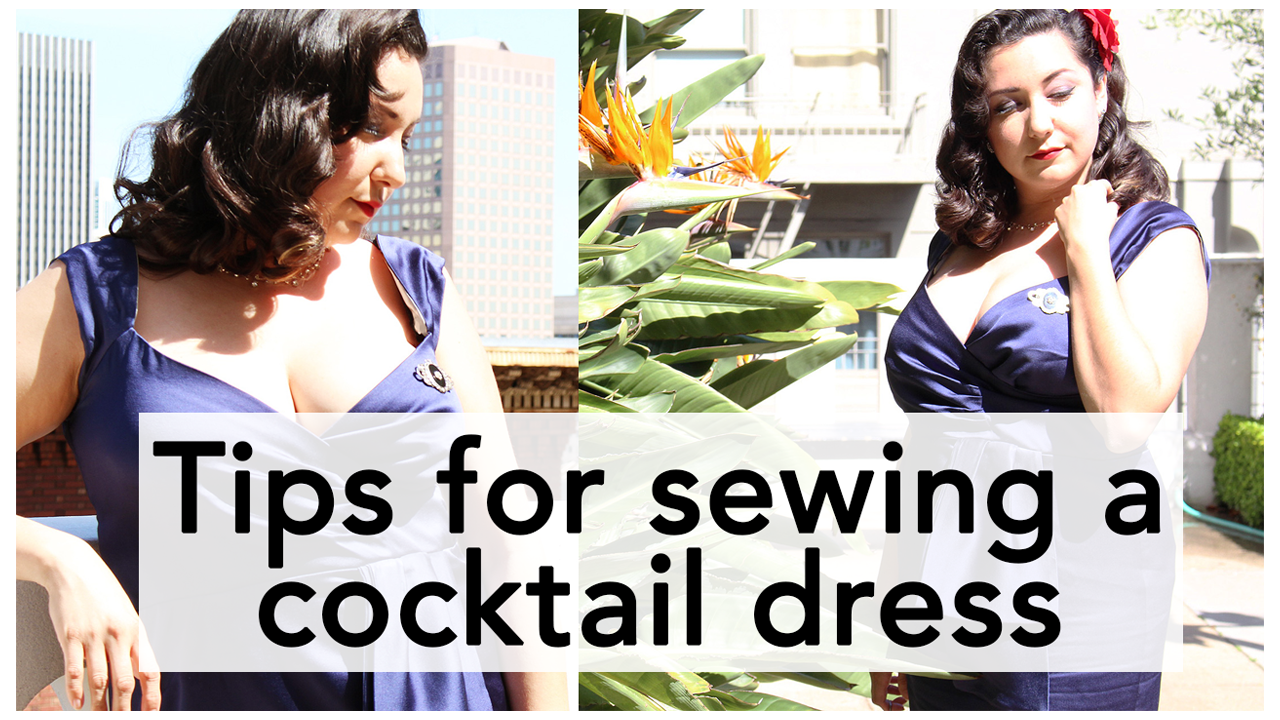
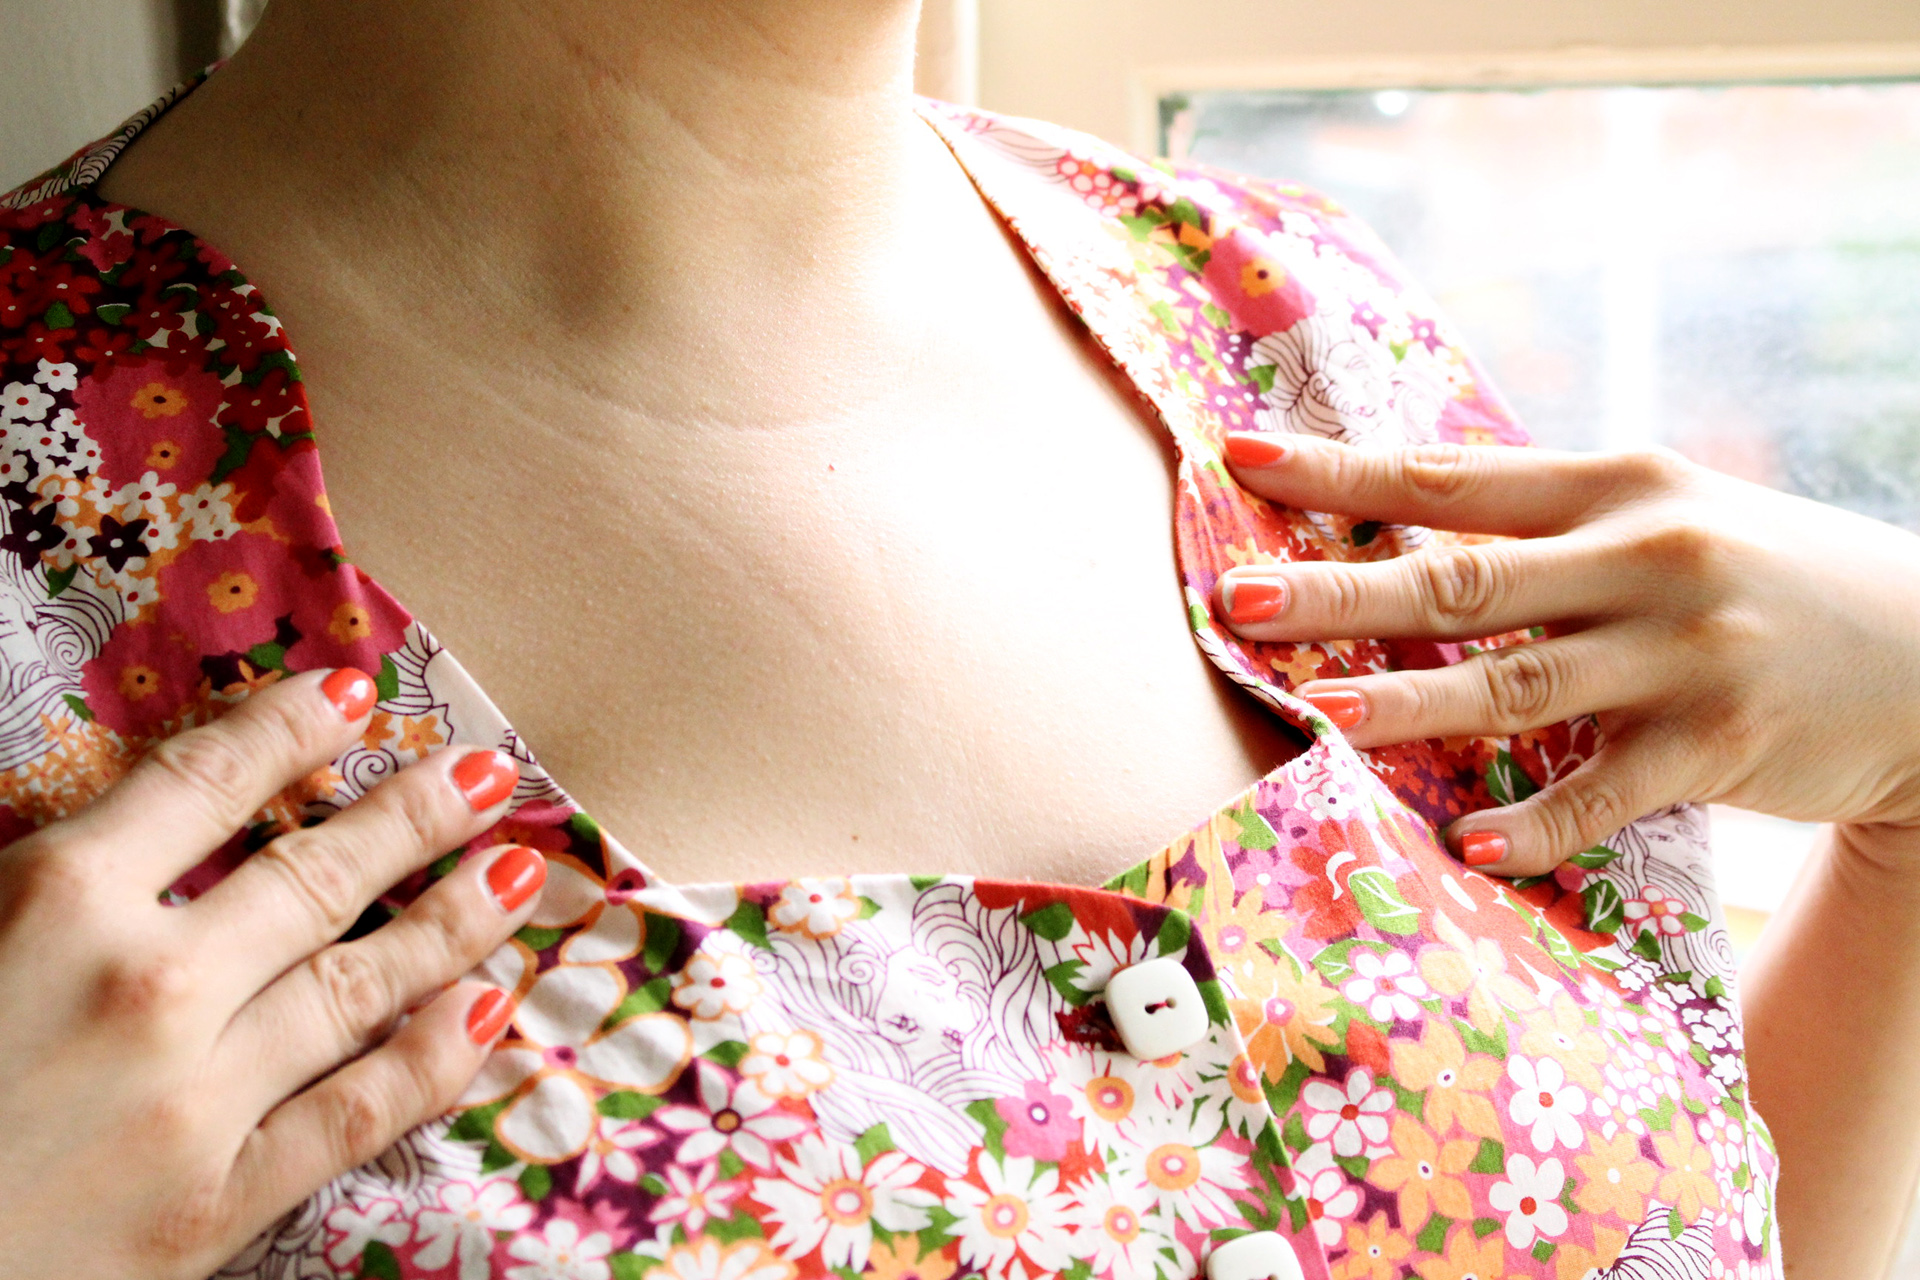
Looking back on old posts, there are things I’ve made that I can’t wear right now which really bums me out. All those clothes are sitting in my closet, waiting to be worn. Unfortunately, within the sewing community this part of sewing doesn’t ever get talked about, just swallowed silently as just another adjustment to make on a pattern piece. For all the effort that I made making my clothes, I want that invested energy to be enjoyed every day and not wasted.
Focusing on weightloss as a seamstress for me means:
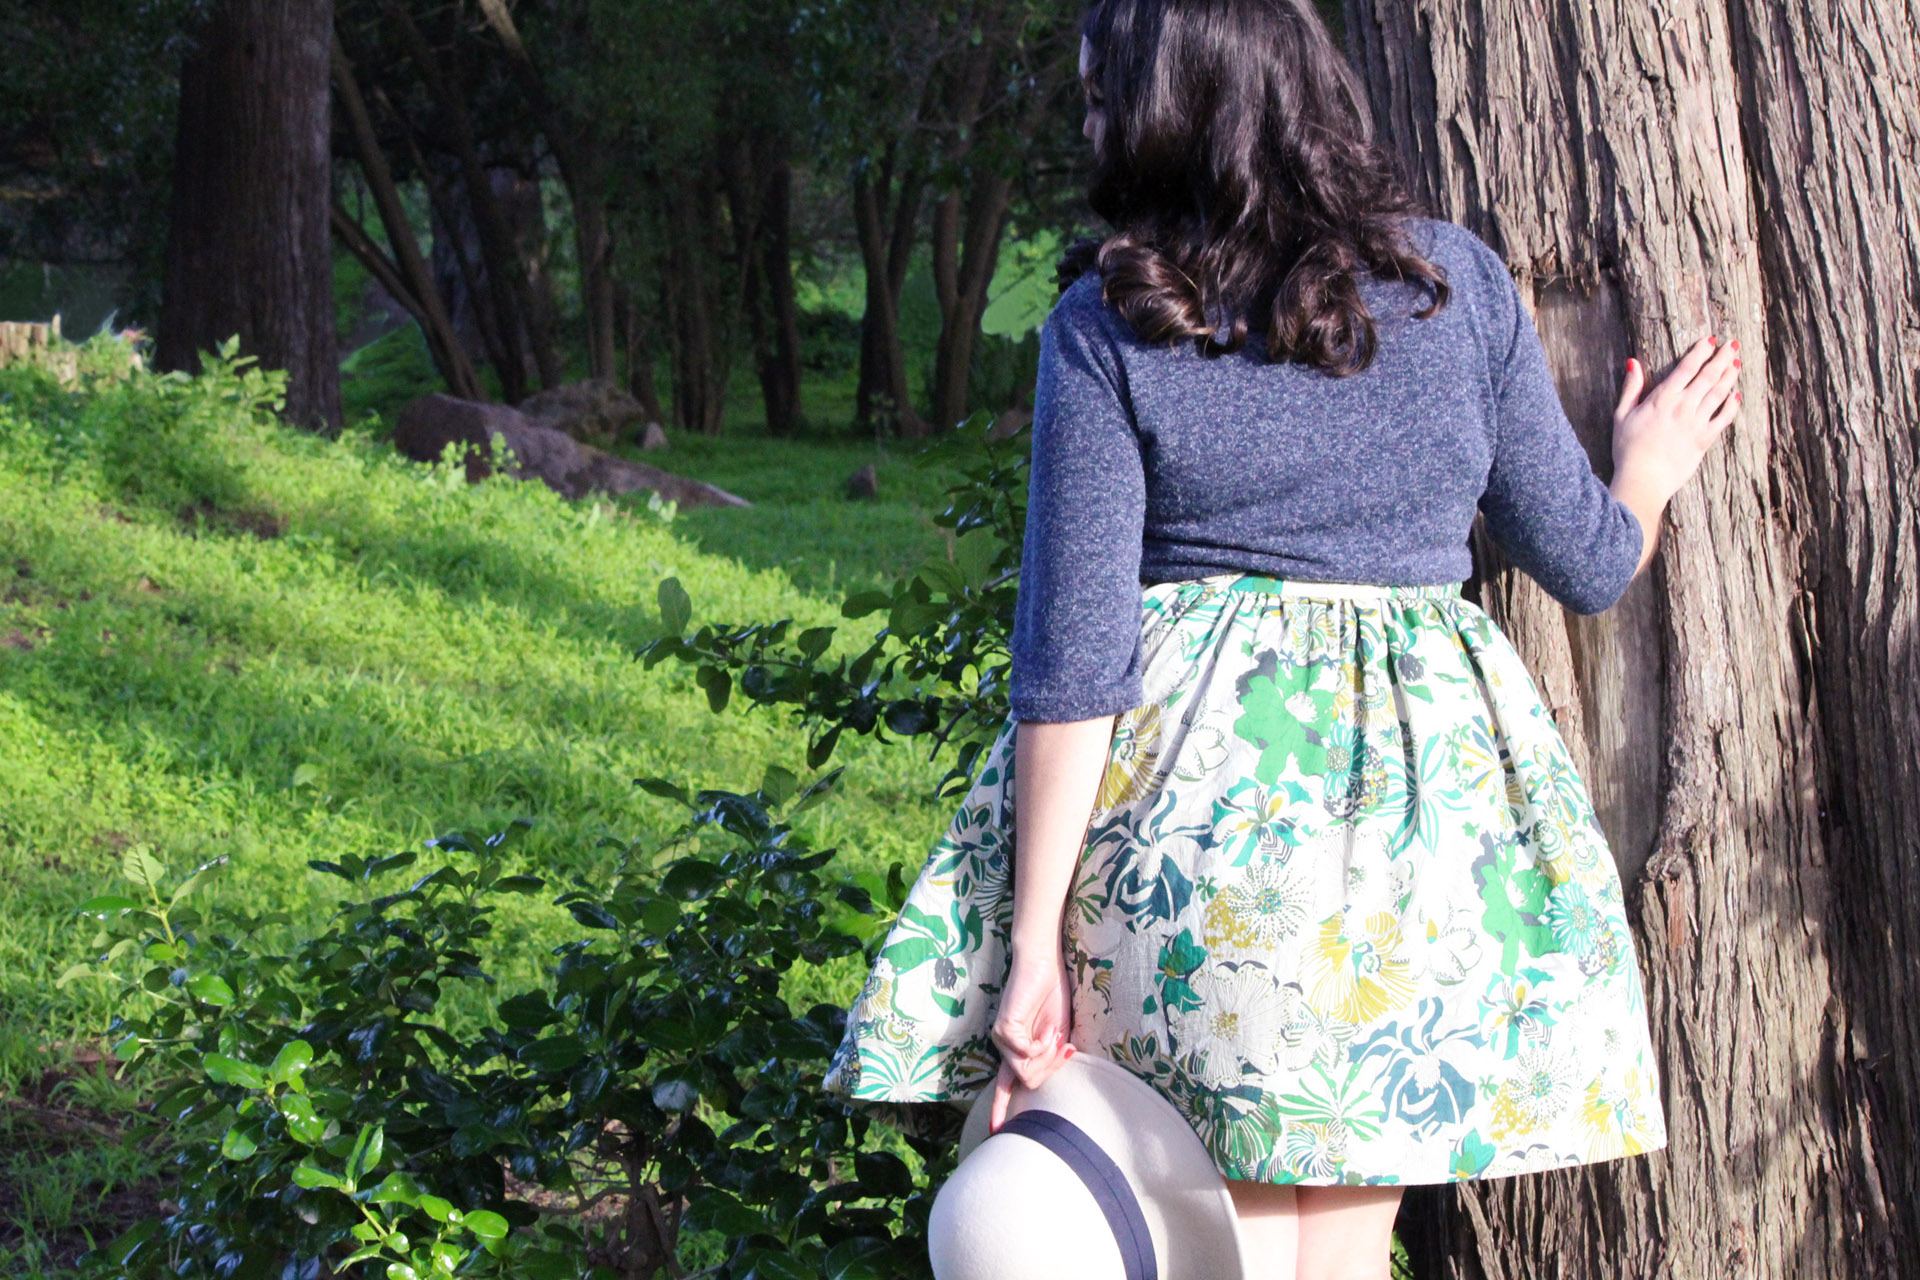
- Feeling happy and confident in the clothes I make
- Being able to know my body’s dimensions intimately for a better fitting garment
- Reducing the amount of pattern blending that I’ve been having to do since my weight has increased
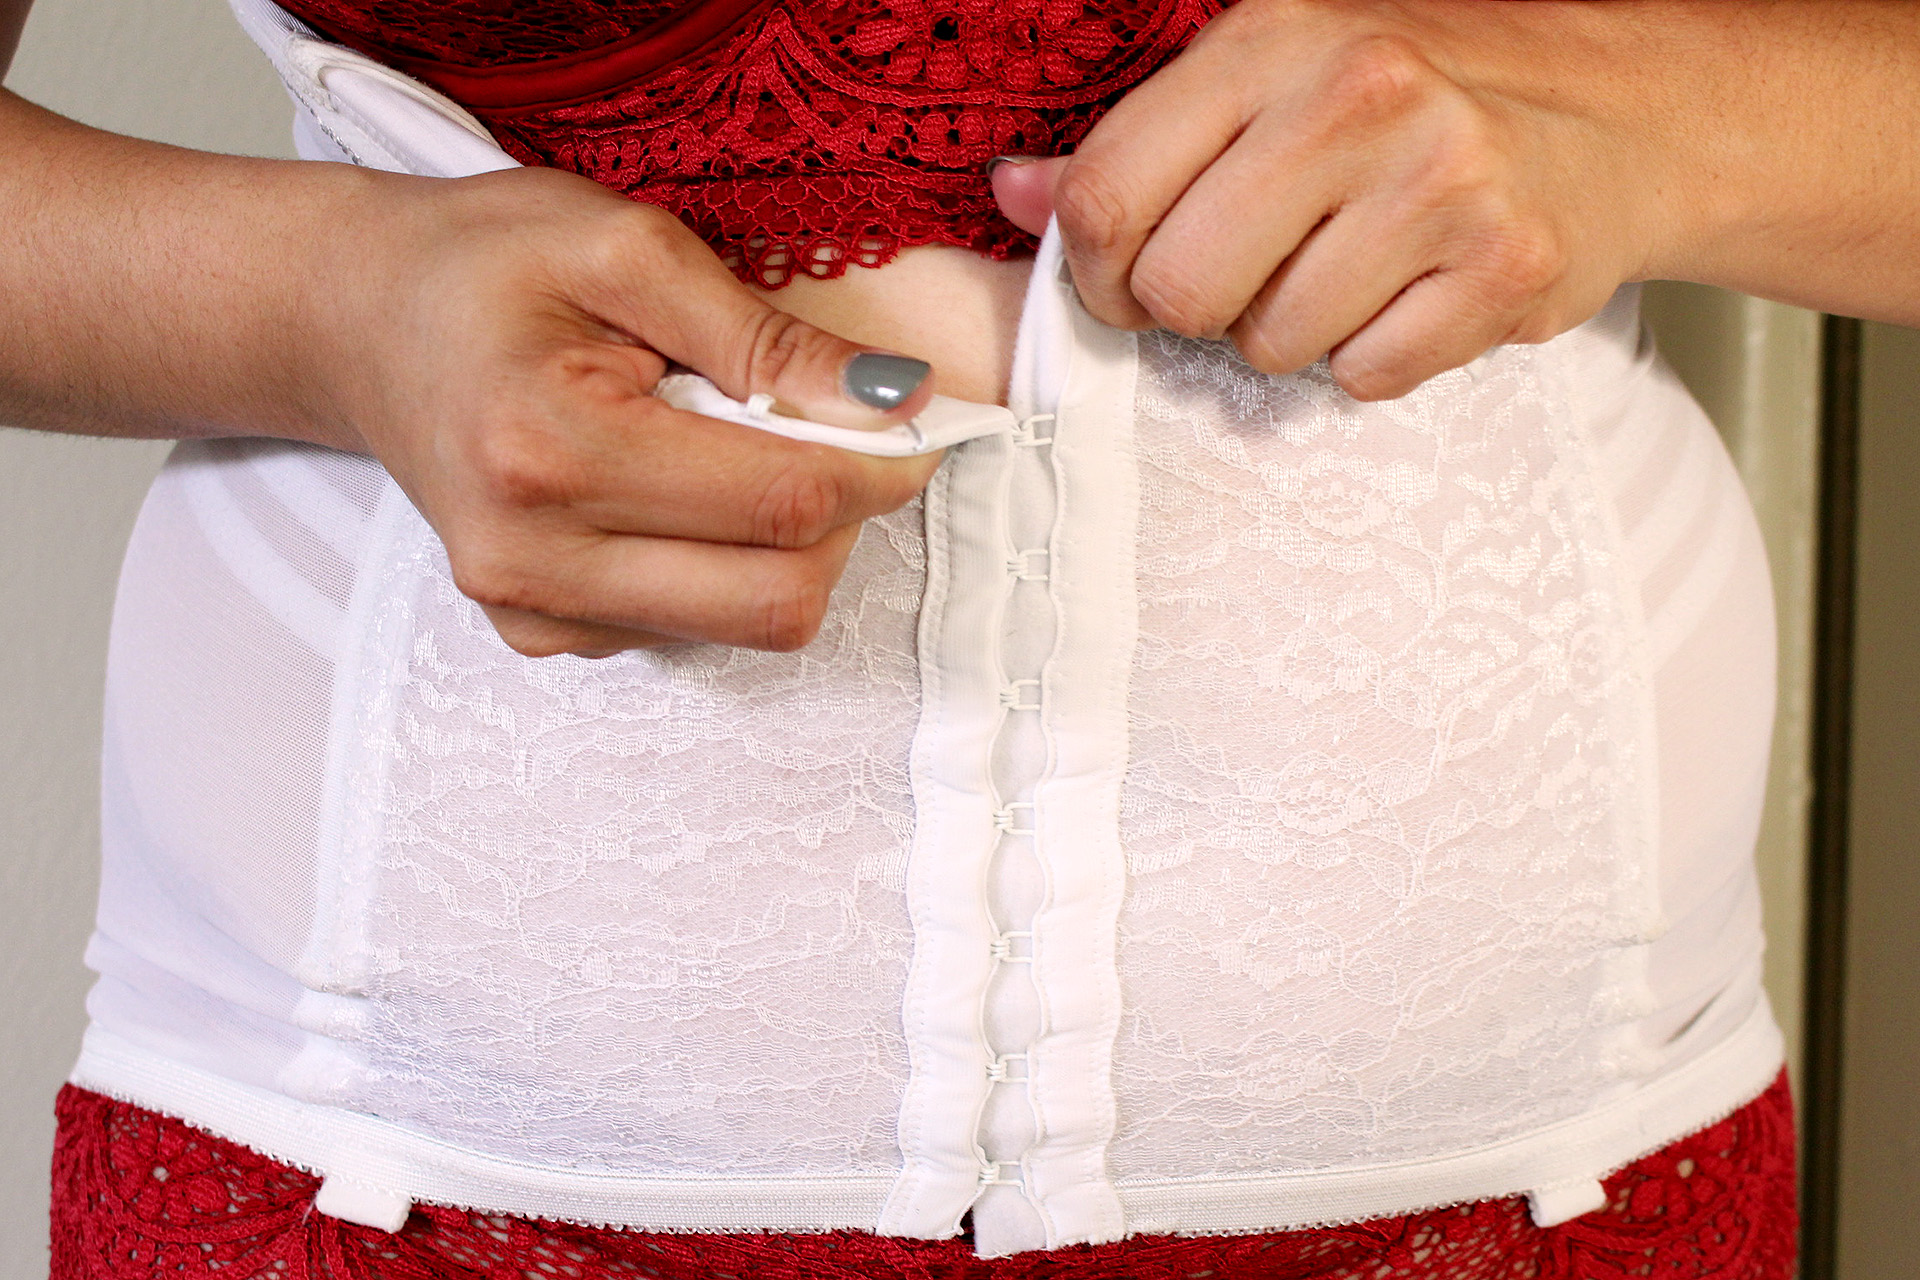
I’ll probably still rock a waist cincher– it’s super pin up and vintage and I enjoy it. I love the silhouette it creates and the authenticity it gives my garments. An additional challenge will be to flawlessly take in everything I’ve made over the past year.
I’m ready to experience some weightloss as a seamstress and am actually really looking forward to it. Here’s to a healthy and happy year for me!