Category: Dresses

Click the links below to jump to learn about sewing vintage style dresses from specific pattern companies:

  • Beautiful Clothes with NO Sewing Adjustments – Is it Possible?

    Beautiful Clothes with NO Sewing Adjustments – Is it Possible?

    Is it possible to make an amazing garment with no sewing adjustments? 

    Bianca from Vintage on Tap, standing in front of a green plant wall

    A garment that fits straight out of the envelope, with no sewing adjustments, with no problems, and fits you like a glove is a dream come true, even for me! 

    So I wanted to give it a shot.

    I wanted to find out if I could make a dress straight from the envelope and have it fit decently well.

    Bianca making a silly face with tropical fabric and the Gertie Cinch It Dress

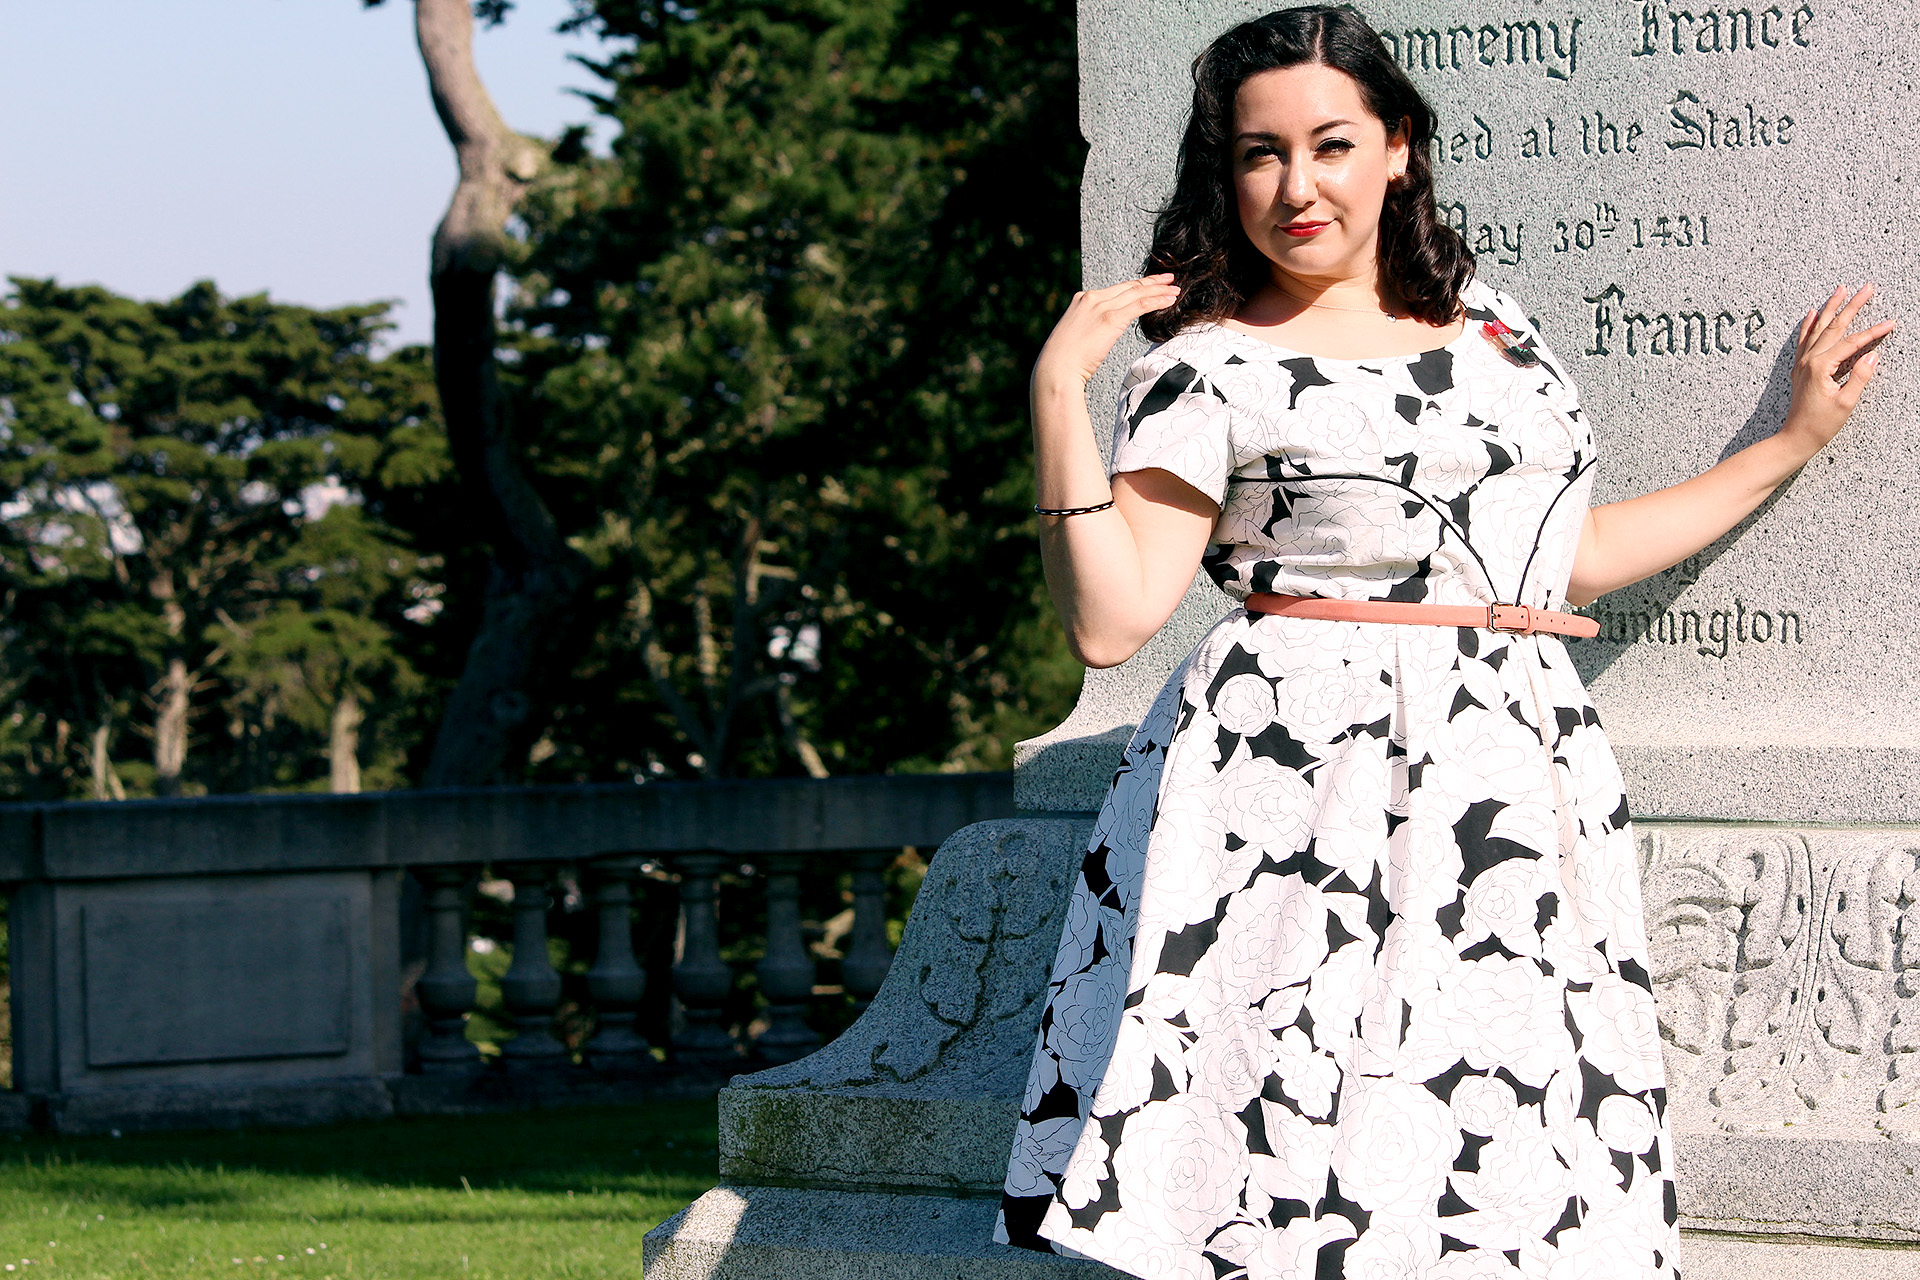
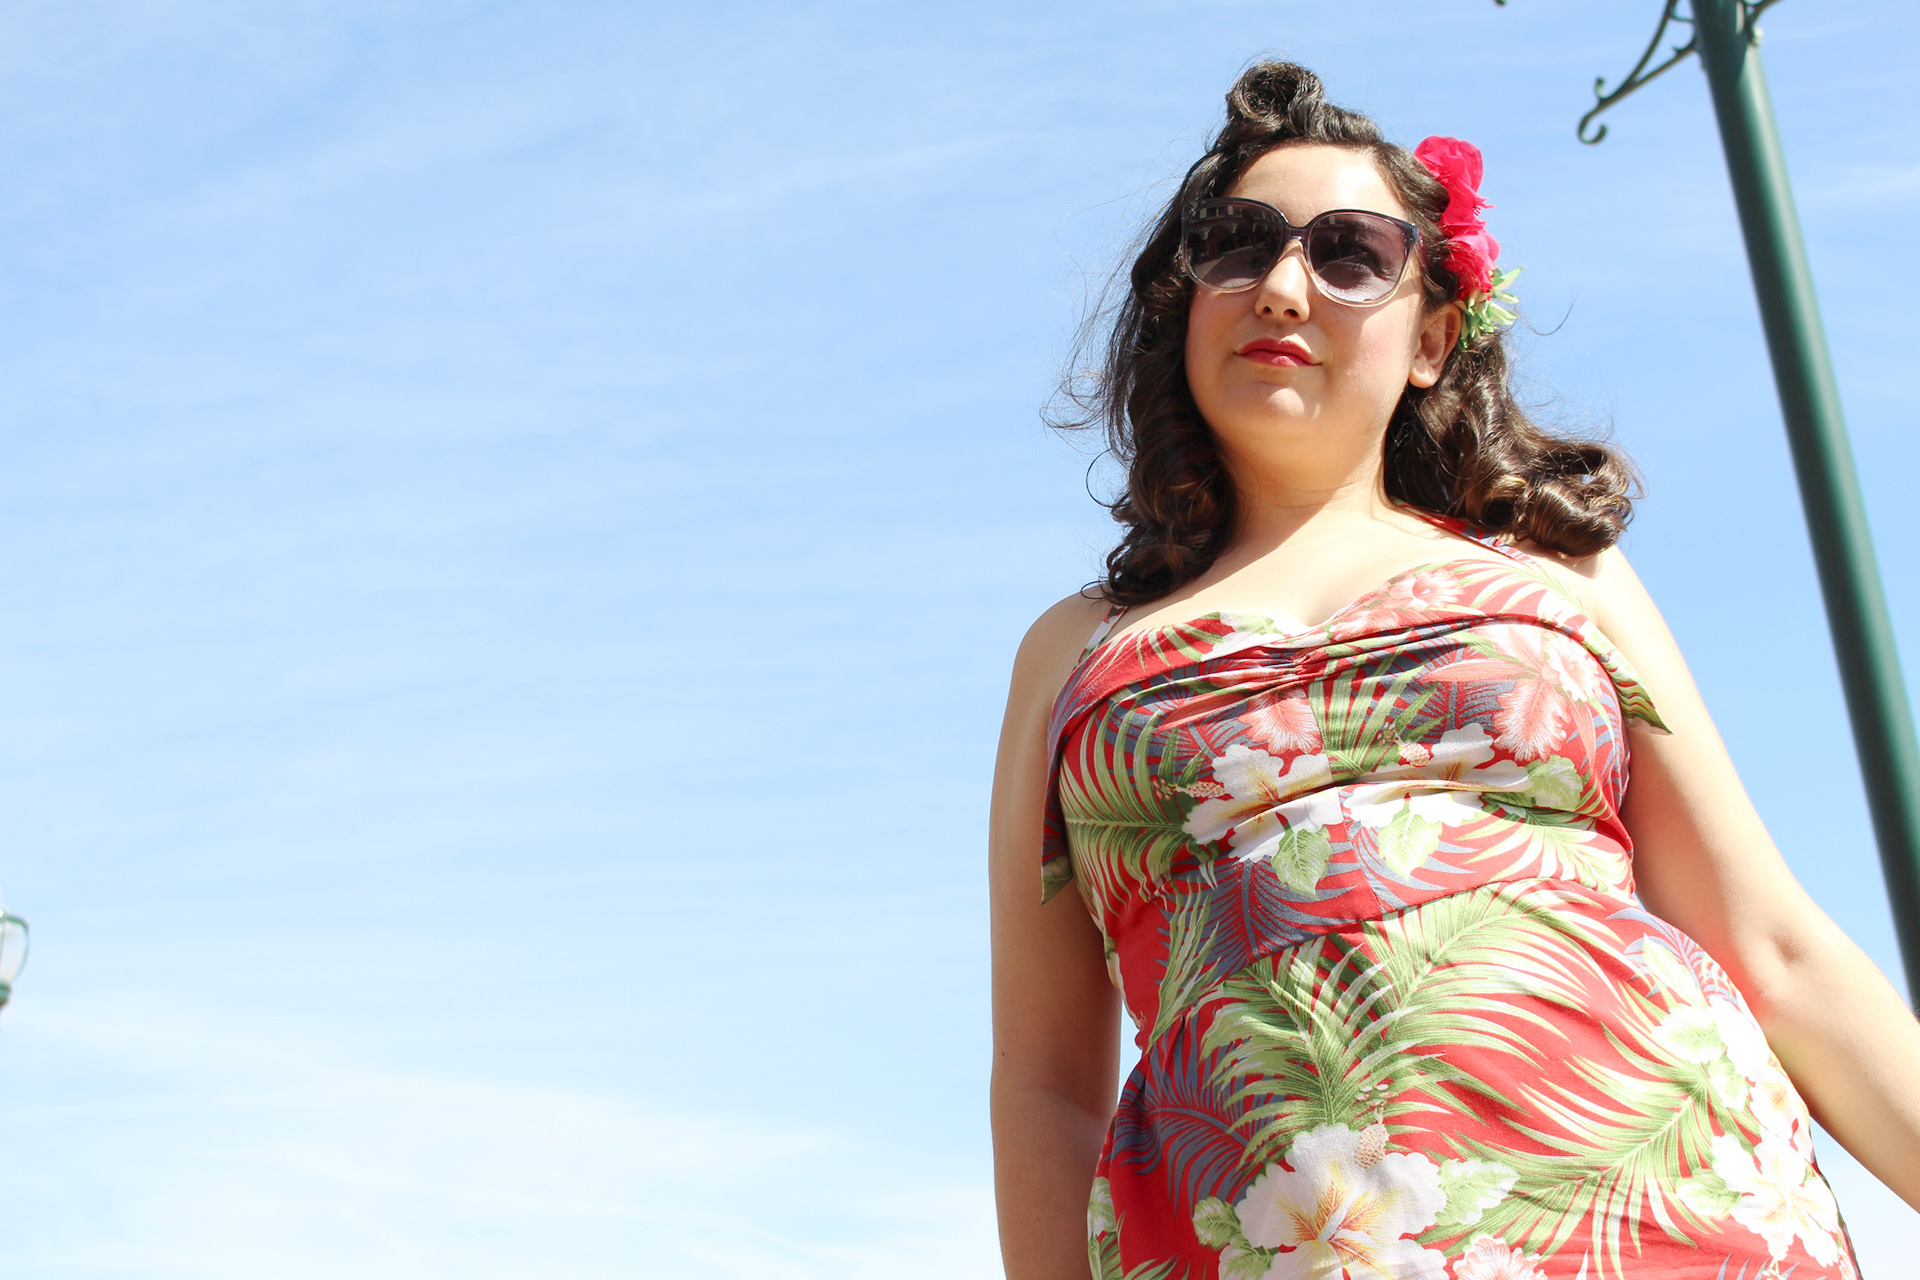
    I chose the Charm Patterns Cinch It dress for this experiment, released in Spring 2021. 

    What drew me to this pattern was: 

    • The dress was described as a simple pop-over dress, meaning it should fit decently ok*, as long as I followed the instructions.
    • If it worked out, it had many options for customization, with additional collars, sleeves, and pockets to make several versions.
    • The completed pieces I saw online looked like vintage-inspired dream dresses!

    *: I know pop over dresses are super simple, super generalized, and made to fit at a very basic level. My expectations were medium-to-low. I wanted to get in the general ball park and feel decent in the dress.

    The moral of the story?

    No sewing adjustments is a rarity if you already face regular sewing challenges, or experience the same fit issues over and over. 

    Bianca wearing a completed Charm Patterns Cinch It Dress, a popover dress.
    Vintage on Tap, standing outside on the sidewalk, laughing

    While the concept of the dress is brilliant, I face challenges very common for my body type, which were not easily addressed with most patterns straight from the envelope. This is extremely common for most people.

    For the Charm Patterns Cinch-It, these included:

    • My incredibly petite frame, which impacts my shoulder width. The shoulders of the Cinch-it dress were roughly 1.5” too wide for me, which would make it a challenge for well fitting sleeves, had I made those options.
    • My petite frame’s torso length, which impacts bodice length and waist placement. The shirring line on the dress started over 2 inches too low for me, and extended down over 4 inches– which for a combined 6” of Torso + Waist, put the bottom edge of shirring past the midpoint of my hips.
    • Overall dress length, which is easily remedied, but worth a mention.
    Close up of elastic waist of the Charm Patterns Cinch it Dress

    Is there a pattern out there you can make with no sewing adjustments?

    Yes and no! 

    Depending on the adjustments you may tend to do, there are pattern companies which may fit your body shape more closely due to the nature of their pattern drafting block.

    Bianca reading a book about Frida Kahlo outside

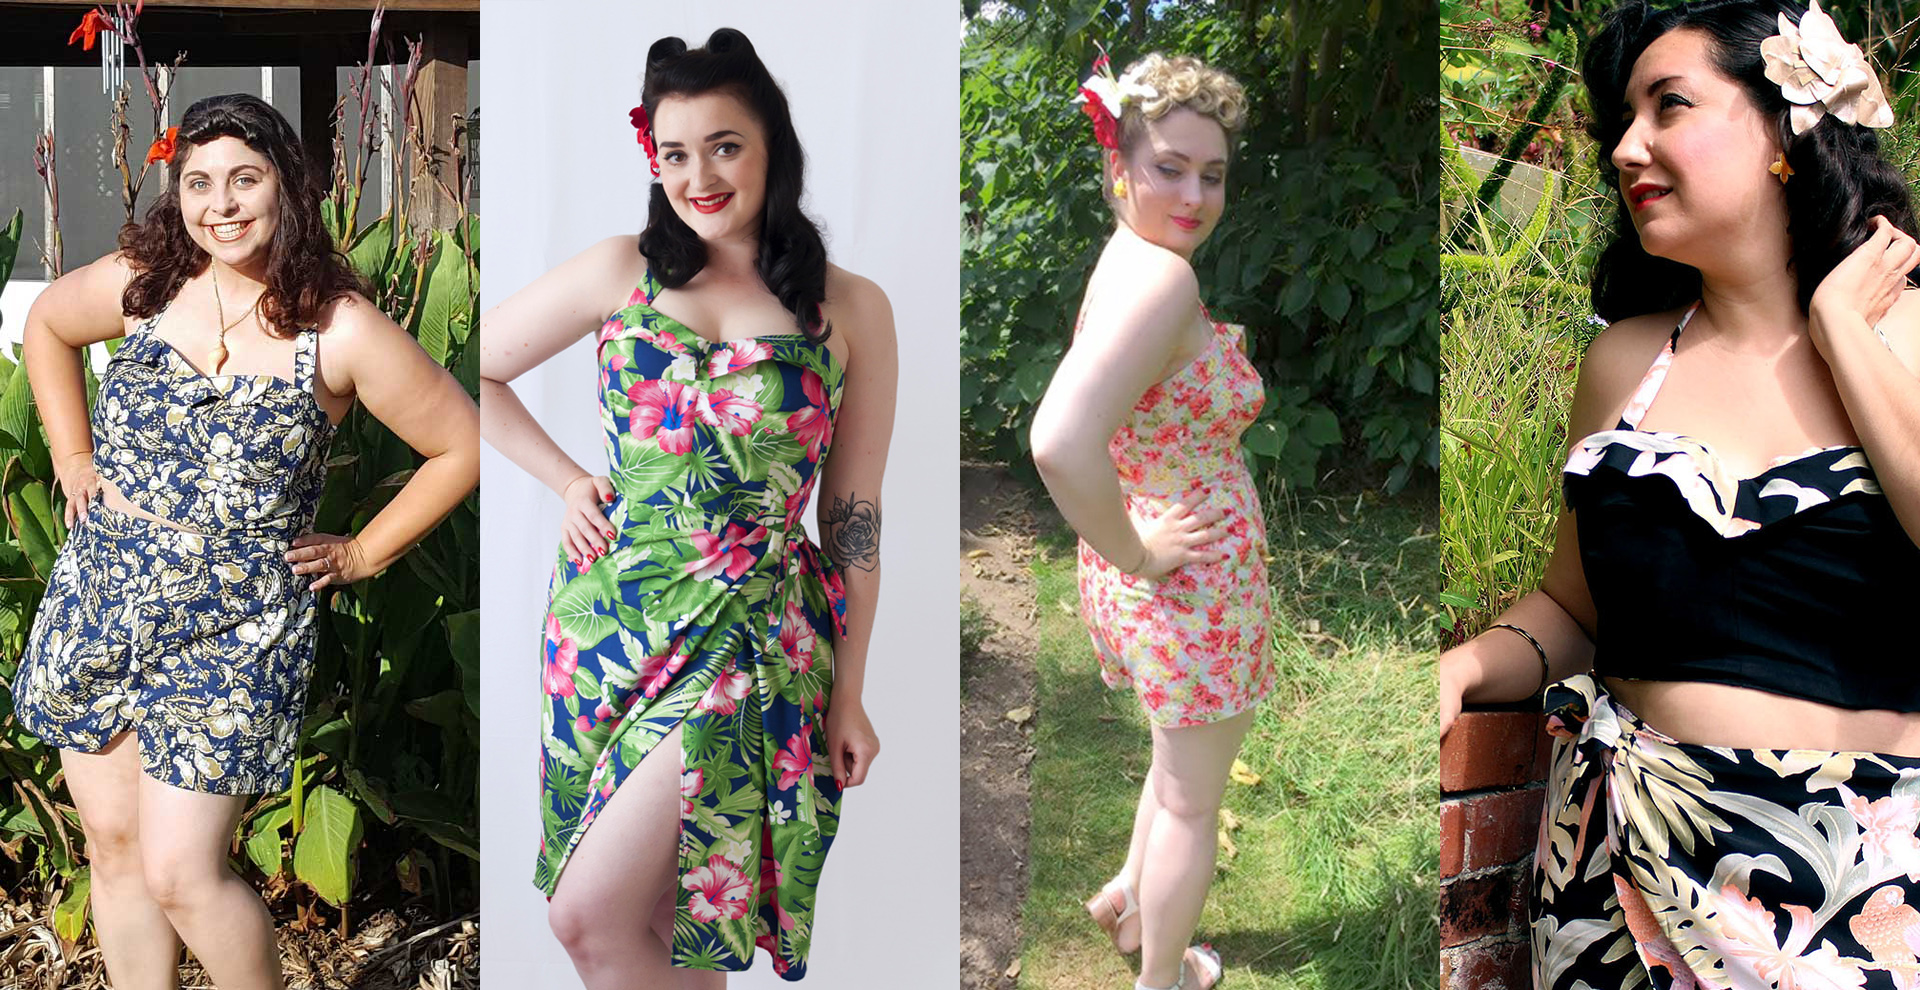
    For example, Seamwork Patterns tend to fit me decently well, due to a larger block cup size and shorter torso length. While alterations are still common, their drafting is naturally closer to my body shape. You can see this well in my Penny Dress, which fit like a glove.

    Video tutorial for retro sewing, the Colette Penny dress | Vintage on Tap

    For the most part, though, it’s rare to make a pattern straight from the envelope with no sewing adjustments. 

    This is perfectly normal!

    Remember that pattern companies draft to their audience’s average. Even the patterns marketed as “easy to sew” may need some slight adjustments for a better fit. 

    Looking to dip your toe into pattern adjustments, or do you also have a petite frame like me and a larger bust? My fitting videos might provide some insights on how to approach fitting challenges!

    Click the video below to start my Fitting Videos playlist!

    Is there a pattern you’ve sewn that fit straight from the package with no sewing adjustments?

    Please let me know in the comments!


    Is it Possible to Sew with No pattern adjustments? Bianca posing in front of a vine wall, wearing a handmade dress

    Disclaimer: This post contains affiliate links. I never recommend products I wouldn’t personally use. All opinions are my own.

  • How to Sew Vintage Vogue 9280

    How to Sew Vintage Vogue 9280

    Collar and front bodice of 1948 Vintage Vogue 9280 | Vintage on Tap

    Can we PLEASE take a moment to admire how epic Vintage Vogue 9280 is?

    If you follow me on Instagram, you know that I’ve been saying this since day one of getting my hands on this pattern. The collar slays me over and over– and I can’t get over how this dress looks like it stepped out of a movie scene in the 1940s.

    Everything about it is over the top, just how I like it. My inner Drag Queen is a happy girl ?

    Sewing tips and video walk through for Vintage Vogue 9280 | Vintage on Tap

    Spending the time sewing this vintage dress makes me appreciate all the intricacies of small techniques that build on one another.

    Full disclosure- there is a lot of hand sewing on this piece. But, there’s something absolutely beautiful about pulling out all the skills you’ve acquired over time, growing them into a head turner piece.

    I can imagine for someone attempting to sew for the first time, it can seem like an unreachable goal. But guess what- you can make it, too!

    1940s vintage sewing, Vintage Vogue 9280 video walkthrough | Vintage on Tap

    Is Vintage Vogue 9280 complicated? Yes and No.

    For intermediate and advanced seamstresses, this retro dress is not a challenge, but more of a process, meticulously working your skills into a finished piece. You can observe the instructions, nod your head in understanding, and jump in.

    For a beginner, though, this dress is a journey. Expect to take your time with it, completing one step at a time with patience, as you push your experience further. Make the dress with love and care, and accept the journey.

    Collar close up, Vintage Vogue 9280 | Vintage on Tap

    Machine sewing, Vintage sewing techniques and walkthrough | Vintage on Tap

    Are there things I would have done differently with this piece? Yes.

    I don’t have a laundry list of changes I would have done, but I have a few points you may want to consider as you’re working on this dress. None of them are particularly difficult, though, and the pattern is very straight from the envelope (and of course after you’ve done your fitting!)

    Vintage Vogue 9280, sewing walkthrough and sewing help | Vintage on Tap

    Consideration #1: Figure out what camisole you want to wear under this dress.

    As you can see in my completed photos, I wore a black camisole since it was the only piece of clothing that I owned that could work with this piece!

    Less than ideal.

    Remember that this dress completely opens up above the waist and is generally form fitting, so whatever is worn underneath should match in some capacity. Also, depending on your bust size, you may see more (or less) of the camisole.

    Vintage Vogue 9280, how to sew 1940s clothing | Vintage on Tap

    Consideration #2: Wear a slip or light petticoat under V9280 for a better flare on the skirt.

    No need to go crazy with a petticoat, but a couple layers of pleated tulle would be enough to give a little bit of a perk to the skirt while you’re swooshing around in it.

    This is particularly noticeable at the center front, where the skirt inadvertently creates a pleat and sort of “sticks out” if you’re standing still. Not really a problem, but a light pannier would be more than enough.

    Vintage Vogue 9280, sewing walkthrough | Vintage on Tap

    Consideration #3: Re-Fit the dress before committing to the side closure.

    This point is probably my biggest note, especially after having fitted the dress earlier in the video series.

    Essentially what you need to consider is that when you’re matching up the center front of the dress during the fitting, you’re assuming that the center front will overlap- but it doesn’t when worn.

    The center front is completely open once the piece is sewn up, causing the top of the dress to open up naturally and create a lot of extra ease in the side seams.

    Suggestions to “fix” the issue:

    • Stitch further up the center front seam, closing up the center front (will require drafting changes to the collar pattern pieces)
    • Attach some sort of closure to the back of the detachable collar piece, to close the center front and bring in the extra fabric at the side seams
    • Nip in the side seams, committing more to the open-front look (may require redrafting a muslin with the collar open more realistically)

    1940s Vintage Vogue 9280, learn about retro sewing with this video walkthrough | Vintage on Tap

    You can see in my images that there are some gathers/extra fabric under my breasts at the side seams, which I’m guessing is because of this design feature— as well as the weight of the collar (each lapel had 6 layers of fabric.)

    If I were to make this again tomorrow, I would opt for closing up the center front so I could kill multiple birds with one stone: not need a camisole and get a better fit under the breasts. 

    Hand sewing, Vintage sewing techniques and walkthrough | Vintage on Tap

    What I appreciated the most about Vintage Vogue 9280 was the lack of corner-cutting in the instructions.

    Hand sewing everywhere, bound button holes (watch the Bound Buttonhole video here), waist stay, side snaps, and sew-in interfacing! Of course, to a strictly modern seamstress, all of it may seem excessive, but if you’re into doing it old school, this pattern has it all.

    Even the shoulder pads are made from scratch. And they are amazing. I may have to make myself an additional set to properly finish my Butterick 6282 US Navy Dress.

    1940s Vintage Vogue 9280, learn about retro sewing with this video walkthrough | Vintage on Tap

    Pinning bodice, Vintage Vogue 9280 | Vintage on Tap

    Bodice interior, Vintage Vogue 9280 | Vintage on Tap

    Embrace the sewing techniques.

    Sew-in interfacing is (arguably) easier to deal with than iron-on. Simply cut and baste and in a similar way as underlining, and the “interfacing” lends its qualities to the shell fabric.

    In my case, I went with the pattern suggestion of using muslin, which lended a stable but soft feel to the collar pieces without being unnecessarily stiff.

    Collar close up, Vintage Vogue 9280 | Vintage on Tap

    Collar interior, Vintage Vogue 9280 | Vintage on Tap

    Take care to match up your collar pattern pieces as closely as possible. With this style of collar, the drama makes any inconsistencies obvious. If you’ve had to make changes at the pattern level, be sure to walk your pattern pieces until you’re confident you’re good to go.

    Back view, Vintage Vogue 9280 | Vintage on Tap

    The only modern change I would make to the materials list would be a square piece of iron on interfacing at the center back pleat.

    Unfortunately the weight of the Vogue 9280 skirt is immense and I had to go back several times to try and reinforce that pulling point.

    You can see from the drag lines, the weight of the skirt is being yanked down at that point, even after reinforcing the pleat to the center back darts.

    Vintage Vogue 9280, how to sew 1940s clothing | Vintage on Tap

    All in all, Vintage Vogue 9280 was challenging but in a good way.

    When I unfolded the directions, I turned to look at Jose and said something to the effect of… “This one is going to be a biggie.” — it didn’t disappoint and is probably one of the longest videos we’ve ever filmed!

    For such a luscious retro piece, I’m happy to own it and to be able to pull it out of my closet for a night out with friends, sipping champagne and being fabulous.

    Vintage Vogue 9280, sewing walkthrough | Vintage on Tap

    1940s vintage sewing, Vintage Vogue 9280 video walkthrough | Vintage on Tap

    Pin this Post!!

    How to Sew Vintage Vogue 9280, from the 1940s. This is a full video walk through on how to make this vintage reproduction dress. | Vintage on Tap


    This post is part of the Vintage Vogue 9280 Video series! Check out the other installment of this series by clicking the image below:

    Sewing Vintage Vogue V9280 video series! This series breaks down the fitting and sewing process for this 1940s piece | Vintage on Tap

    Subscribe to Vintage on Tap on YouTube!

    Thank you, McCall’s Pattern Company, for making this video series and collaboration possible!

    All the Places, All the Stuff!

    Never miss a post by following me on Bloglovin’!
    Or go mobile- I’m on Instagram and YouTube!

  • The Vintage Vogue V9280 Sewing Series!

    The Vintage Vogue V9280 Sewing Series!

    I’m happy to announce my new video series, collaborating with McCall’s Pattern Company!

    My continuing collaboration with McCall’s features the newest release, Vintage Vogue V9280, originally released in 1948.

    From the Vogue Patterns website:

    Close fitting dress has front princess seams, inverted pleat at center back and detachable collar and sleeve facing.

    Breaking it down, the piece is all the glamour and fashion of the late 1940s, including shoulder pads, side closure, bell sleeves, and full retro detailing all along the interior. 

    Vintage Inspired Coatdresses, inspiration for V9280 | Vintage on Tap

    Coat dresses are absolutely fabulous!

    Living between the shape and structure of a coat– and the ease and comfort of a dress, coat dresses are quintessentially vintage inspired. Kate Middleton rocks them on a regular basis and finding vintage patterns for these sorts of designs is relatively easy.

    I’ve gone ahead and collected more inspiration images over on Pinterest, if you’re looking for more examples of this sort of design.

    The main thing to consider with this sort of garment is that the fabric makes all the difference.

    This Vintage Vogue V9280 video series will break down the sewing process!

    Similarly to my McCall’s M7625 Video Series, this series will include three videos:

    1. Fitting video, breaking down potential fitting concerns
    2. Technique video, deep diving into one specific technique that applies to this pattern
    3. Sewing video, going step by step through the sewing process

    For reference, these are my measurements:

    • Bust: 41in/104cm
    • Waist: 33.5in/85cm
    • Hips: 42.5in/108cm
    • Torso Length: 15in/38cm
    • Height: 5’2?/157cm

    Please note: Not all pattern adjustments I make will be applicable to all people. However, I will be using mine throughout the process to give people an idea of potential hurdles and potential adjustments to attempt. Even if you don’t match my measurements, the video will definitely help get you in the mindset for pattern adjustments.

    Sewing Vintage Vogue V9280 video series! This series breaks down the fitting and sewing process for this 1940s piece | Vintage on Tap


    To view more from this series, please click the image below!

    How to fit Vintage Vogue 9280, a retro dress from 1948 | Vintage on Tap

    Sewing Bound Buttonholes through a facing or lining, video tutorial and walkthrough | Vintage on Tap

    How to Sew Retro Clothing - Vintage Vogue 9280 Sewing Walkthrough | Vintage on Tap


    Pin this Post!!

    Sewing Vintage Vogue V9280 video series! This series breaks down the fitting and sewing process for this 1940s piece | Vintage on Tap

    Thank you, McCall’s Pattern Company, for making this video series possible!


    All the Places, All the Stuff!
    Never miss a post by following me on Bloglovin’!
    Or go mobile- I’m on Instagram and YouTube!
    Subscribe to Vintage on Tap on YouTube!

  • Vintage Simplicity 8252 Winter Dress

    Vintage Simplicity 8252 Winter Dress

    Simplicity 8252, chiffon and crepe fabric | @vintageontap

    Admiring the lights on Fremont Street, Vintage Simplicity 8252 | @vintageontap

    Minor adjustments! Simplicity 8252 | @vintageontap

    Simplicity 8252 pinup dress, back view | @vintageontap

    Simplicity 8252 vintage dress | @vintageontap

    Pinup girl casual evening, Las Vegas, Simplicity 8252 | @vintageontap

    Simplicity 8252, vintage fur coat, pinup girl in Las Vegas | @vintageontap

    Simplicity 8252 is beautiful- but your sewing experience will be tested. 

    I haven’t had a love-hate relationship with a pattern since Butterick B5814 earlier this year– and that’s saying something. With my cocktail dress back in April, there was a lot of blood, sweat, and tears as I sat at my sewing machine for hours and hours, fiddling with boning and uncooperative fabric. Full disclosure- my YouTube vid on B5814 definitely had its share of struggles. Simplicity 8252 was in that same vein, except not as dramatic. Ok well—- maybe a little dramatic.

    The bright side is that Simplicity 8252 is beautiful and the struggle was worth it. I bought this pattern to kick off the holiday season here in the United States but unfortunately, even though I started it back in November, it’s barely finished! The fabrics selected are absolutely outside the norm for vintage-casual. I chose a viscose crepe and polyester chiffon in the color way “moss/nutmeg” from Berkeley’s Stonemountain and Daughter Fabrics. To be honest, I think my main struggles came from the fussy-ness of the fabrics.

    The pattern itself was relatively straight forward to adjust to my measurements. On the dress itself, I performed a FBA, rotating some of the dart fullness to the center pleats. Looking back, I should have also lowered the pleats further down the center front. I also changed the side seam darts to French darts to accommodate my lower bust. For both the redingote and dress I did a swayback adjustment, shortened the torso and skirt length. If you follow me on Instagram and watch my Stories, I did a short series of snaps back in November showing each one of the changes in action (make sure to follow me on IG to not miss out future tutorials!)

    The instructions for Simplicity 8252 were written in a pretty straight forward way, which was a blessing since I spent the majority of time fighting with the fabric. The viscose crepe unraveled an insane amount and was prone to stretching out all around, even with stay stitching. Looking back on it, I should have underlined the entire thing and used organza to stabilize it. After I stitched up the entire dress, I actually had to take apart the side seams in order to take it in, since it had stretched a lot in the width, too. Add to that that I don’t own an overlock machine and finished all the seams with rayon seam binding, sewed in by hand (yikes!)

    The chiffon redingote was all finished up with French seams and slip stitches throughout to wrap up any exposed seams. Unfortunately…

    Accidental cut into my Simplicity 8252 | @vintageontap

    I cut into the main fabric when I was trimming a seam. When this happened, the piece was too far into the entire finished garment that it was too late to turn back and resew that piece. Goes to show that no matter how experienced you are, mistakes happen. In a moment of REALNESS, I got emotional, put the redingote away, and couldn’t look at it for at least 24h. But, the show must go on. Slapped a belt on it and as Tim Gunn says, Made it Work.

    Simplicity 8252, completed vintage dress | @vintageontap

    Now that December is over and done with, I can put it in rotation in January. But I’m glad that in the end it worked out.

    Disclaimer: This post contains affiliate links :)


    Do you like what you see?

    Never miss a post by following me on Bloglovin’!
    Or go mobile- I’m on Instagram, YouTube, and Snapchat (?vintageontap)!
  • How to Sew a Pinup Holiday Dress, Video Tutorial

    How to Sew a Pinup Holiday Dress, Video Tutorial

    Butterick B5603 Pinup dress, silk dupioni fabric from Britex Fabrics | @VintageonTap

    Every girl into 50s fashion should sew a pinup holiday dress.

    In sultry emerald green, sequin black, or shimmery white, sewing a pinup holiday dress is a good excuse to pull out the Fancy Fabric.

    For the version featured in my YouTube tutorial, I used silk.

    I wanted shimmer and fabric with body, so silk dupioni was an amazing choice. It holds its shape super well and rustles in a very luxurious way when I walk. For me, this immediately became a dry-clean only dress, so super special care taken from beginning to end on construction. In this particular fabric, the warp and weft are two different colors, so when I move in the sun, it changes colors.

    Butterick B5603 Pinup dress, silk dupioni fabric from Britex Fabrics | @VintageonTap

    Butterick B5603 Pinup dress, shoulder tie | @VintageonTap

    The pattern I selected for my pinup holiday dress was Butterick B5603, from the 1950s.

    Click to buy the pattern!

    Buy this beautiful Butterick pattern and then watch my sewing tutorial to make your own! | Vintage on Tap

    I decided to go with View B for this dress, with the V-neck (and V-back) and tie top shoulders. There was just something about how elegant the design is that really drew me to it. Also, the nipped in princess lines at the waist are attractive and give a natural slenderness that would look demure and very cute during holiday celebrations.

    If you’re considering this pattern, please read my sewing tips down below!

    Butterick B5603 Pinup dress, back view | @VintageonTap

    Butterick B5603 Pinup dress, Union Square Christmas Tree | @VintageonTap

    Step One: Pay special attention to “Special Occasion” fabrics.

    Before starting to sew, determine the look and feel of the fabric you want to use. If you have a fabric swatch book (click here to learn more about fabric swatches!), look over the options that you may want to work with.

    Questions to ask yourself:

    • Does it have the right texture and drape for the pinup holiday dress you want to make?
    • Have you had the opportunity to work with the fabric before?
    • Will this fabric be dry-clean only, or can you hand or machine wash it?

    Going through the steps to investigate your fabric will help determine how much time, effort, and even how much difficulty you might have in stitching up your pinup holiday dress!

    It’ll also determine the internal foundation that will need to be worked into the sewing process, to make sure that your dress holds its shape and stands the test of time with nights out dancing!

    Butterick B5603 Pinup dress, silk dupioni | @VintageonTap

    Step Two: Read the Underlining and Silk Organza cheat sheet

    After you’ve selected your fabric, spend a few minutes reading the cheat sheet I created for this project. The FREE Underlining and Silk Organza cheat sheet outlines directions for reinforcing and strengthening your garment from the inside out.

    These vintage techniques are essential to sewing a pinup holiday dress. The cheat sheet goes into:

    • How to underline fabric. This is useful when working on special occasion fabrics that might be slippery or difficult to work with. Underlining will make them more stable so you can sew them a lot more quickly.
    • Reinforcing your seams with silk organza. Reinforcing them will reduce stretching on the bias, which can cause the neckline (such as the V-neck of this Butterick B5603 dress) to warp and become distorted.

    Both techniques are useful even past sewing a special occasion dress- they work over all sewing types and are techniques you’ll want to know if you want your garments to last over time.

    To download the cheat sheet, just fill out the form below!

    FREE Checklist PDF!

    Get my checklist for Underlining and Stabilizing with Silk Organza FREE and sent to your inbox!

    Powered by Kit
    Butterick B5603 Pinup dress, made in Britex Fabrics | @VintageonTap

    Step Three: Don’t Rush It.

    Simple, but easy to over look when things are crazy in your corner of the world. Having a festive pinup dress to wear at the end of the year is fantastic, but speed sewing should not be a practice when you’re working on materials that may be more finicky than the standard quilting cotton.

    • Cut fabric one day, start sewing the next. Spending one day cutting out your fabric will ensure that you don’t rush into snipping into the Nice Fabric and accidentally cut things incorrectly. Special occasion fabric can occasionally be costly, and giving cutting time its own time and space will make a difference.
    • When you start sewing, take frequent breaks. Every hour get up to stretch, drink a glass of water and maybe go outside for some fresh air.
    • Don’t work on your pinup holiday dress for more than four to five hours in a day. Similar to the Take Frequent Breaks note, working on the dress in small chunks of time guarantees that when you see it, you’ll be in a good headspace and able to tackle it with fresh eyes every time. This is especially important if you’re working with fabric that can be new to you and/or expensive.

    Butterick B5603 Pinup dress, made in Britex Fabrics | @VintageonTap

    This pinup holiday dress is ready for Christmas or Valentine’s Day.

    This dress was sewn in conjunction with Britex Fabrics, who kindly donated a gorgeous silk dupioni that shimmers gold in the light. Please note that the color fabric I have is SOLD OUT! But there are still plenty of dupioni options available on the Britex website.

    Vintage sewing techniques in this pinup dress include extreme (!!) use of silk organza throughout to prevent warping at the neckline, waist seam, and zipper insertion point. Also, rayon seam binding was used quite a bit. To add extra stability to the entire piece, though, I used silk charmeuse as underlining.

    Be sure to watch the sewing walkthrough video to see how I made this pinup holiday dress from start to finish!

    How to Sew a Pinup Holiday Dress! Video Tutorial and sewing tips | Vintage on Tap

    My B5603 holiday dress was also sewn as part of a collab with…

    Allie J!

    Butterick B5603 dress, made by Allie J | @VintageonTap

    Butterick B5603 dress, made by Allie J | @VintageonTap

    Butterick B5603 dress, made by Allie J | @VintageonTap

    Doesn’t her dress look amazing?

    We decided to tackle the same pattern and give it our own twist. Allie chose version A of Butterick B5603 and I chose version B. Both versions feature a handpicked zipper, and a gored, flared skirt. The instructions for both dresses are nearly the same… except for the approach of the bodice which can give this pattern a totally different feeling!

    Allie goes into her thoughts and experiences sewing version A of this pattern over at her blog; please go check it out!

    I love the textured fabric Allie used for her dress, which gives her garment a super luxe feeling. It’s absolutely her style- very timeless and very classy (reminds me of something First Lady Michelle Obama might wear!) I also like the addition of the second pleated detail on the waist line, which breaks up the long line on the skirt. Allie also runs a mailing list where you can keep up with her different projects and get a behind the scenes look into her life. Click here to subscribe to keep up with Allie! 

    Pin this Post!!

    How to Sew a Pinup Holiday Dress! Video tutorial with tips for making a beautiful dress at home | Vintage on Tap

    Subscribe to Vintage on Tap on YouTube!

    Disclaimer: This post was made possible by Britex Fabrics :) Also, this post contains affiliate links.


    Do you like what you see?

    Never miss a post by following me on Bloglovin’! Or go mobile- I’m on Instagram and  YouTube!

  • The Colette Rue Dress

    The Colette Rue Dress

    Wearing Colette Rue Dress | @vintageontap

    Sitting at the Legion of Honor in San Francisco, Colette Rue Dress | @vintageontap

    Next to Joan of Arc, Colette Rue Dress | @vintageontap

    Modeling the Colette Rue dress made with supplies purchased at Mood Fabrics | @vintageontap

    Side view of the Colette Rue dress made with supplies purchased at Mood Fabrics | @vintageontap

    Back view of the Colette Rue dress | @vintageontap

    Colette Rue dress at the Legion of Honor in SF | @vintageontap

    The Colette Rue dress with the Golden Gate Bridge | @vintageontap

    The new Colette Rue dress is beautiful.

    Can I say how much I needed this dress? Stitched up a few days before my 30th birthday, everything on this dress came together in a breeze and was a reaffirming piece about how far I’ve come in my sewing journey. I’ve been sewing for over half my life and seeing how quickly and easily this came together for me was a relief, to be honest.

    The Colette Rue dress features these pretty pleated details on the bust line and super fun piping detail to make the bodice POP. The piping is listed as optional, but if you’re making this for yourself, definitely include it. The fabric I chose for my piece is pretty busy and the piping really breaks up the pattern without being “too much.”

    I spoke about this fabric in a previous video, my August 2016 Haul, so definitely check that out to hear more about it and how I picked it up at Mood Fabrics in Downtown LA.

    Other details about this dress that give it a luxe feeling is that its completely lined (!!) and features tons of hand sewn details. The hand sewing part of it makes me extremely happy, though, because they’re details only I get to see and appreciate.

    The fit is fantastic but I did have to do some random fidgeting at the paper pattern level regardless. My video goes into a little more depth about it.

    Either way, I love this piece and can’t wait to wear it again to go out dancing this weekend!

    Disclaimer: This post was made possible by Colette Patterns who kindly donated this pattern to review :) 


    Do you like what you see?

    Never miss a post by following me on Bloglovin’! Or go mobile- I’m on InstagramYouTube, and Snapchat (?vintageontap)!

  • Video: The Retro Tiki Collab, Patterns by Gertie B6354

    Sewing for the Retro Tiki Collab, Patterns by Gertie B6354 | @vintageontap

    Black version of the Retro Tiki Collab piece, Patterns by Gertie B6354 | @vintageontap

    Patterned version of the Retro Tiki Collab piece, Patterns by Gertie B6354 | @vintageontap

    For pinup girls, Patterns by Gertie B6354 is a must have

    This video features my tips for making this beautiful 3-piece ensemble reversible in both a beautiful rayon and black poly/cotton blend. Full disclosure, this video definitely took a very long time to shoot; you’ll see multiple outfit changes over the course of the video. I think all in all, it took me about a week and a half as I worked an hour here, an hour there.

    The project was fun, though. Patterns by Gertie B6354 has been sitting in my pattern collection since June 2016 and it was nice to be able to pull it out so soon. There are many patterns which have been sitting in my collection for years that still haven’t seen the light of day- B6354 was put into use right away!

    If you missed out on my previous post, this video was made as part of the Retro Tiki Collab with the beautiful and smart Christina from Gussets and Godets, Abi from The Crafty Pinup, and Akram from Akram’s Ideas. Please check out their individual blogs to read more about their versions of this pattern and their respective tutorials!


    Disclaimer: This post contains affiliate links :)

  • Completed: The Retro Tiki Collab, Butterick B6354

    Completed: The Retro Tiki Collab, Butterick B6354

    Vintage on Tap’s first collaboration- Butterick B6354 is FABULOUS!

    Can I say how happy and excited I am to have worked on this collaboration? Featuring 4 lovely ladies in the retro and pinup blogging world, sewing the same pattern in their own unique way. We each decided to give Gertie’s Butterick B6354 our own twist and its been so fun to see how the pattern has been interpreted and styled!

    Why this pattern? It’s summer time and tiki seems to be all the rage this time of year in the pin up sewing world. And besides, I was all ready itching for another tropical drink after my last tiki dress a while back.

    For my version of Butterick B6354, I made my piece… reversible!

    Bianca at Vintage on Tap wearing the reversible Butterick B6354 | @vintageontap

    The reversible tiki set, Butterick B6354 | @vintageontap

    The reversible tiki set, Butterick B6354 | @vintageontap

    Sewing a reversible garment can be fun, and the amount of hand sewing should definitely not turn you off from trying it! There’s only a few special considerations to take into account for this particular piece.

    #1: Plan your reversible from even before Step One

    Reversible Tiki outfit, Gertie's Butterick B6354 | @vintageontap

    No, you can’t just cut into your pretty fabric and go! Take a look at the pattern pieces and directions and decide what can and can’t be reversible. Locate what will be tricky and will need work arounds and test those out on a muslin first. For this piece, I knew that the back closure, interior boning, straps and cup decoration would need extra consideration and need to be made differently in order to be fully reversible.

    #2: Both fabrics on a reversible piece have to have to bought purposefully and thoughtfully

    Reversible Tiki outfit, Gertie's Butterick B6354 | @vintageontap

    Making this piece reversible means there is no real lining fabric and that means that every side of the piece has to look good! There’s no way to hide a funky sewing fumble, either. For this piece, I opted to hand-sew anything that might be questionable, including the top stitching and back closure. Also, try to make both fabrics a similar weight and feel or the piece will not behave properly.

    #3 Decide what parts of the pattern can work double time

    Reversible Tiki outfit, Gertie's Butterick B6354 | @vintageontap

    The bias decoration on this piece is the same on both sides and merely flips the opposite way to decorate the other side. There are some parts of a reversible that just have to do double duty, there’s no way around it. On this piece, I made sure to carry my top stitching underneath the band to allow it to roll over a little bit more easily. A lot of the techniques that might make the bodice more stable (under stitching, etc.) had to be skipped in order to protect the integrity of the reversible.

    #4 The closure can be the hardest part to make beautiful

    Buttonback Closure, Butterick B6354 | @vintageontap

    Don’t mind the wonky skirt in this picture, but instead focus on what will work to make the piece look good at the closure. This pattern called for a zipper, but most reversible zippers are made for winter coats and not suitable for this sort of piece. I decided to go with flat buttons that wouldn’t add too much bulk to the bustier from either side. The result looks sleek and purposeful.

    Would I make this piece again? Totally! For my particular piece I had to do a FBA on the bolero and bustier, but I may have just slightly overdone it on the bustier. Either that or I need to start rocking a bigger push up bra to fill in the cups a little bit more! Next time, though, I would take the cups in just slightly to have them not so “open” at the top.

    The bolero was a breeze to sew, though, and I actually all ready want a bunch for regular wear. I can see making this in a wool fabric with a colorful lining for date nights.

    The sarong was nice and super comfy; I actually would love to make it in a real casual fabric for an upcoming vacation, too!

    There’s so many ways to update and change this piece to suit your style, though. Check out the other posts in the collab for Butterick 6354 to learn about different ways to make it a little bit more your own. 

    Meet the ladies who participated in the Retro Tiki Collab!

    Abi from The Crafty Pinup

    Abi wearing Butterick B6354 from The Crafty Pinup | @vintageontap

    Abi wearing Butterick B6354 from The Crafty Pinup | @vintageontap

    Abi exploded onto the sewing scene just a few months ago, but has all ready been featured by BBC and The Fold Line for her awesome blogging and sewing skills! She also owns My Retro Closet for all your boudoir needs.

    Abi turned her piece into a full dress, taking the original B6354 design and merging the sarong wrap to the bustier top. She was able to match the darts in the top to the skirt perfectly and the zipper insertion looks amazing! Hop on over to her blog to see more pictures and find out the details on how to pattern hack this design.


    Akram from Akram’s Ideas

    Butterick B6354, Akram from Akram's Ideas | @vintageontap
    Butterick B6354, Akram from Akram's Ideas | @vintageontap
    Akram has been super active and such a fun blogger and vlogger who I have admired for a long time! She does everything from baking amazing recipes to sewing and thrifting up a storm. If you’re not all ready watching her on YouTube, you’re missing out!

    Akram sewed up the pattern as is- giving a full break down of what you can expect to find the moment you open up your copy of Butterick B6354. She also did some adjustments on the skirt and the images on her blog really help guide you through the process! Hop on over there to read about her experience working on her piece.


    Christina from Gussets and Godets

    Christina from Gussets and Godets Butterick B6354 tiki playset | @vintageontap

    Christina from Gussets and Godets Butterick B6354 tiki playset | @vintageontap

    Not gunna lie, I’ve had a huge blogger-girl-crush on Christina for a while because of her awesome outfits and amazing styling skills. Every time I see her post on Instagram or her blog, I’m like “omg girl, weeeerk!” She’s been featured on the lovely A Stitching Odyssey blog and is beloved by the sewing community.

    Christina turned her Butterick B6354 into a playsuit, merging the shorts and bustier top. She also played with the straps, making them into a cute spaghetti strap design which makes them that much more fun. Learn more about how to pattern hack Butterick’s 6354 by going over to her website, too. 


    Please leave your thoughts and comments on this piece and the others you’ve seen! And stay tuned for an update on a giveaway and the Making Of video of my reversible piece!

  • Completed: Britex Fabrics and Simplicity 8085

    Completed: Britex Fabrics and Simplicity 8085

    Teaser close up of Simplicity 8085 with Britex Fabrics cotton | @vintageontap

    Vintage Simplicity 8085, Britex Fabrics | @vintageontap

    Vintage pin up, Simplicity 8085 made with Britex Fabrics Italian watercolor cotton | @vintageontap

    Bodice close up, bias binding and Esterwilder pin on Britex Fabric Italian watercolor cotton | @vintageontap

    Back view of Simplicity 8085, bias binding and Britex Fabric watercolor Italian cotton | @vintageontap

    This fabric is a gem at Britex Fabrics- I used Simplicity 8085 to make this piece happen

    Can I say how much I love this dress? The comfortable wrap style of Simplicity 8085 can be both dressed up and dressed down. I decided to go with a stunning Italian cotton from Britex Fabrics that really makes this piece a knock out. I’m actually all ready looking forward for any excuse to wear it!


    Simplicity 8085 was a breeze to sew and for an advanced beginner and intermediate seamstress, you can whip up this design within a few hours after doing pattern adjustments. To read more about it and see additional photos,  please check out the Britex Blog or click on the image below!

    Find out more about Simplicity 8085 and Britex Fabrics | @vintageontap

    Disclaimer: This post was made possible with support from Britex Fabrics! If you’re in San Francisco, please check them out. Their store is a fabric paradise. 

  • Tips for Sewing a Cocktail Dress, with video!

    Tips for Sewing a Cocktail Dress, with video!

    Butterick B5814, Cocktail Dress | @vintageontap

    Embarking on sewing a cocktail dress is an exciting process!

    The possibilities of stitching up your very own cocktail dress are absolutely endless. Things that you can dive into are…

    • What luxurious fabric do you want to use?
    • What sort of embellishments will you like to incorporate?
    • Vintage inspired or more modern?
    • What sort of silhouette?
    • What SHOES are going to go with it? (had to throw in something fun!)

    Without a doubt, it’s extremely easy to fall into a rabbit hole planning out the process for an exciting cocktail dress!

    This blog post discusses sewing a cocktail dress, and some of the biggest tips and tricks I learned from making my own. In this case, I made Butterick B5814, a Patterns by Gertie design released in 2012.

    Butterick B5814, Cocktail Dress | @vintageontap

    Tip #1: Select your fabric with care.

    Depending on your sewing level, this is one of the biggest factors in sewing a successful cocktail dress. The fabric will determine things like:

    • The sewing tools you use (see my list of recommended tools here!)
    • Your sewing machine settings
    • Pre-sewing fabric preparation (eg. the silkier the fabric, the more finicky, which will mean sewing more slowly!)

    Special considerations have to made to interior fabrics and materials as well!  

    As long as you’re mindful about the materials you’re using and how they operate, your sewing experience will go swimmingly. For example, for my Butterick B5814 cocktail dress, I decided to use a lovely acetone/viscose Italian crepe. It had a silky hand, medium weight, but was also difficult to work with because there was a slight stretch to it, was flimsy, and unravelled easily.

    Due to the volatile nature of the fabric I chose for this dress, I had to go out of my way with additional sewing techniques, including marking all my notches with tailor’s tacks to maintain the integrity of the fabric.

    Don’t know why tailor’s tacks are VITAL for delicate fabric? Click the link below to learn more about tailor’s tacks in sewing.

    Learn how and why to use Tailor's Tacks in your sewing process! | Vintage on Tap

    Butterick B5814, Cocktail Dress | @vintageontap

    Butterick B5814, Cocktail Dress, sunny day on the rooftop of the Fairmont in San Francisco | @vintageontap

    Tip #2: The interior of your cocktail dress should get as much care as the exterior.

    It’s very easy to say, “No one is going to see the inside- who cares?!” but when sewing your cocktail dress, the interior is just as integral as the exterior.

    For example, for Butterick B5814, I wanted to keep and maintain the quintessential pinup dress look, which meant some additional pre-planning.

    Changes I made include:

    • Spiral steel boning throughout the bodice (not the plastic boning that was suggested in the pattern)
    • Bra carriers to hide my bra in the dolman sleeves
    • Reinforcement at the neckline with bias strips to keep the neck from stretching through wear
    • Underlining throughout

    The final two points for my pinup cocktail dress were not included as part of the original pattern. However, because I was using some super luxe fabric, taking preemptive measures to care for the interior is key to a sturdy dress!

    To learn how to both reinforce the neckline with bias strips AND to underline your cocktail dress, be sure to check out a tutorial video I did on this topic. The sewing techniques are incorporated into a Butterick B5603 holiday dress. The sewing tips covered in that video 100% apply to your cocktail dress!

    How to Sew a Pinup Holiday Dress! Video Tutorial and sewing tips | Vintage on Tap

    Butterick B5814, Cocktail Dress at the Fairmont Hotel in San Francisco | @vintageontap

    Butterick B5814, Cocktail Dress, dramatic posing! | @vintageontap

    Tip #3: Divide your work into manageable chunks.

    My Butterick B5814 had… 50 individual steps. Not including cutting fabrics, boning, and prepping all additional notions.

    Having reasonable expectations of how long things take will keep you motivated and focused. 

    If you’re making a cocktail dress for the very first time, beware of the following workflow:

    Of course, each of the above steps will take longer or shorter depending on your sewing experience, but be sure to be mindful of the process! Projects started on a whim have a tendency to have a mind of their own, and a successful garment isn’t guaranteed when worked on in a hurry.

    Butterick B5814, Cocktail Dress, bust detailing | @vintageontap

    Butterick B5814, Cocktail Dress, waist detailing | @vintageontap

    Butterick B5814, Cocktail Dress, back view | @vintageontap

    If you’re tackling Butterick B5814…

    The dolman sleeves are super tricky. After 5 muslins, they still were slipping and sliding. I had to rely heavily on the bra carriers, not just to hide bra straps, but to also help hold up the sleeves.

    Also, the gathered attachment at the waist is tricky to stitch through, at ten layers deep (!!) Switch sewing needles to something more industrial, and hand crank through the layers to attach them.

    Interested in buying this pattern? Click the image below!

    Butterick B5815 cocktail dress! Learn to make this at home with my video tips!

    Butterick B5814, Cocktail Dress, dramatic angle | @vintageontap

    Butterick B5814, Cocktail Dress, sitting in the Fairmont Hotel | @vintageontap

    Butterick B5814, Cocktail Dress | @vintageontap

    Subscribe to Vintage on Tap on YouTube!

    Pin this Post!!

    Sewing Tips for Sewing a Cocktail Dress. Tips and tricks to make a beautiful dress! | Vintage on Tap

    Disclaimer: This post contains affiliate links :)

    All the Places, All the Stuff!

    Never miss a post by following me on Bloglovin’!
    Or go mobile- I’m on Instagram and YouTube!
    New to sewing? Check out the Start Here page!

  • Video: The Gertie Tiki Dress

    Gertie Tiki Dress, Gertie's New Book for Better Sewing, in progress bodice | @vintageontap

    Gertie Tiki Dress, Gertie's New Book for Better Sewing, in progress bodice | @vintageontap

    Making the Gertie tiki dress makes me want nothing but sunshine. Sewing it was a breeze.

    Materials I used for this project were mostly found in my stash, except the elastic thread I got to use for the very first time! The fabric was fun and loud and is getting me prepped and ready for days by the beach with a mixed tropical drink in hand! The photoshoot I did for this dress really expresses the sentiment 100%!

    I’m happy to say that the Gertie tiki dress video was super fun to shoot- please check it out and leave a comment and subscribe!

  • Completed: The Tiki Dress

    Completed: The Tiki Dress

    Tiki Dress, Gertie's New Book for Better Sewing | @vintageontap

    Tiki Dress, Gertie's Book for Better Sewing | @vintageontap

    Santa Cruz Beach Boardwalk | @vintageontap

    Tiki Dress, Gertie's New Book for Better Sewing, back view shirring and zipper | @vintageontap

    Tiki Dress, Gertie New Book for Better Sewing | @vintageontap

    Tiki Dress, Gertie's New Book for Better Sewing | @vintageontap

    Tiki Dress, Gertie's New Book for Better Sewing, back view and hair | @vintageontap

    Santa Cruz Beach Boardwalk ride attraction | @vintageontap

    Tiki Dress, Gertie's New Book for Better Sewing, bodice detail | @vintageontap

    Tiki Dress, Gertie's New Book for Better Sewing, kickpleat detail | @vintageontap

    Tiki Dress, Gertie's New Book for Better Sewing, sweetheart sundress top, Pin up style | @vintageontap

    Tiki Dress, Gertie's New Book for Better Sewing | @vintageontap

    This tiki dress is the most immediately satisfying make of the year.

    The moment it left my sewing machine, I knew it was a winner. This tiki dress was very much an impulsive “MUST MAKE IT NOW” sort of project and I’m glad I took it on because I feel amazing in it. Browsing the different vintage and pinup Facebook groups I’m a part of, seeing everyone talking about the Viva Las Vegas rockabilly weekend, and being sad that I can’t go this year isn’t very productive. So why not whip up a tiki dress for when I do get to go?

    The pattern was super cool to work with because I all ready knew it quite well! The pattern is a combination of two different pieces from the Gertie New Book for Better Sewing. The top is the Sweetheart Dress and the skirt is the pencil skirt pattern, redrafted with a slash and spread technique.

    Something different that I got to play with in this pattern was the shirring in the back, using elastic thread in my recently tuned up machine. It was fun to see the panel shrink! But So.Many.Rows! For some reason I anticipated working with elastic thread to be more complicated than it really was.

    The fabric for this piece was something I picked up from a local fabric shop and absolutely screamed tiki dress. While I absolutely love the print, the fabric itself has a really weird hand that reminds me of a soft oilcloth. When I purchased it, it had a stiffer hand, which I had hoped was only the final finish and would soften during washing. It still softened and is wearable, but I can see this as a special occasion dress due to the weird texture of the fabric.

    The video for this dress came out great! Please check it out!