Tag: petite sizing

  • Petite Pattern Adjustments for Fuller Figures

    Petite Pattern Adjustments for Fuller Figures

    Petite adjustments aren’t difficult! To achieve the right fit, it’s all about knowing where to look on a sewing pattern to make them possible.

    Knowing which areas are important for Petite adjustments is half the battle.

    Let’s break down the biggest differences between regular Misses’ sewing patterns and Petite sewing patterns:

    Croquis showing the difference between Misses and Petite sizing, specifically to dive into petite pattern adjustments

    The average Petite person is usually around 5’2”, with most Misses’ sewing patterns drafted for 5’5”. Imagine those differences split across the form proportionally. 

    These Petite adjustments usually need to drafted across *multiple* areas on a sewing pattern.

    Watch for these areas where petite adjustments should be taken into account:

    • The distance between shoulder points (to account for a narrower frame)
    • The distance between shoulder and bust point, down the body (to account for bodice height)
    • The distance between bust point and waist (to account for bodice height)
    • The distance between waist and knees (to account for overall height)
    • The distance between knees and ankles (to account for overall height)

    To illustrate this, let’s see how this manifests in a real bodice.

    NOTE: I’m 5’2”, DD-cup, and wear a size L/XL.

    Close up of a bodice, before having completed Petite adjustments.
    Close up of a bodice, before having completed Petite adjustments.
    Close up of a bodice at three-quarters view, before having completed Petite adjustments.
    Close up of a bodice, before having completed Petite adjustments.

    In the above sample piece, you can see a few areas which stand out:

    • The shoulder points are too wide (by over an inch!) so the sleeveless shoulders stick out past my body
    • The entire area above the bust point is exposed at the arm scythe (note how much fabric billows out, exposing foundation garments)
    • The bottom of the arm scythe is also too low
    • The waist has been hacked to be higher (see my previous video with this sample dress), but was originally over 2.5” too low. Even with the previous hacky adjustment, it’s still too baggy.

    The recommended Petite adjustments below will help tackle those issues.

    Narrow Shoulder Adjustment [Timestamp 05:13]

    This adjustment brings the shoulder points closer to the center point of the body, more in line with a Petite person. There are a couple different ways to do this adjustment, one which involves taking out width from the shoulder corner itself (demonstrated in the video) and another which notches and pivots the corner. Both options are worth exploring, so definitely experiment with which way works for you!

    Shorten the distance from bottom of the arm scythe to shoulder [Timestamp 06:43]

    The distance from the top of the shoulder to the arm scythe tends to be longer in Misses sizes. For Petite adjustments, identify that distance with your muslin, pinching out an equal amount from arm scythe to center front. Once you have that number, you can slash and overlap your pattern pieces for a better fit above the bust to the shoulder.

    Raise the arm scythe, if needed.

    Depending on the depth of the arm scythe (or if it was as drastically low as in the example images,) redraw a higher arm scythe, making sure it matches the back of the pattern by walking the pattern.

    Redraw the waist/shorten the bodice under the bust [Timestamp 07:58]

    Check your personal measurements from bust point to waist and adjust the waist height accordingly. In the example pattern, because it was a simple trapeze style, I could redraw the waistline. For more fitted bodices, slash and overlap the needed distance.

    After completing the above changes, my updated pattern with Petite adjustments looked substantially better. 

    Close up of a bodice, after having completed Petite adjustments.
    Close up of a bodice, after having completed Petite adjustments.
    Close up of a bodice, after having completed Petite adjustments.

    Knowing where your body’s measurements sit in relationship to the pattern block will save you *so much* stress, especially if you have to do Petite adjustments. 

    Taking time to understand where a sewing pattern should be shortened or taken in, you can more confidently identify where Petite issues will occur.

    This is particularly useful if shopping ready to wear: you know ahead of time when a garment isn’t fitting right off the hanger. 

    Hand close up, holding a sewing pattern that says Dress Front in pink highlighter

    And remember, just because you have a large bust or waist doesn’t mean you’re not Petite. Make sure to make a muslin to double check!

    Learn about Petite Sewing Adjustments for people who are a larger size. The image has a close up of a bodice of a floral dress, with text overlaid on top.

    All the Places, All the Stuff!

    Never miss a post by following me on Bloglovin’!
    Or go mobile- I’m on Instagram and YouTube!

  • Beautiful Clothes with NO Sewing Adjustments – Is it Possible?

    Beautiful Clothes with NO Sewing Adjustments – Is it Possible?

    Is it possible to make an amazing garment with no sewing adjustments? 

    Bianca from Vintage on Tap, standing in front of a green plant wall

    A garment that fits straight out of the envelope, with no sewing adjustments, with no problems, and fits you like a glove is a dream come true, even for me! 

    So I wanted to give it a shot.

    I wanted to find out if I could make a dress straight from the envelope and have it fit decently well.

    Bianca making a silly face with tropical fabric and the Gertie Cinch It Dress

    I chose the Charm Patterns Cinch It dress for this experiment, released in Spring 2021. 

    What drew me to this pattern was: 

    • The dress was described as a simple pop-over dress, meaning it should fit decently ok*, as long as I followed the instructions.
    • If it worked out, it had many options for customization, with additional collars, sleeves, and pockets to make several versions.
    • The completed pieces I saw online looked like vintage-inspired dream dresses!

    *: I know pop over dresses are super simple, super generalized, and made to fit at a very basic level. My expectations were medium-to-low. I wanted to get in the general ball park and feel decent in the dress.

    The moral of the story?

    No sewing adjustments is a rarity if you already face regular sewing challenges, or experience the same fit issues over and over. 

    Bianca wearing a completed Charm Patterns Cinch It Dress, a popover dress.
    Vintage on Tap, standing outside on the sidewalk, laughing

    While the concept of the dress is brilliant, I face challenges very common for my body type, which were not easily addressed with most patterns straight from the envelope. This is extremely common for most people.

    For the Charm Patterns Cinch-It, these included:

    • My incredibly petite frame, which impacts my shoulder width. The shoulders of the Cinch-it dress were roughly 1.5” too wide for me, which would make it a challenge for well fitting sleeves, had I made those options.
    • My petite frame’s torso length, which impacts bodice length and waist placement. The shirring line on the dress started over 2 inches too low for me, and extended down over 4 inches– which for a combined 6” of Torso + Waist, put the bottom edge of shirring past the midpoint of my hips.
    • Overall dress length, which is easily remedied, but worth a mention.
    Close up of elastic waist of the Charm Patterns Cinch it Dress

    Is there a pattern out there you can make with no sewing adjustments?

    Yes and no! 

    Depending on the adjustments you may tend to do, there are pattern companies which may fit your body shape more closely due to the nature of their pattern drafting block.

    Bianca reading a book about Frida Kahlo outside

    For example, Seamwork Patterns tend to fit me decently well, due to a larger block cup size and shorter torso length. While alterations are still common, their drafting is naturally closer to my body shape. You can see this well in my Penny Dress, which fit like a glove.

    Video tutorial for retro sewing, the Colette Penny dress | Vintage on Tap

    For the most part, though, it’s rare to make a pattern straight from the envelope with no sewing adjustments. 

    This is perfectly normal!

    Remember that pattern companies draft to their audience’s average. Even the patterns marketed as “easy to sew” may need some slight adjustments for a better fit. 

    Looking to dip your toe into pattern adjustments, or do you also have a petite frame like me and a larger bust? My fitting videos might provide some insights on how to approach fitting challenges!

    Click the video below to start my Fitting Videos playlist!

    Is there a pattern you’ve sewn that fit straight from the package with no sewing adjustments?

    Please let me know in the comments!


    Is it Possible to Sew with No pattern adjustments? Bianca posing in front of a vine wall, wearing a handmade dress

    Disclaimer: This post contains affiliate links. I never recommend products I wouldn’t personally use. All opinions are my own.

  • Completed: Butterick B5895

    Completed: Butterick B5895

    Butterick B5895, back view | @vintageontap

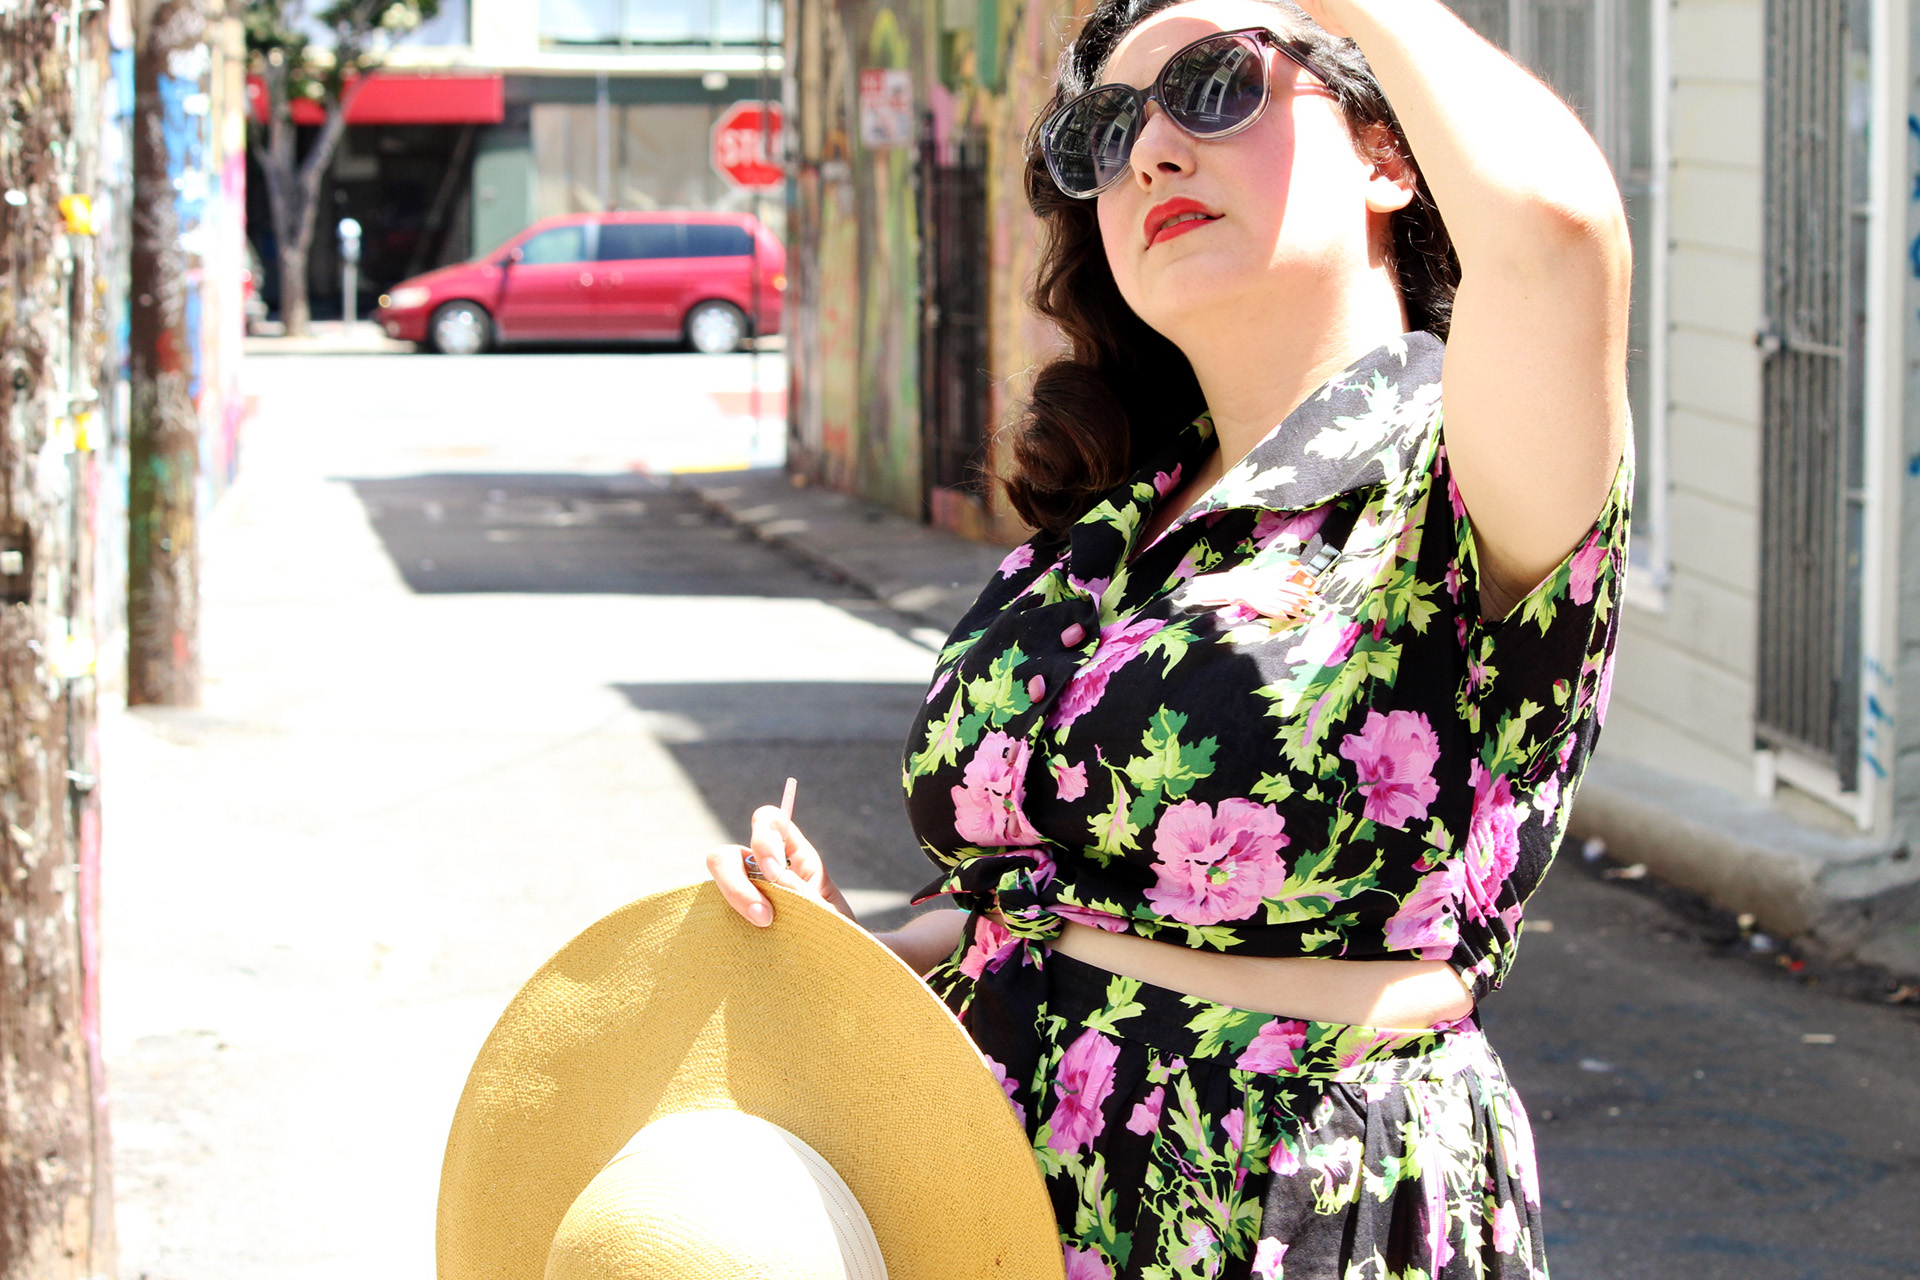
    Butterick B5895, enjoying the sunshine | @vintageontap

    Butterick B5895, sewed a matching summer set | @vintageontap

    Beautiful street art in the Mission | @vintageontap

    Butterick B5895, side view| @vintageontap

    Butterick B5895, back view | @vintageontap

    Butterick B5895, RIP Prince | @vintageontap

    Eclair Bandersnatch Graffiti artwork | @vintageontap

    Button close up of Butterick B5895 | @vintageontap

    Back of Butterick B5895, matching dirndl and top set | @vintageontap

    Completed Butterick B5895 summer set | @vintageontap

    Liked it so much, had to make Butterick B5895 twice!

    I absolutely love this little top! I never anticipated falling in love with a crop top, but when I made Butterick B5895 last year, it blew me away. Unfortunately, last year I never really blogged about it, even though I started a draft.

    As all other reviews of this sewing pattern have stated, the bodice is super short! This worked out great for me since my torso is equally as short and this bodice ends at my natural waist line. For those of you with a normal torso length, beware!

    When tracing out the pattern pieces, take care of all circle markings and note them well on your fabric.  These circles are where the seam allowances intersect for the collar. Every single circle must match up– over 5 layers. I find it also very curious how much clipping is called for at such a high stress point- so much so that if the circle markings don’t line up, there can be a hole under the collar. Fortunately, the hole isn’t visible, but its there nonetheless if the circles don’t line up.

    For this reiteration of Butterick B5895 I also made a matching dirndl skirt like I made a while back, lengthening it by 2.5in. I wanted this set to have a “resort” feeling to it and I’ve always wanted to have a matching set!

    The fabric was fun, too. I found it at one of the local shops and its a comfortable, breathable cotton lawn. And the hat in the above pictures is from Goorin Brothers- which I don’t get to wear very often, but was great for the photoshoot! The weather in San Francisco has been jumping from hot to cold for the past couple weeks and luckily, this project matched up on an 80*F (26*C) day.