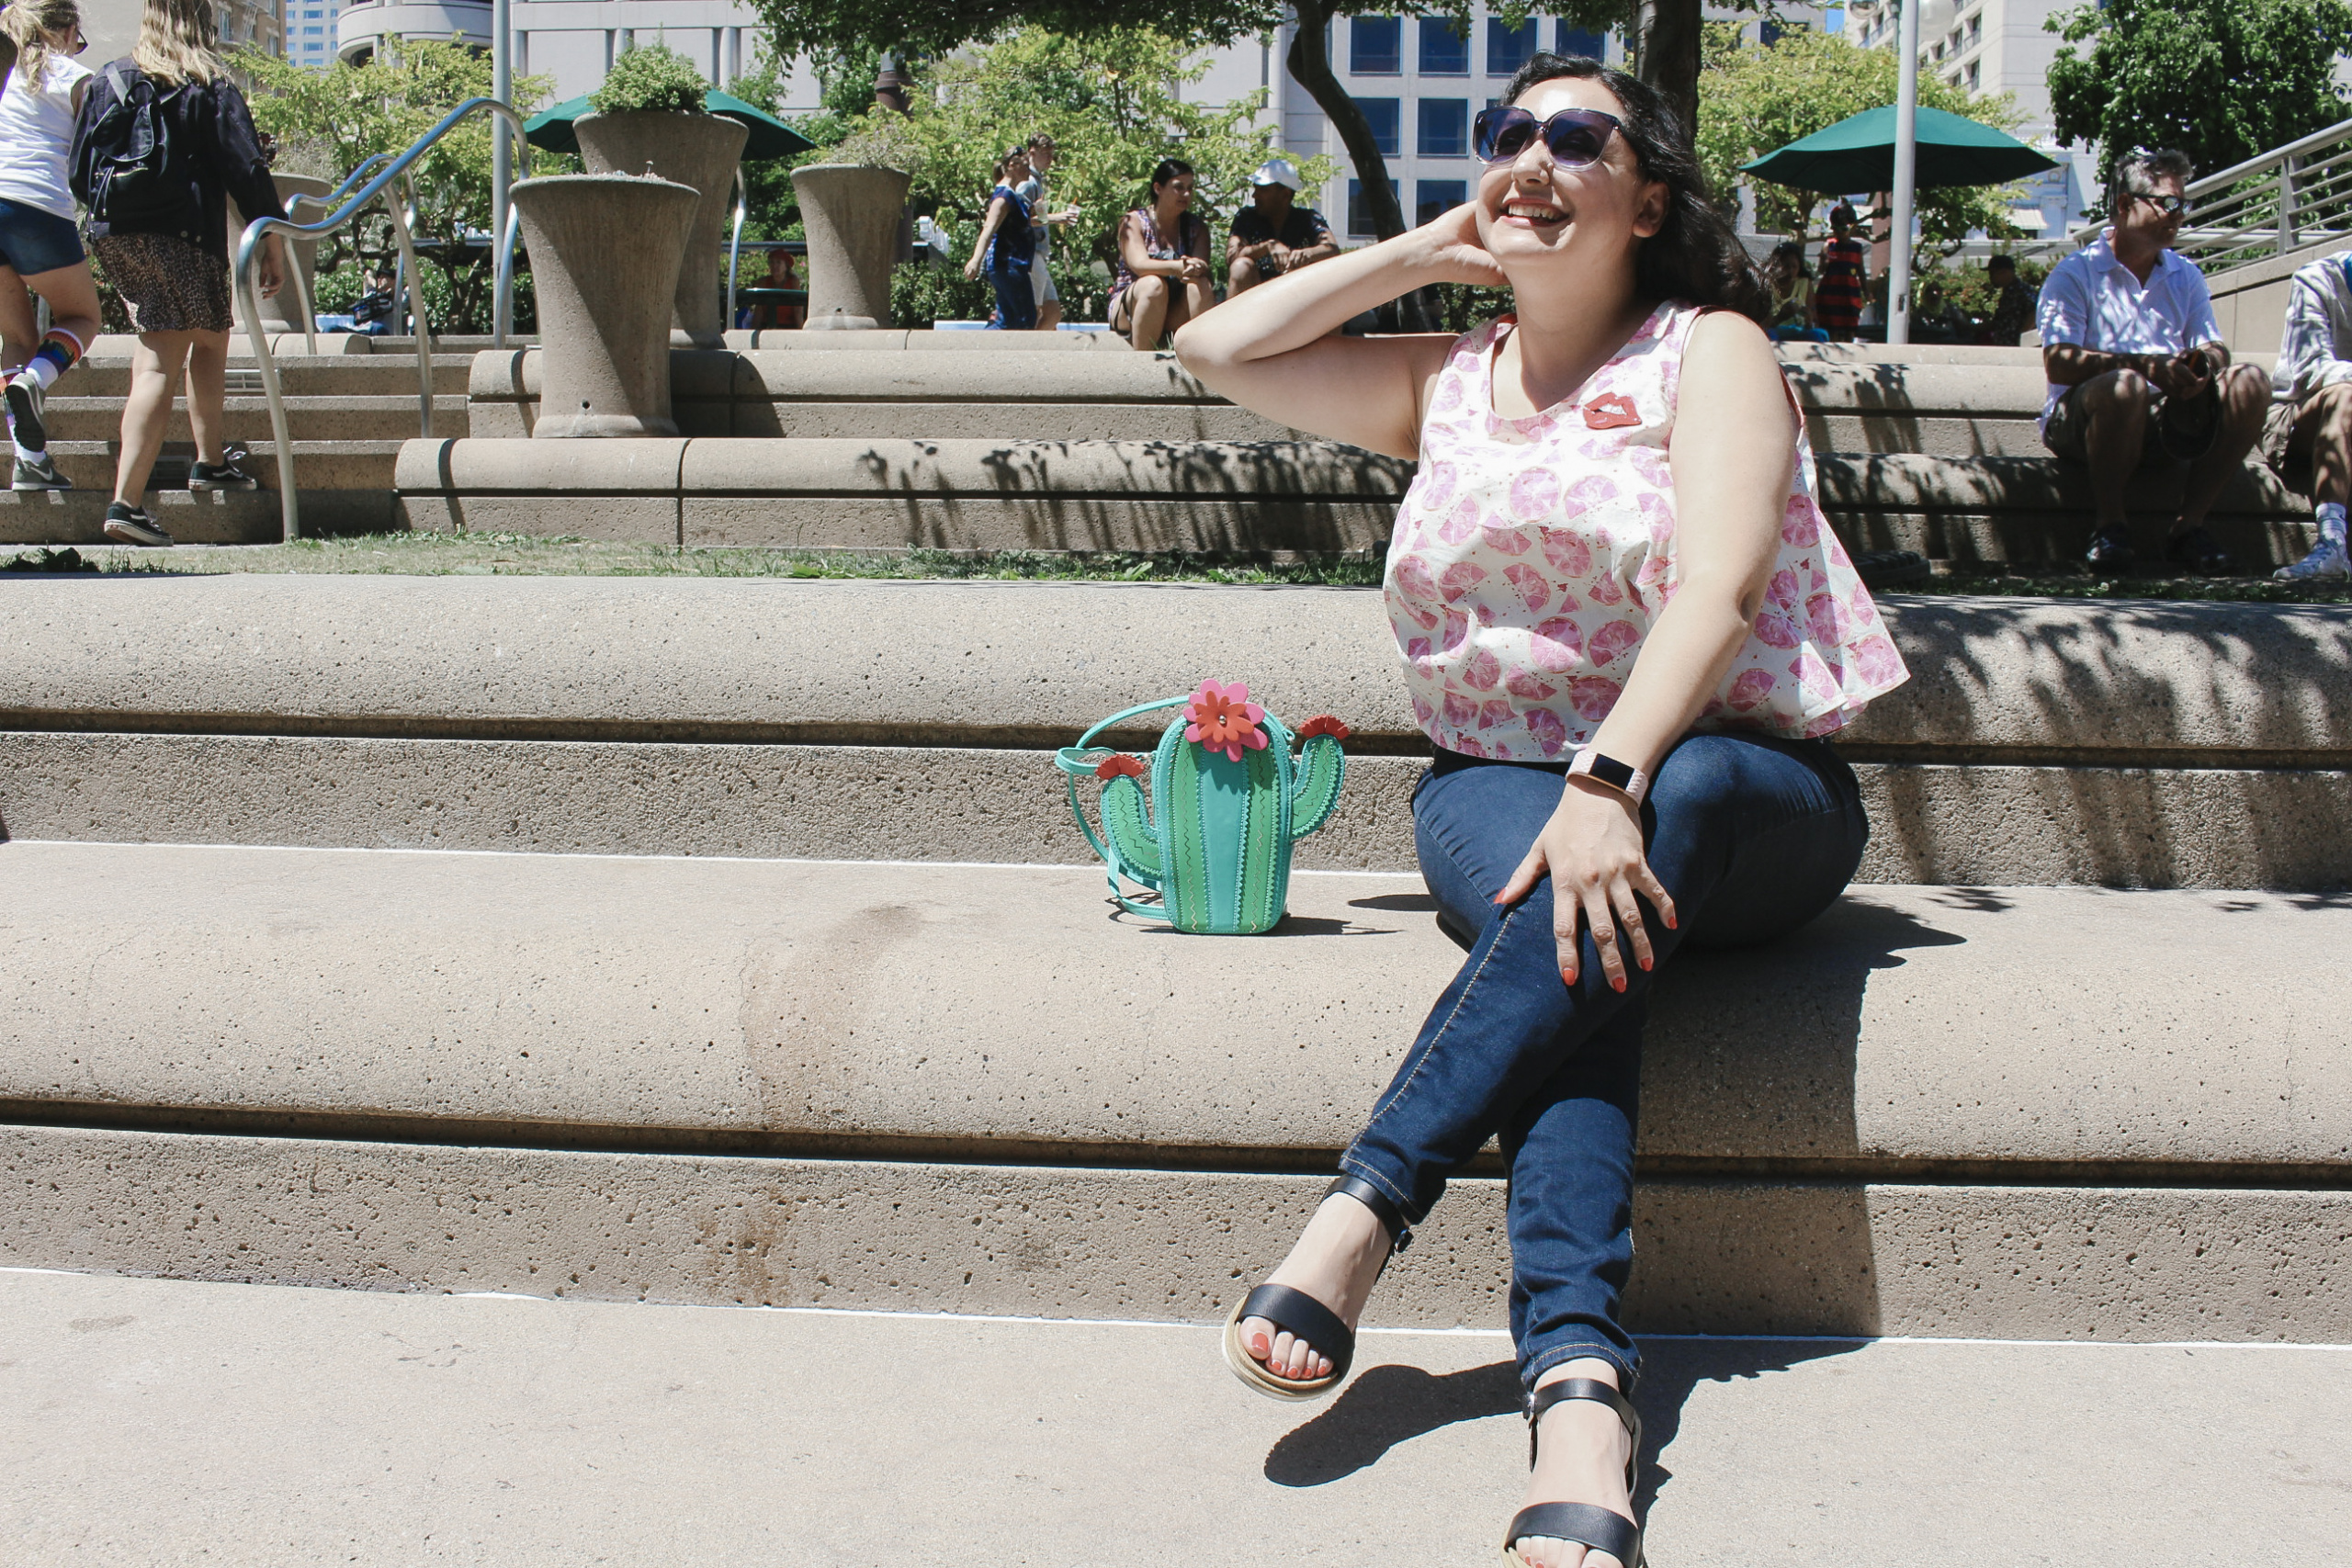
Into 1960s casual fashion? Learn how to sew a wrap top with this tutorial!
Even though I’m a vintage sewing blogger, 1960s is not a decade I normally dip my toe into, but this Seamwork Magazine Kristin top was too cute to resist! Super simple, accessible, and straight forward was exactly what I was into when I decided to stitch this tank up.
I originally made this top for my trip to Italy back in June, and got to wear this top at Vatican City!
The most attractive thing about learning how to sew a wrap top is just how easy and flattering it is.
Especially if you’re making up a wardrobe for vacation or a quick weekend getaway. Having something that you know will look good, won’t take you longer than a couple hours from start to finish, and is something you can just throw on– it takes casual sewing to another level.


Step One: Be mindful of the fabric you want to use to sew a wrap top!
As with all sewing projects, being mindful the fabric you chose to work with will have a huge impact on the sort of results you’ll be getting from the Seamwork Kristin.
Check your swatch book for sample fabrics that fit the feel and hand you want to achieve.

In my case, I decided to use a linen fabric from MyFabricDesigns, which had a stiffer hand (discussed at minute 1:10 in the tutorial video.) I wanted to purposefully go with a stiffer fabric to give my wrap top more of a trapeze top feeling to it, and flare out at the hem.
Other possible fabrics for a trapeze-style wrap top include mid- to heavyweight wovens, including chambray, denim, and linen blends. Keep in mind that to get a look more closely resembling the original Seamwork Magazine Kristin design, you’ll want to use a light- to midweight woven.


Step Two: Incorporate sewing techniques you’re already comfortable with into the instructions
Sewing instructions are not the holy grail of an individual pattern! When attempting to sew a wrap top- or ANY pattern- take a moment to decide what parts of the instructions you want to play with or tweak to something you’re more comfortable with sewing.
In sewing this individual wrap top, I decided to opt for using a bias facing throughout the edges, rather than encasing everything in bias binding. I cover this in the tutorial video at 2:54.
Bias facings tend to look more professional and I prefer the clean crisp look from the exterior of the piece.
To learn more in depth information about bias facings, please check out the technique video!
The only garment in recent memory that encased seams in bias bindings was my Simplicity 8085 1950s wrap dress.
In this dress, I purposefully wanted an encased seam look, which lended itself to being a super homemade look. Of course, I could have just as easily done bias facings on this 1950s dress, just as I did on the Seamwork Kristin.
Click here to learn how to make this 1950s dress!
Step Three: Keep track of the front and back of each piece.
With wrap tops- especially wrap tops like the Seamwork Kristin, it can be extremely confusing to keep track of each pattern piece. Notches absolutely help and are highly recommended to transfer over from your pattern pieces.
The above tip is extremely useful if you’re making a top in a solid color where it’s difficult to tell the front and back.

Want to sew this pattern?
The Seamwork Magazine Kristin is available via the Seamwork website!
Click here to buy the pattern!


Comments
One response to “How to Sew a Wrap Top (tutorial): The Seamwork Kristin!”
I really like your blog to visit! Whenever I read your posts, I am filled with energy. You look beautiful every time! And, of course, I love your advice! And I’m happy to use your tips!