Tag: Simplicity

  • How to Sew a Beautiful Vintage 1950s Peplum

    How to Sew a Beautiful Vintage 1950s Peplum

    Learn how to sew a 1950s peplum, with step by step video tutorial.

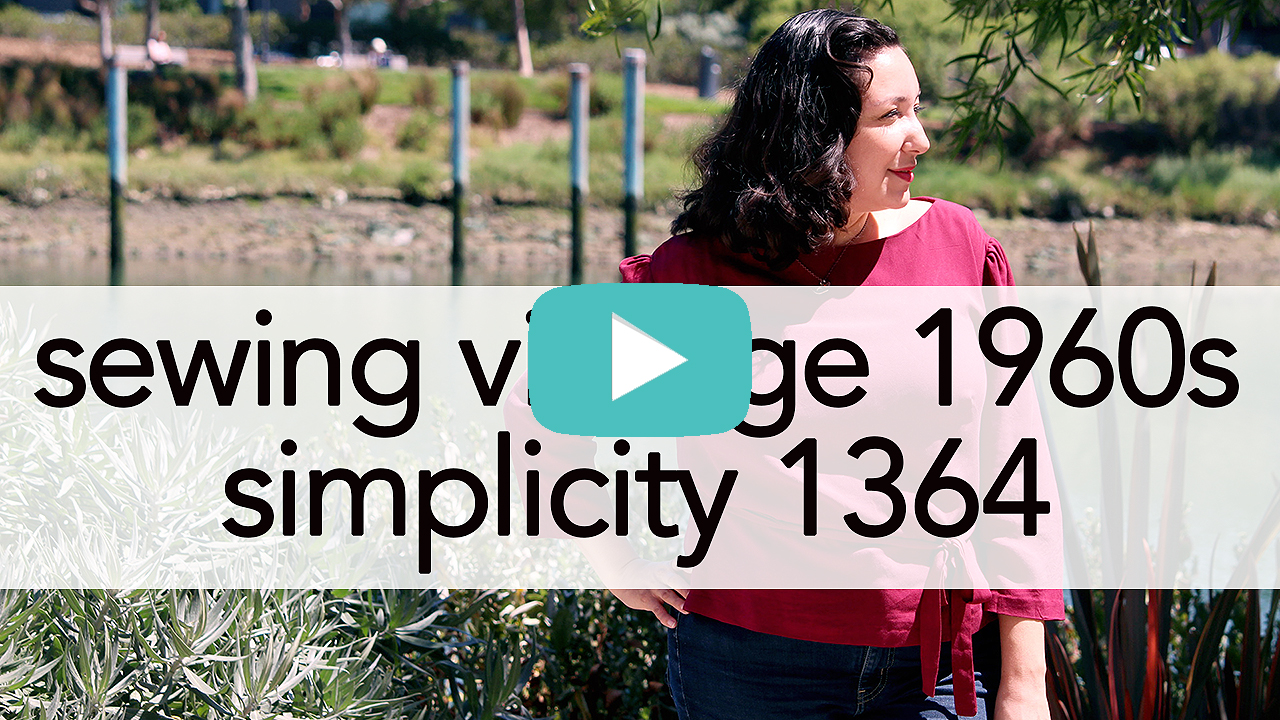
    After two years away (and a rough 2020) I knew it was time to return to the blogosphere with the garment which started it all: Simplicity 1460. In this post, we’ll be chatting about how to sew a 1950s peplum in all it’s gorgeousness, from the new and improved VoT HQ! 

    Watching the original video I filmed in 2016 (!!) and reading about this vintage pattern again made me incredibly nostalgic.

    It wasn’t just me looking at photos of this blouse. It was being reminded of why I love blogging and sewing on camera. Of why I kicked off this project in the first place.

    Vintage Simplicity 1460 peplum, pinup style | @vintageontap
    The vintage blouse which started my YouTube channel, throwback to 2016.

    It reminded me of why I like to talk about vintage sewing and advocate for it so much.

    Click the video above to watch the full breakdown of how to sew a 1950s Peplum!

    Learning how to sew a vintage 1950s peplum is fun and easy! This blouse is flattering for curvy people.

    Here are my tips on how to sew this vintage blouse:

    Fitting can be a challenge with this piece.

    All in all, I spent nearly 15 hours attempting multiple fitting techniques around a full bust adjustment, leading me to settle with the fit seen in this piece.

    The final fit was a compromise, which is disappointing with 20+ years sewing experience! Challenges with fit for my size included:

    • Doing an FBA on a French double dart (I recommend splitting the FBA across both darts!)
    • Finding the right positioning for my bust point (I recommend measuring from the shoulder point down to get the best fit)
    • Allowing enough ease for the button placket at the center front (it’s better to have extra overlap at the placket than not enough)
    Learn how to sew a 1950s peplum with a scalloped neckline, with step by step video tutorial.

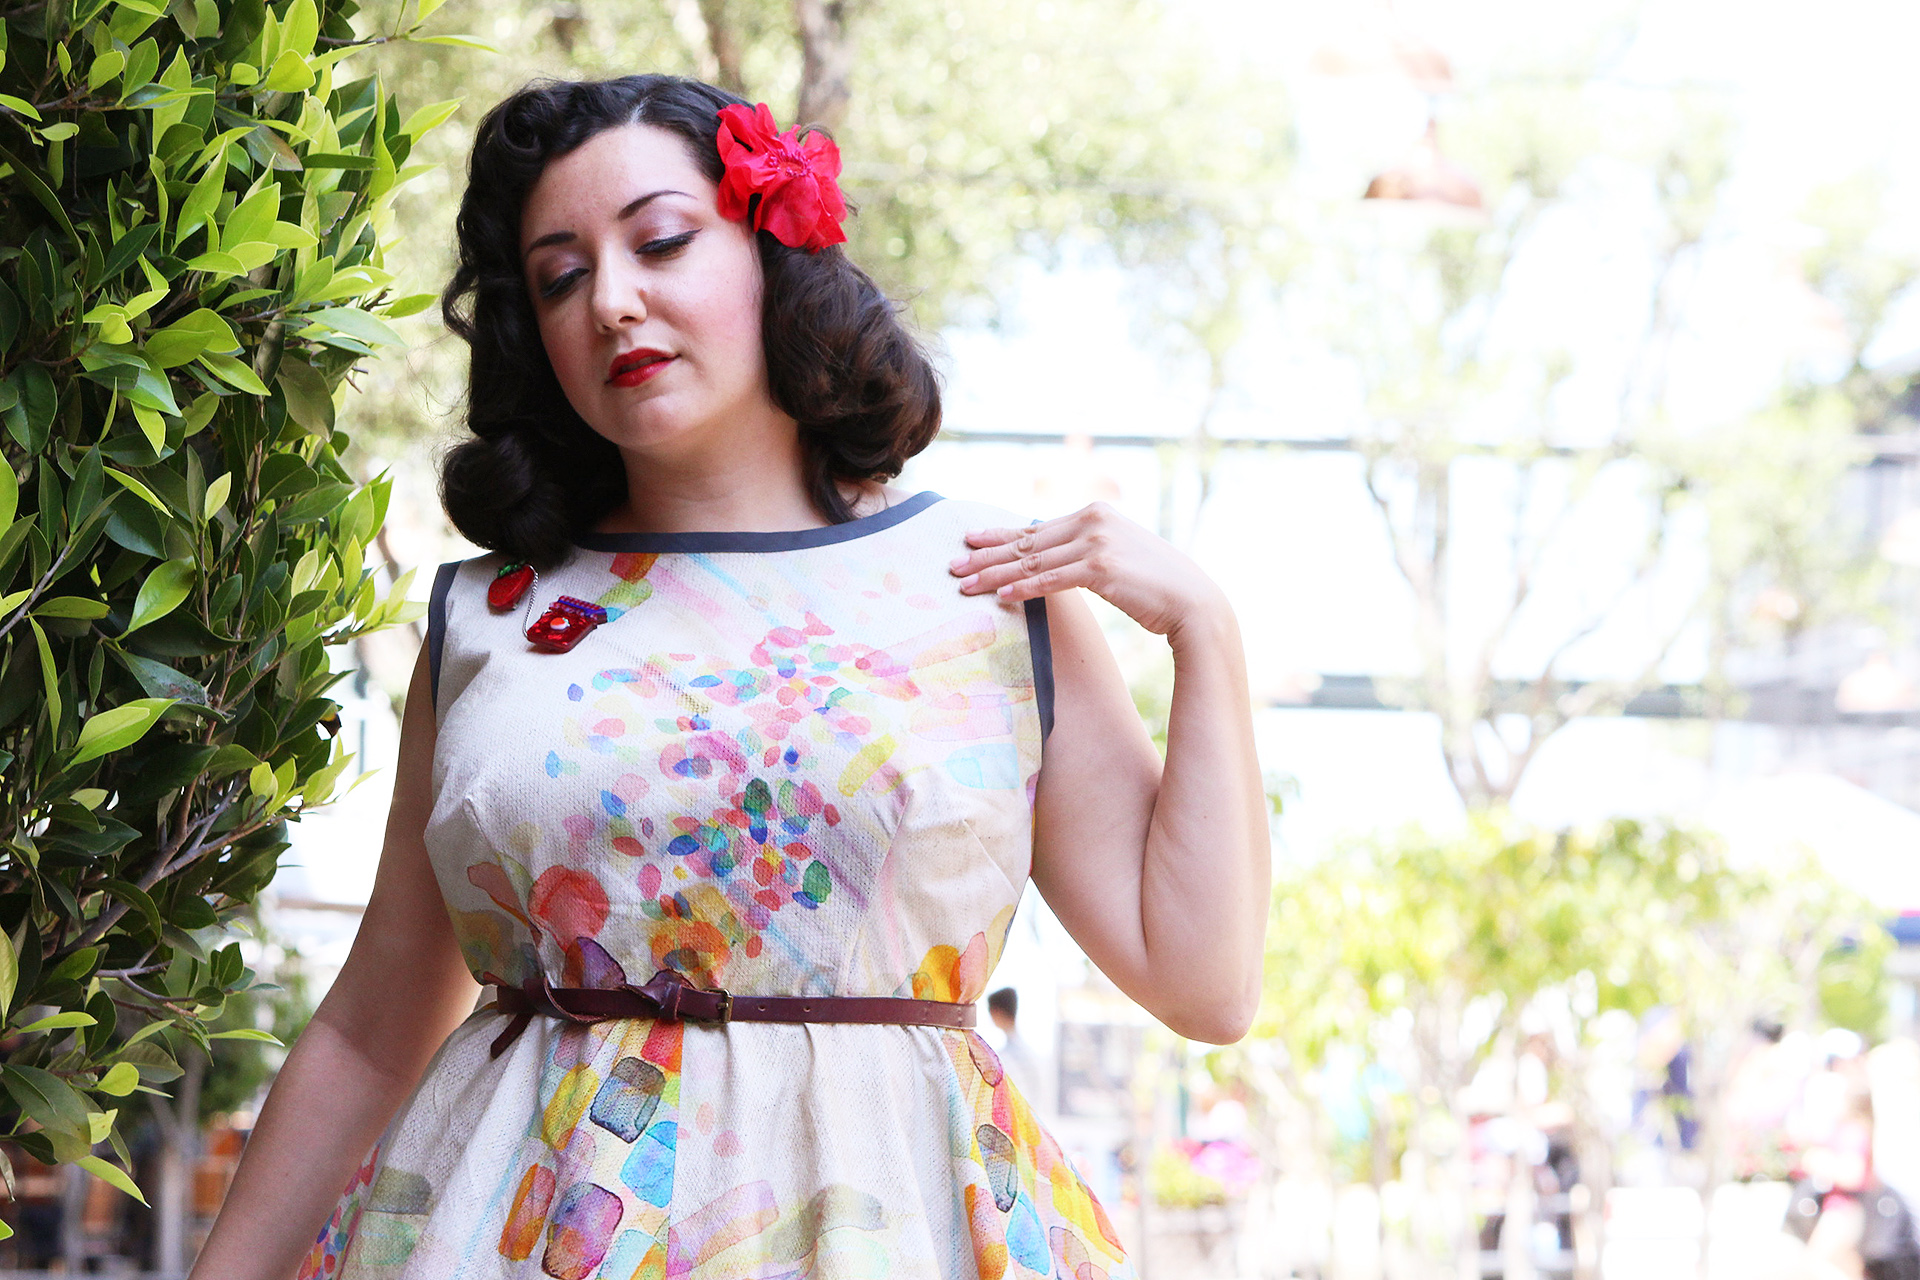
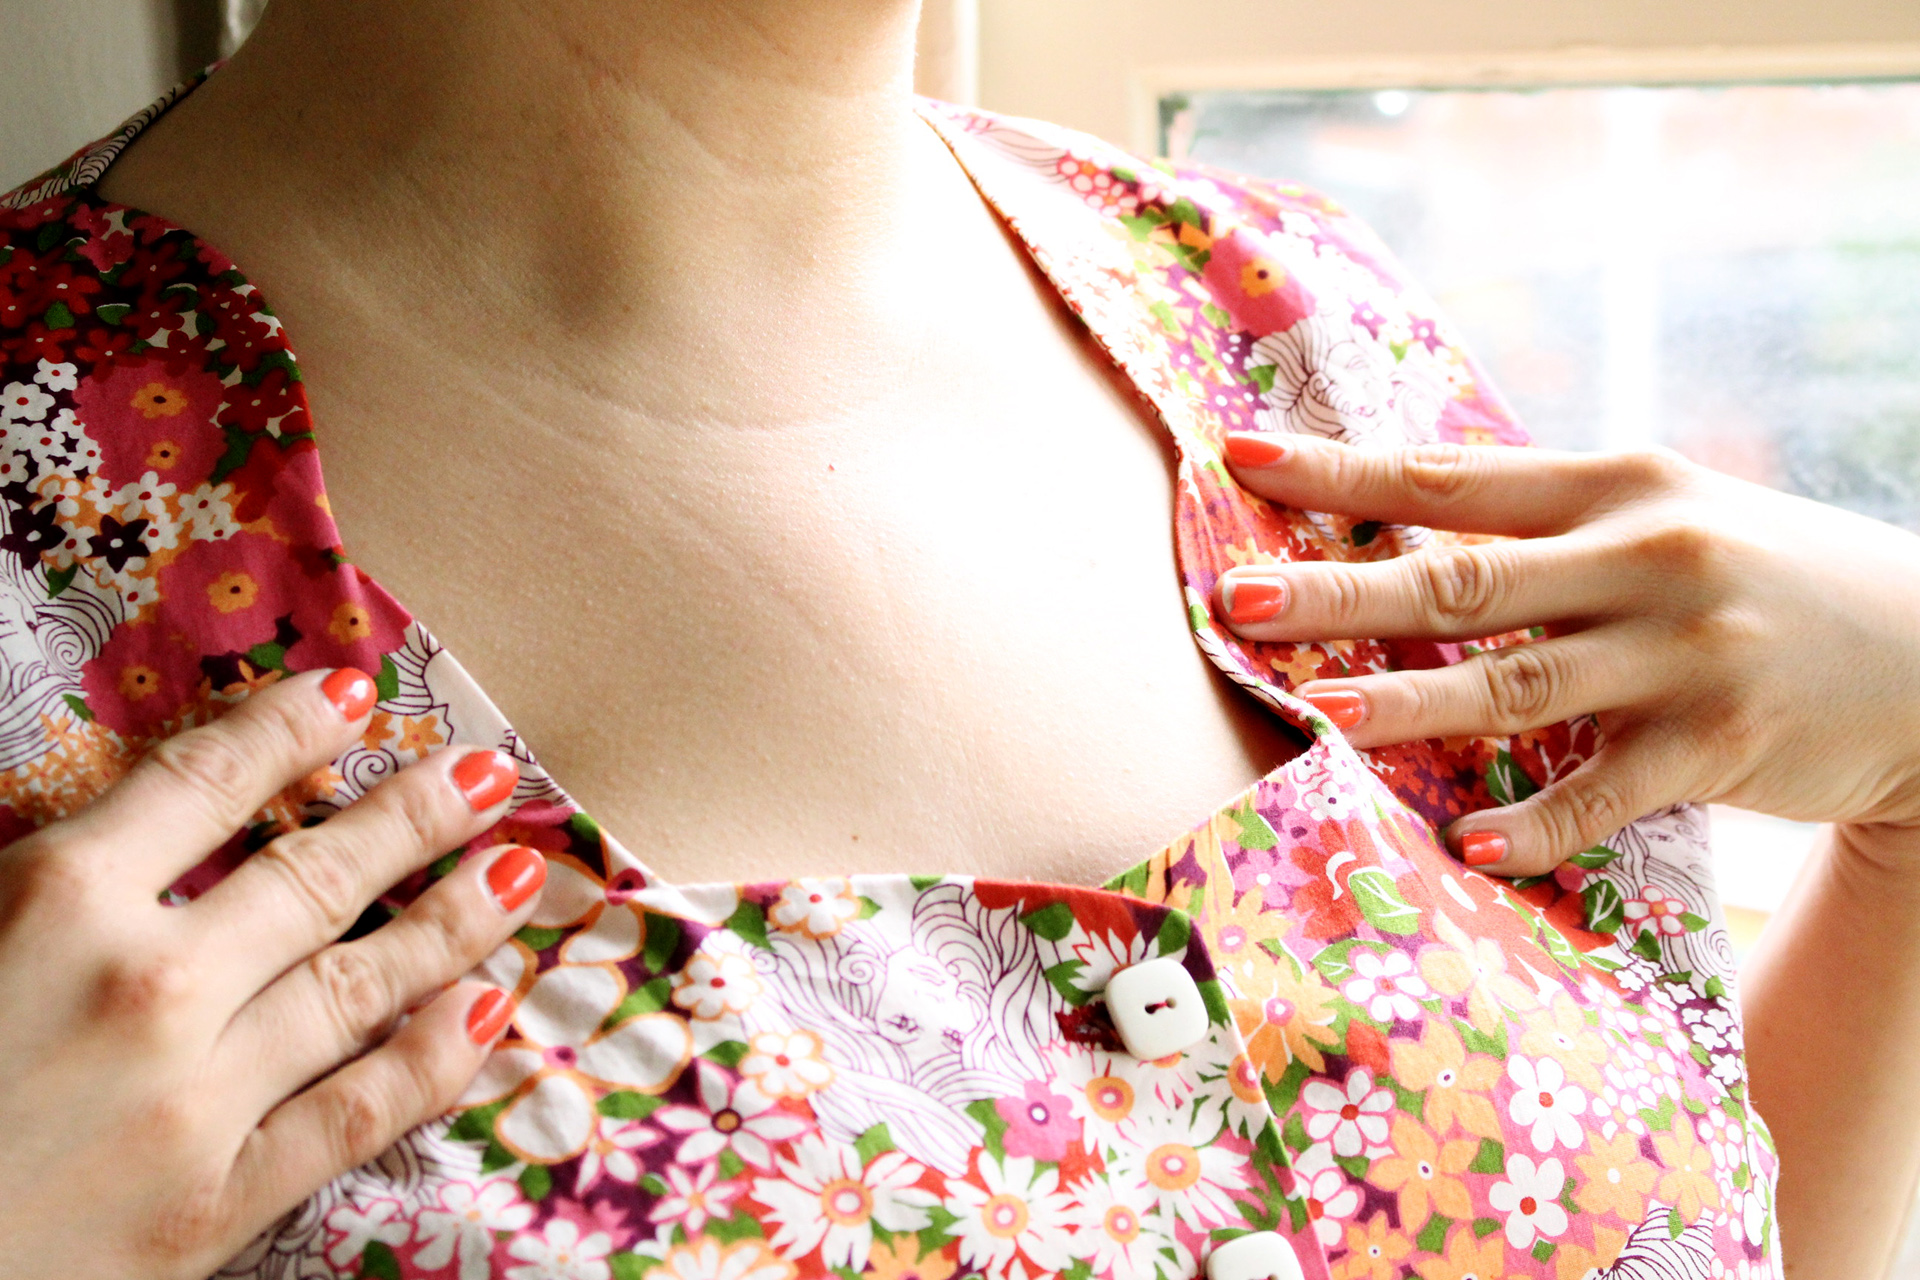
    The neckline on this vintage peplum blouse is extremely beautiful!

    To achieve the desired scallop effect, sew carefully around the facing:

    • Slowly sew around each facing piece, picking up the presser foot to adjust the fabric as needed to maintain a smooth curve
    • If part of the stitch line is too straight, unpick and do that curve again! Because the curves are prominent around the neck, they’re highly visible. A stitch line which isn’t smooth will be obvious
    • Trim and clip all seam allowances to ensure that turning the facing inside-out will display a smooth curve

    When learning how to sew a 1950s peplum – or any peplum for that matter! – take care to stay stitch the top curve to make sure it doesn’t warp!

    By sewing a simple stitch line across the top (at around ¼”) you can prevent the delicate peplum curve from being pulled and stretched. The pulling can (and will!) distort its grain, making it difficult to match up to the bodice. 

    Learn how to sew a beautiful vintage blouse, with a step by step video tutorial

    The last tip is around the buttons in this piece! The pattern calls for three buttons, but I added four for extra protection and insure a comfortable fit for me.

    Feel free to modify any pattern with additional buttons as needed. Remember that in most cases, button count is a suggestion, not a hard fast rule.


    Sewing a vintage 1950s peplum is not complicated- it’s actually a lot of fun to make such a flattering piece!

    In the comments below, please let me know if you’ve made this pattern before or if you’ve ever revisited an old sewing pattern with fresh eyes!

    I would love to know how that went for you and if there was anything that stood out as you tackled it again!

    Learn How to Sew a 1950s Peplum with this video tutorial, walking you through step by step
  • How to Sew Simplicity 1364, Video Tutorial!

    How to Sew Simplicity 1364, Video Tutorial!

    Simplicity 1364, How to Sew Video | Vintage on Tap

    The difference between View A and View B of Simplicity 1364 might look slight, but the styles behave very differently in fabric.

    To be quite honest, I have mixed feelings about this top.

    If you’re embarking on sewing this blouse, I have to be honest about all these conflicting thoughts. On one hand, I think its quite a comfortable, easy sew. On the other hand, the long sleeve version left a lot to be desired.

    If I were to make this again, I would stick to the sleeveless version (View B.)

    How to Sew Simplicity 1364 video tutorial | Vintage on Tap

    The problem with Simplicity 1364 came down to one thing:  the 1960s cut just didn’t agree with me.

    If you had the opportunity to watch my fitting video about this blouse, everything seemed to be going fine.

    After doing some pattern drafting magic, I was able to get a nice and comfortable, wearable fit on the bodice.

    I loved how it looked and felt on me. Even the slightly too-open neck on me was passable. Heck, I thought the slightly-off-shoulder shoulder line was just “part of the style.”

    The long sleeve version, though, was a reminder the placement of a seamline can sometimes make or break a pattern for my frame- and as you can see in the images, the off-the-shoulder sleeve wasn’t particularly flattering on me.

    My shoulder peak is literally at the edge of the facing. And you can tell.

    Add to that, but the weight of the sleeve pulls the shoulder seam down even further. I created mutton sleeves without meaning to.

    Simplicity 1364, Neckline and shoulder | Vintage on Tap

    I would still sew the View B version of Simplicity 1364 again.

    Closing in the neckline (covered in a previous post) is a simple drafting fix and the blouse is super versatile.

    The long sleeve version, probably avoiding unless I wanted to put in more time into pattern drafting.

    1960s Vintage Simplicity 1364 | Vintage on Tap

    If you’re tackling vintage Simplicity 1364, head my warnings above, but otherwise carry on!

    Realistically speaking, the top is a comfortable beginner pattern. But, there’s room for opportunity for improvement on it, if you want to take it there.

    How to Sew Simplicity 1364 video tutorial | Vintage on Tap

    Step One: Bodice Darts.

    If you had to do an insane FBA as I did, you may need to trim your darts after sewing and pressing. I used a rayon challis in my maroon version, and decided to leave about 5/8in seam allowance on that trim.


    1960s Vintage Simplicity 1364 | Vintage on Tap

    Step Two: Sleeve darts.

    Darts! On sleeves! How fun is that?

    You don’t often see darts on sleeves unless they’re on a sloper, but I love the small detail. Be sure to press the darts in the correct direction. Pressed down and you have a comfortable fitting sleeve. Pressed up and it  can rub against your elbow annoyingly as you move.

    How to Sew Simplicity 1364 video tutorial | Vintage on Tap

    Step Three: Finish with luxe details

    I opted for the following “upgrades” because I love being Extra about my sewing. I hand hemmed my blouse, and whipped stitched all my seam allowances.

    Also, if you have more of a curvy figure, I would definitely recommend making the waist tie– it really helps avoid the “sack” look.


    Like my tips and sewing tutorial videos? I put out new content twice a week. Get a weekly email from me, talking about nothing but sewing and recommending tutorials for your work!

    Want MORE sewing tips and advice?

    Get my sewing tips, advice, tutorials, and encouragement right in your inbox!

    Powered by Kit


    How to Sew Vintage Simplicity 1364 | Vintage on Tap

    Have you considered making this blouse? Do you like the off-the-shoulder seamline? Would you adjust it, like I’m planning on doing?


    All the Places, All the Stuff!
    Never miss a post by following me on Bloglovin’!
    Or go mobile- I’m on Instagram and YouTube!


  • Full Bust Adjustment + Fitting Simplicity 1364 How To!

    Full Bust Adjustment + Fitting Simplicity 1364 How To!

    Fitting and Full Bust Adjustment, Fitting Simplicity 1364 | Vintage on Tap

    Fitting Simplicity 1364 is simple, but the dart can be ridiculous.

    As you can see in the above image, the french dart on this bodice is insane, but sometimes a big bust just needs a big dart.

    For this blouse, I did a full bust adjustment of two inches. 

    The two inches is pretty normal for me, so I expected this much of a dart increase (especially since there was no additional dart to balance the fullness out.)

    Fitting and Full Bust Adjustment, Fitting Simplicity 1364 | Vintage on Tap

    If you’re experiencing weight fluctuation, this top might be for you.

    I was recently asked in the comments section of one of my previous videos, Weight and Sewing Self Esteem, if I had any recommendations for people who are currently moving a little bit around in their measurements.

    Simplicity 1364 is pretty versatile and I definitely recommend it as a comfortable, wearable, flattering top. 

    Specifically the tank top version. The long sleeve version will be discussed more at length in my next sewing video!

    Fitting and Full Bust Adjustment, Simplicity 1364 | Vintage on Tap

    Getting started with fitting Simplicity 1364.

    You will need the items below or their equivalents:

    Step One: Shorten (or lengthen) the bodice + Swayback

    In my case, I shortened my bodice about 1.25in because I’m suuuper short with no torso. You can observe the length of the bodice at timestamp 46 seconds in the video.

    Also, I went ahead and took care of the swayback at this point because it would just be easier, with a .5inch swayback at timestamp 1:49.

    Step Two: The Full Bust Adjustment

    As in my previous videos, I measured the distance between center front of the bodice and the center of my actual body, timestamp 2:43, to determine how much I would need to adjust for.

    The whole adjustment is covered at minute 2:52, however, as noted above the dart will be humongous if you have to do as much of an adjustment as I do. 

    Why is this important?

    Side darts normally finish cleanly into the side seam. If you have to do as drastic of an adjustment as I did (2in adjustment)- your dart might stretch into the bottom seam.

    There are a few things to consider at this point.

    1. Does your dart need to be rotated? After finishing the FBA, do a full bodice muslin to double check that the darts are landing at 1-2in from your bust point if you’re rocking a C-to-above. If the dart is pointing in the wrong place, you will need to rotate it, which may include rotating it off the waist seam.
    2. Are you sewing your dart with a slight curve, to complete a French Dart?
    3. If the dart looks ok, that’s fine! After sewing the dart, trim it so no extra fabric goes into the bottom seam. I decided to do this for this Simplicity 1364.

    Fitting and Full Bust Adjustment, Simplicity 1364 | Vintage on Tap

    I originally posted this fitting Simplicity 1364 video before publishing this post.

    Right away I got questions about things I didn’t cover in the video, so I’ve snapped a few pictures with additional tips down below. The questions focused primarily on fixing the shoulder and fixing the arm scythe, which are an easy, quick fix! And also are just a good excuse to pull out your french curve!

    Fitting and Full Bust Adjustment, Simplicity 1364 | Vintage on Tap

    Adjusting the shoulders

    The first thing you have to remember is that if you adjust the shoulders on this pattern, you will need to adjust the facing pieces to match. Please review my redrafting facings tutorial video to see how to transfer your chances over.

    In the above example sketch, I decided to move the shoulder closed about an inch, to close up the neck a little bit.

    Lines 1, 2, and 3 are variations on how you can blend that adjustment to the neckline, depending on the look you’re going for. When adjusting the shoulders on a blouse like this, you will be changing the style line at the neck just a touch, so please note that as you decide how much to bring in the shoulder.

    Notice line 3. Line 3 blends roughly one inch away from the center front seam, which is cut on fold with this pattern. You want to make sure that you leave about an inch or so of the regular neckline, just to make sure the center of your neckline looks smooth, with no interruption or abrupt weird curves.

    Fitting and Full Bust Adjustment, Simplicity 1364 | Vintage on Tap

    The arm scythe area definitely needs a little bit of blending.

    Please note: The arm scythe adjustments in this tutorial are for View C, without the sleeves attached. If you’re working on View A, measure the armhole size, and adjust the sleeve piece accordingly.

    The black pencil line is the curve after completing the FBA, where you can see that the curve is all jagged and weird. Depending on how much of an adjustment you had to complete, this area might be all choppy and weird.

    Use your French Curve to find a smooth transition along the sharpest area of change (line 1.) And then, if your bra is still peaking out slightly, you can add extra width to that area to make sure everything is covered as you find most comfortable.

    Fitting and Full Bust Adjustment, Simplicity 1364 | Vintage on Tap

    I hope you found this tutorial on fitting Simplicity 1364 useful to your project!

    Are you thinking of making this blouse? Do you want to make the short sleeve or long sleeve version? Do you have any other questions about fitting Simplicity 1364?

    Disclaimer: This post contains affiliate links :)


    All the Places, All the Stuff!
    Never miss a post by following me on Bloglovin’!
    Or go mobile- I’m on Instagram and YouTube
  • Completed: Britex Fabrics and Simplicity 8085

    Completed: Britex Fabrics and Simplicity 8085

    Teaser close up of Simplicity 8085 with Britex Fabrics cotton | @vintageontap

    Vintage Simplicity 8085, Britex Fabrics | @vintageontap

    Vintage pin up, Simplicity 8085 made with Britex Fabrics Italian watercolor cotton | @vintageontap

    Bodice close up, bias binding and Esterwilder pin on Britex Fabric Italian watercolor cotton | @vintageontap

    Back view of Simplicity 8085, bias binding and Britex Fabric watercolor Italian cotton | @vintageontap

    This fabric is a gem at Britex Fabrics- I used Simplicity 8085 to make this piece happen

    Can I say how much I love this dress? The comfortable wrap style of Simplicity 8085 can be both dressed up and dressed down. I decided to go with a stunning Italian cotton from Britex Fabrics that really makes this piece a knock out. I’m actually all ready looking forward for any excuse to wear it!


    Simplicity 8085 was a breeze to sew and for an advanced beginner and intermediate seamstress, you can whip up this design within a few hours after doing pattern adjustments. To read more about it and see additional photos,  please check out the Britex Blog or click on the image below!

    Find out more about Simplicity 8085 and Britex Fabrics | @vintageontap

    Disclaimer: This post was made possible with support from Britex Fabrics! If you’re in San Francisco, please check them out. Their store is a fabric paradise. 

  • Sewing Tips for Vintage Simplicity 1460, with Video!

    Sewing Tips for Vintage Simplicity 1460, with Video!

    Vintage Simplicity 1460, front view showing peplum length | @vintageontap

    Vintage Simplicity sewing patterns are definitely some of my favorites.

    A while back I stumbled on an absolute vintage gem from 1948, “Pattern for Smartness” which totally endeared me to Simplicity. The video was an advertisement, but honestly, the campy, “wholesome” vibe is one of my favorite aspects of vintage life.

    Vintage Simplicity 1460 peplum, pinup style | @vintageontap

    Dipping your toe into vintage Simplicity 1460 definitely sends you to the 1950s with its pretty peplum.

    Peplums do a phenomenal job of nipping you in at the waist and then flaring at the hips, which look great on people with short torsos like myself. I originally found this pattern a few years ago and was super excited to try it for my first pinup sewing video.

    Vintage Simplicity 1460 peplum blouse, sipping away at a cocktail and enjoying a day off | @vintageontap

    The fabrics recommended for this pattern are below:

    • Light-to-midweight cottons and linens
    • Brocade
    • Cotton Lawn
    • Cotton types
    • Crepe
    • Crepe de Chine
    • Dupioni
    • Shantung
    • Lace
    • Sateen
    • Satin
    • Voile

    To keep it simple for this sewing video and to make this quickly, I went with a midweight cotton for both versions of this peplum. If I were to make this again, I would definitely push myself more towards cotton lawn, woven eyelet fabrics, or even voile for a more delicate, less structured look, all with a silk camisole underneath (I’m thinking something like the Seamwork Savannah.)

    Vintage Simplicity 1460 peplum, pinup style | @vintageontap

    Tip #1: Watch the pattern ease!

    The biggest complaint I read before starting to sew vintage Simplicity 1460 was that there was a huge amount of wearing ease- and I can confirm it 100%.

    For vintage styles and modern pinup styles, huge wearing ease can be a style faux-pas, and with silhouette-hugging style such as this vintage Simplicity, its something you want to avoid (while also avoiding gaping buttonholes!)

    Decide on your size using the measurements on the pattern paper, not the measurements on the pattern envelope. In my case, I wanted to be mindful of any full bust adjustments that might be necessary so I picked my size based on my high bust with an inch of ease, and then did my adjusting as necessary. I speak to this at timestamp 1:20 in my video.

    Vintage Simplicity Peplum 1460, back view of completed peplum | @vintageontap

    Vintage Simplicity 1460 peplum blouse, peplum detail | @vintageontap

    Tip #2: Decide early on how long you want the peplum to be.

    Luckily, I only shortened my peplum just slightly, based off my height of 5’2″. I don’t see myself making the tunic length; it would probably make me look shorter than I already am!

    If you’re taller, you can definitely lengthen both the torso of the bodice and the peplum evenly, to keep the right proportions all around.

    There were plenty of people in the sewing community who lengthened the peplum into a full skirt, transforming this into a vintage dress. Please be mindful that the peplum is essentially a short circle skirt attached to a bodice: and lengthening the peplum will make for a lot more fabric used and will require extra reinforcements on the waistline, such as a grosgrain ribbon waist stay (discussed in my Vintage Vogue 8789 video, timestamp 9:25)

    Vintage Simplicity 1460 peplum blouse, button detail | @vintageontap

    Tip #3: Practice your Sewing 101 Basics

    Darts and buttonholes, while used extensively in garment sewing, really take center stage.

    This pattern features double french darts, beautifully curved darts that aren’t sewn in a straight line, discussed at timestamp 5:20 in the video.

    Buttonholes, because they are literally front and center, can really make or break the look of this piece. In both instances of this blouse, I used a busy fabric which (thankfully) disguised my wonky buttonholes. Be mindful that taking some time to practice your buttonholes will ensure that this vintage blouse looks perfect!

    I hope the above tips help you when you jump into making this blouse!

    Vintage Simplicity 1460 peplum blouse | @vintageontap

    What sort of fabric would you use if you were to make vintage Simplicity 1460? How do you see yourself styling it for that perfect pinup outfit?

    Disclaimer: This post contains affiliate links :)


    Do you like what you see?
    Never miss a post by following me on Bloglovin’!
    Or go mobile- I’m on Instagram and YouTube!