Tag: sewing tool

  • Invest in These Sewing Tools for Better Projects

    Invest in These Sewing Tools for Better Projects

    There is so much to spend your money on when starting out sewing that it’s easy to fall down the rabbit hole of buying everything. Or… buying a lot of cheap stuff. Do you know what sewing tools to invest in?

    Do you know what sewing tools you bought on a budget… but deserve an UPGRADE?

    This post is written for people interested in upgrading their sewing tools, breaking down which ones should be upgraded first!

    BIG DISCLAIMER! You can get very VERY far using budget tools. But if you have the opportunity to invest in sewing tools in this list, they make a difference. 

    Sewing Tools to Invest In -- you don't have to spend a lot to start sewing, but where should you invest your money?

    You don’t have to spend money on All The Things when it comes to sewing supplies.

    Investing in the right tools can support you in creating a garment that’s sturdy and well constructed. Time and time again.

    Invest in this Sewing Tool: Your Sewing Machine

    Question tile asking, What's the. most pricey (dollar sign) sewing tool you own?

    When I asked Vintagettes what was the sewing tool they invested in, over 95% of them said their Sewing Machine! It goes to show that this one is a biggie- you can’t get around it.

    Prices range from extremely cheap ($25 machine) to extremely expensive ($3,000+!) It’s easy to get lost on this tool alone. 

    Keep in mind that for budget sewing machines:

    • They tend to be mostly plastic, which weigh too little. This means they tend to bounce around more often, which affects their timing and internal alignments
    • Cheap machines also tend to have limited settings (or worse) too many novelty settings. These tend to be rarely used for garment sewing, taking away from having more SOLID basic stitches
    • Cheap machines also tend to lack attachments or tools which you might need. Or they’re made of cheap materials which will fall apart easily.

    What makes a sewing machine more valuable?

    • Pricier machines tend to be heavier, which don’t bounce on your table (think of them like a tank)
    • They have more robust basic stitches. The straight stitch, zig zag, etc tend to have less issues over time, maintaining proper length, etc., and not skipping
    • Attachments are almost always included and don’t generally have to be replaced since they’re a lot more built for time

    If you’re looking to upgrade from an entry level or cheaper machine and don’t want to break the bank…

    • Consider the budget (obviously)
    • Think about what you actually use, day to day. For example, I tend to ONLY use a straight stitch, zig zag, and back stitch.
    • Think of what’s a nice to have versus a MUST
      • Must have a buttonhole foot
      • The machine must have all the attachments so I don’t have to buy them one at a time
      • Be easy to fix with a local repair person (or not)

    Invest in this Sewing Tool: Steam Iron

    Bianca holding a steam iron, discussing why it's a sewing tool to invest in.

    If you watched my Top Beginner Sewing Mistakes video, you’ve heard me say, “you should spend as much time worrying about your iron as you do with your sewing machine.

    While it seems like a basic tool, an iron has a lot of power in how you manipulate the fabric and fibers themselves. These details are ones that get skipped over by beginners. But in reality, they play one of the bigger factors in making something look professional and neat.

    Click HERE to learn more about Top Sewing Problems (and how to work through them)!

    What makes an iron more valuable?

    • Consistent control over temperature
    • Consistent control over steam output
    • They tend to weigh more and require less downward pressure to fuse interfacing

    If you’re using an entry level iron and don’t want to break the bank, I would recommend considering…

    • The size of the water tank needed on the iron?
    • What granularity do you want in temperature control?
    • How much steam control is needed?
    • Retractable cable or wireless?
    • Is it just for sewing or for regular clothing as well?

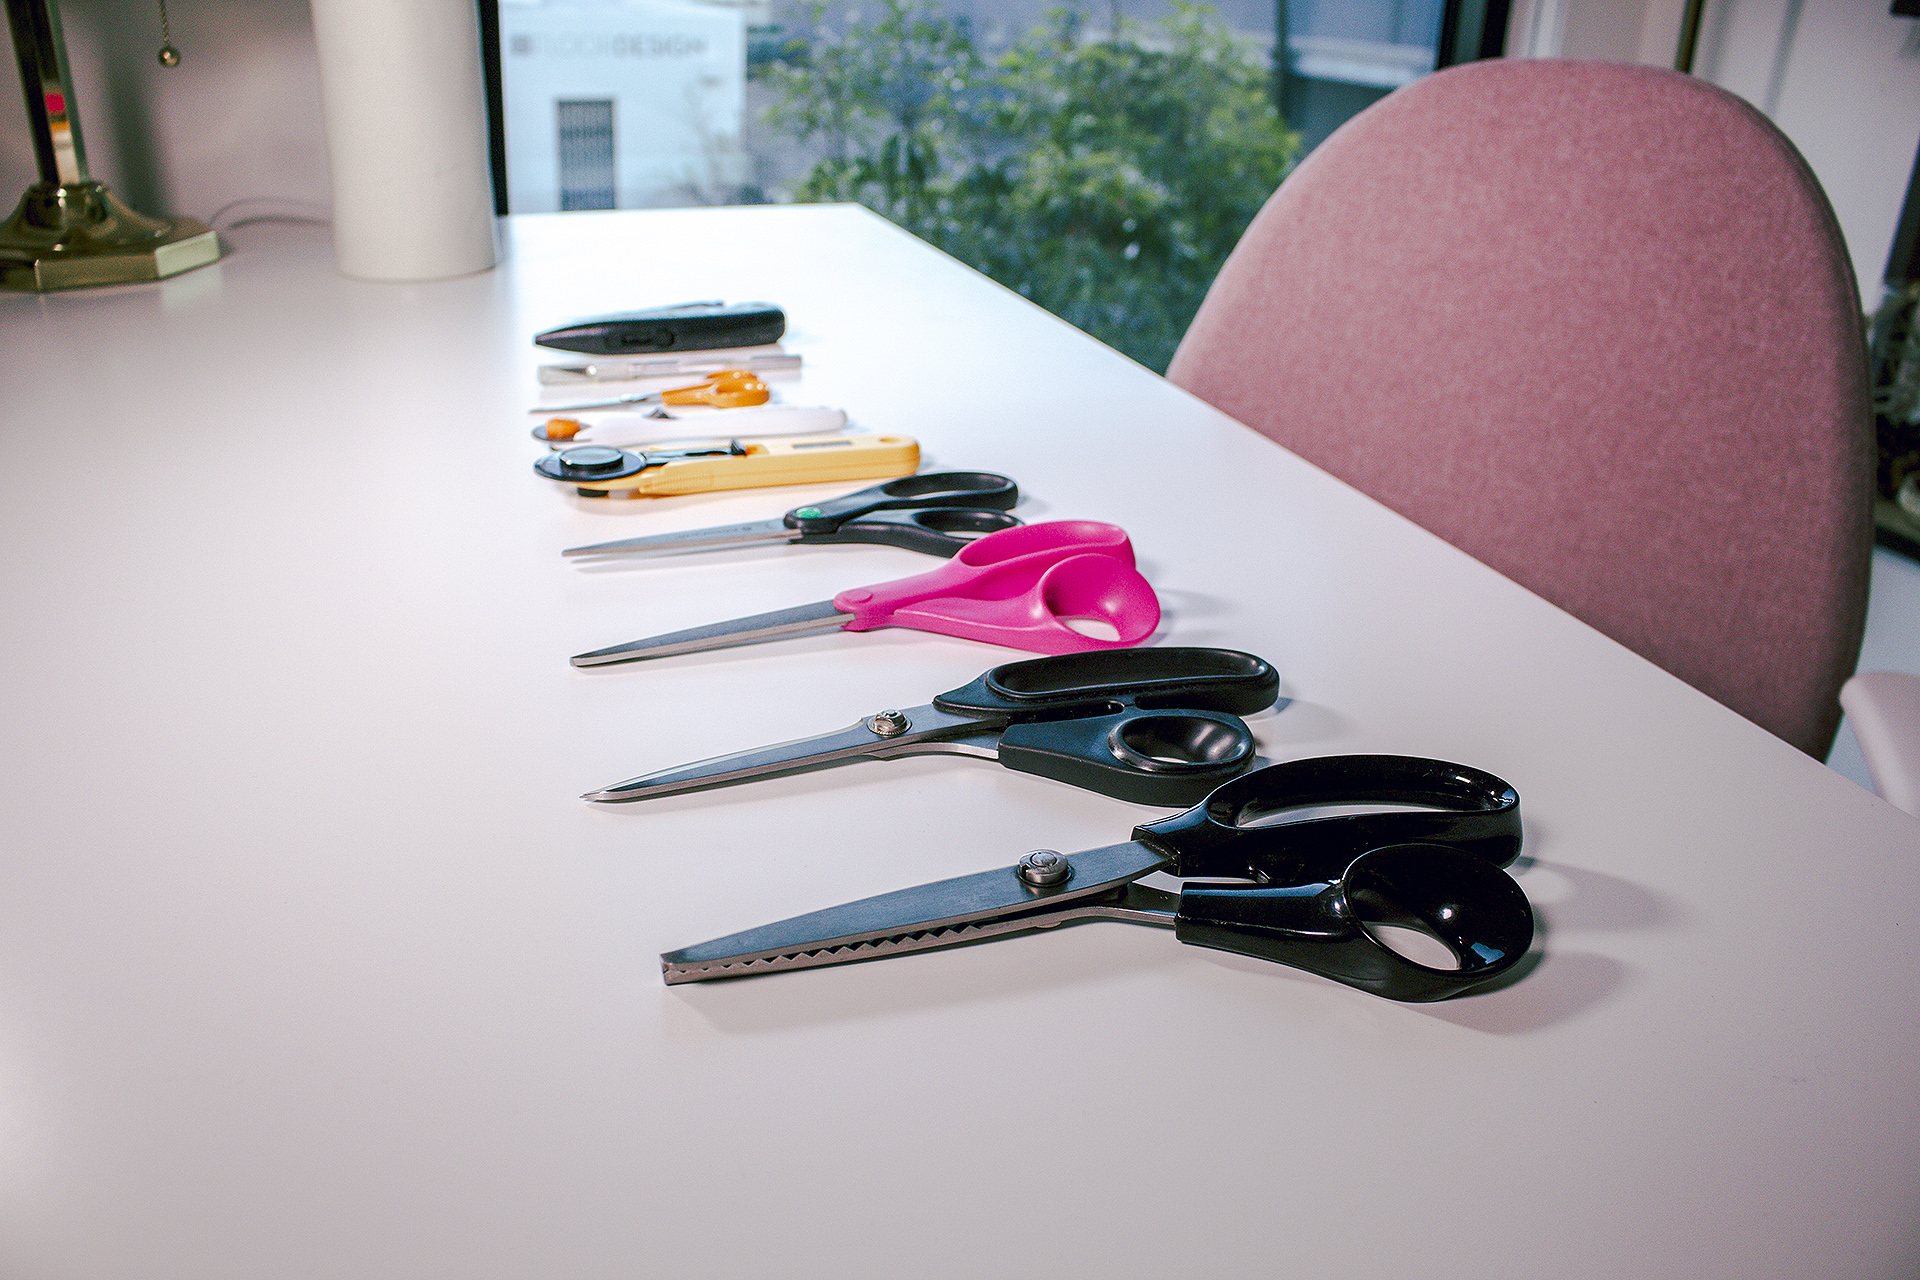
    Invest in this Sewing Tool: Cutting Implements

    Collection of cutting implements, discussing why they're an important sewing tool to invest in. Snips to pinking shears are displayed.

    This one is a tricky one, because everyone’s tolerance for a “nice version” of this can vary widely.

    Some people like tools with better handles, some people like having decorative ones. Some like heavy scissors and cutting tools, some like lighter ones due for ease of use, especially for joint pain.

    I have a wide range of cutting implements and each has a different purpose, collected over the years. None of these serve double purpose– they’re all very specific about what I need them to do.

    At the end of the day, I’m looking for quality, sharp tools. Tools which hold their edge the longest and which can be sharpened.

    Why? The main reason is around SAFETY. Also, cheap tools can damage fabric.

    If you’re looking for new cutting tools, think about these things:

    • Is this going to be comfortable to hold for potentially HOURS of time?
    • What do I need this to actually cut through?
    • What are my sharpening options? 

    Learning How to Invest in Sewing Tools takes time, but this list should get you up and running!

    Bianca with her sewing machine, discussing why it as an investment.

    Every tool is not only an investment, but it’s something you should be able to rely on again and again over the years.

    You don’t have to break the bank. A lot of the items on this list can be bought at a discount, with coupons, or on heavy markdown. Keep an eye out on your local stores and be sure to save up for the equipment you would really want use.


    Invest in these Sewing Tools to elevate your sewing! It's easy to get bogged down with cheap sewing tools, but the tools you invest in make a difference.
  • How to Use a French Curve, Video Tutorial!

    How to Use a French Curve, Video Tutorial!

    Learning how to use a French curve in your pattern drafting is important.

    So important, that I would wager to say that besides my straight edge grided ruler and mechanical pencil, I would honestly flip my sh*t if my French curve went missing. Ever since I learned about it at university, its super high on my list for top sewing tools; there is not a single project that my French curve is not integral to success.

    The types of French curves on the market are numerous.

    If you’re searching Amazon, I can definitely see how they might be intimidating to even think about!

    The two in their listings that I would recommend are:

    • Fairgate Vary Form Curve
      • Pros: This is essentially the one I use (haha!), sturdy, can use it with my rotary blade
      • Cons: Not transparent
    • Dritz Styling Design Ruler
      • Pros: Love the gridded section, love the straight edge component, transparent
      • Cons: Plastic may snap or be ruined by cutting implements, not a dual sided curve, looks kind of flimsy for long term use

    How to use a French Curve | Vintage on Tap

    With so many French curves out in the market, you can use most of them in your pattern drafting. When choosing one, please just consider the following questions:

    • What are you primarily going to use it for? If for strictly pattern drafting, you’d be ok with a plastic ruler, but if you want to also be able to cut with it, stick to a metal ruler.
    • How are you planning on storing it? If hanging, make sure it has a hole in the body to hang from.
    • Is this going to be your single French curve? If so, look for a long French curve with a sharper curve at the head that can serve double duty. If you’re able to afford and have space for multiple tools, you can purchase sharper curved pieces separately and instead aim for a more traditional French curve with more gentle, natural curves.

    The length of this sewing tool is super important.

    Please, aim for a larger French curve that will be adequate for the length between your bust line to hip line– you may have to use this curve to blend that distance.

    How to use a French Curve, blending curves in armhole | Vintage on Tap

    How to Use a French Curve Tip #1: Blending jagged edges, like armholes after a full bust adjustment.

    I discuss this particular tip at the 30 second timestamp.

    The first consideration for this step is that you’re essentially looking for the median of the jagged edge: a line that blends as many of the points together into a smooth, curve that would feel natural against the body.

    1. Identify the areas that need to be blended and decide what type of curve it needs– convex, concave, S-shape, etc.
    2. Identify which part of the ruler will hit the right median between the points.
    3. Move the ruler around in order to capture different parts of the curve as needed. For example, if you’re working on an armscythe you might need one portion of the french curve versus if you’re blending the waist of a dress, you might need to reference 4+ edges of the ruler!

    The main take away of this step, is that when you’re learning how to use a French curve, you can really make that new line do whatever you want it to do. 

    Even a change in a curve of 1/4in makes a difference. If an armhole is too tight, you can change that curve as needed. If a pencil skirt is too straight, you can give it a little more va-va-voom.

    Experiment with the different parts of the ruler for the best curve for the part of the garment you’re working on, but don’t forget to walk your pattern seams after doing this step, just to make sure everything lines up!

    How to use a French Curve, blending pattern pieces | Vintage on Tap

    How to Use a French Curve Tip #2: Blending between pattern pieces.

    In my example at timestamp 1:45, I blend between the front and back pieces that aren’t matching at the side seam.

    This will apply in so many different situations:

    • Blending the shoulder seams
    • Blending a bodice to a skirt
    • Blending a sleeve head
    • Blending skirt pieces to one another

    The concept is pretty simple, though! If you’re walking a seam, and see that no matter what you do, your pattern pieces are not walking properly (bodice is too long compared to the back, etc.)– identify which pattern piece needs to be blended to its corresponding seam.

    In practice, the steps are straight forward:

    1. Walk pattern pieces and calculate how much more needs to be added or subtracted from the “off” piece
    2. Walk pattern until the relevant seam is sitting as it will ultimately be finished (for example, if you’re working on a princess seam, walk the pattern from the top edge, down the curve, to the waist seam.)
    3. Complete steps as outlined in the video, using the French curve to redraft the seam into a smooth curve
    4. Rewalk the seam to confirm that the new seam is meeting correctly (in the above example, rewalk the seam from both the top edge AND the bottom edge of the princess seam, to make sure BOTH seam ends match up and are smooth)

    How to use a French Curve, blending pattern pieces | Vintage on Tap

    Completing the above process will make a brand new cut line, so be sure to only add on the appropriate amount for the seams to match. 

    If you’re making a bodice for a dress, doing this step on the side seam means that you’ll have to rewalk the bodice pieces to the skirt to make sure THOSE seams match properly.

    Ultimately, this is where the “drafting” in “pattern drafting” is at its full, 100% effect. You are essentially using your French ruler to mold a pattern to your body and make sure a piece of paper is translating your natural curves. Its a combination of sewing and geometry, down to the 1/4 inch.

    How to Use a French Curve on Darts | Vintage on Tap

    How to Use a French Curve Tip #2: Trueing a dart.

    Or “truing” a dart- same thing. This step is covered at 3:56 in the video.

    Essentially in this step, you’re making sure that any changes to a dart are accommodated for by making sure there is enough fabric at the bottom of the dart to fit within the seam allowance.

    While this might be tricky to conceptualize, if you think back on a dart you may have had to a change on- whether its a full bust adjustment, a small bust adjustment, or even just a movement of the dart, you need to make sure that when the dart is closed, that the dart seam allowance fits neatly within the final seamline.

    To get this step done, complete the following steps:

    1. Close the dart in the direction of where the dart will be pressed
    2. Identify the seam that needs to be blended
    3. Draw the new blended line using the appropriate section of the French curve. You can also use a tracing wheel for this step. Please no more than 2- max 3- passes of the tracing wheel (too many passes and the line gets “blurry” to follow)
    4. Open up the dart and complete the new dart redraw. If you used a tracing wheel, use the French curve to connect the dots of the tracing.

    Please note- the above steps are for MOST darts, whether a side seam dart, a waist dart, skirt dart, whatever. At the very least, close the dart and make sure you have a smooth seamline just to confirm that your dart will sit properly when you move onto the fabric.

    How to Use a French Curve on Darts | Vintage on Tap

    Learning how to use a french curve can really elevate your sewing experience like crazy.

    For such a simple and relatively cheap tool, it can make for better drafting overall and for better understanding of how pieces fit together.

    As I cover in my Walking a Pattern video, a 1/4in here and there can add up into garments that don’t fit. By using a combination of walking seams and French curve, you can remove some of those obstacles that can make it difficult to fit clothing to the body.


    I hope you found the tutorial useful!

    As I said in the video, I receive lots of questions about this tool because I use it so extensively in my pattern drafting tutorials. The playlist for pattern drafting tutorials has grown like crazy at this point- and I think at this point the French curve has made in appearance in at least 50% of them!

    Want MORE sewing tips and advice?

    Get my sewing tips, advice, tutorials, and encouragement right in your inbox!

    Powered by Kit


    How to use a French Curve, tutorial | Vintage on Tap


    Have you learned how to use a French curve before? Are there any other ways that you use this tool? If you haven’t used one before, why not? How can this sewing tool help your pattern drafting?


    Disclaimer: This post contains affiliate links :)


    All the Places, All the Stuff!

    Never miss a post by following me on Bloglovin’!
    Or go mobile- I’m on Instagram and YouTube!