Tag: bias binding

  • How Sew a Bias Facing, Video Tutorial

    How Sew a Bias Facing, Video Tutorial

    How to Sew a Bias Facing, video tutorial | Vintage on Tap

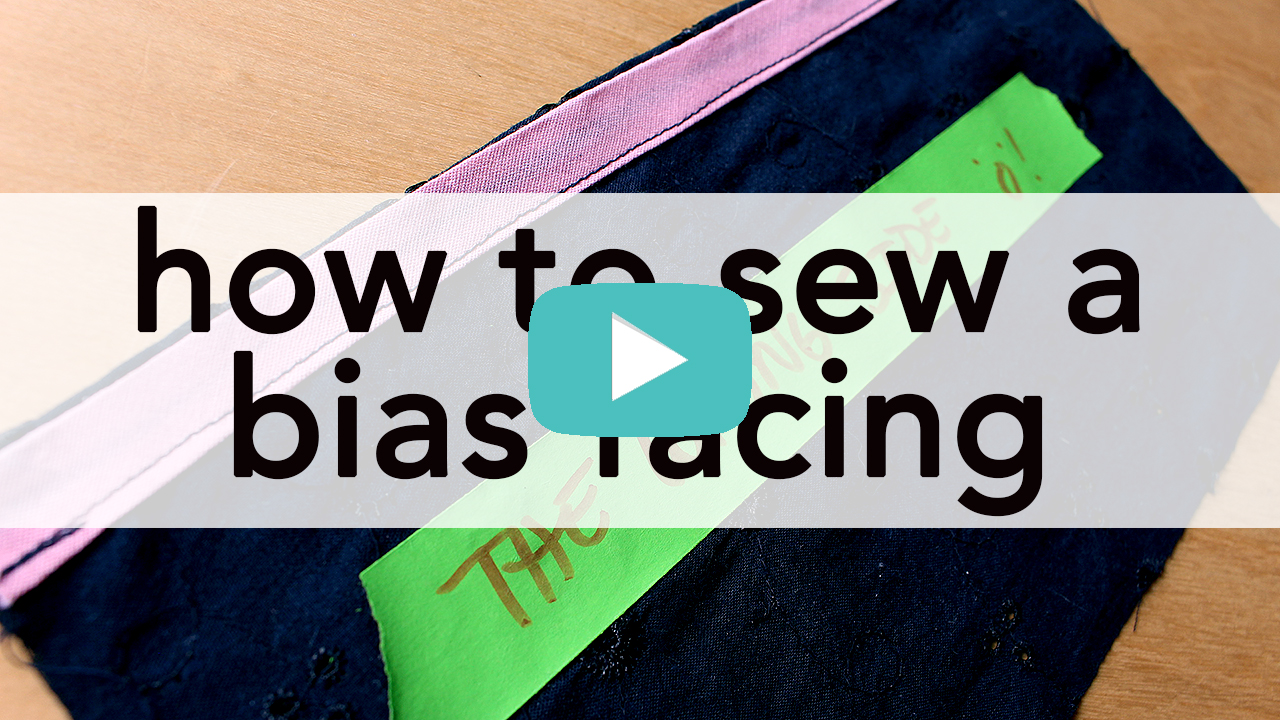
    Sewing a bias facing is simple and satisfying.

    I actually love how clean and professional the technique is and have used it on almost every type of project. Whether its an armhole or a neckline, it makes for a quick finish.

    The most common place you’ll use a bias facing is on an armhole. 

    There are definitely plenty of ways to finish an armhole, including:

    • Sewing a full facing
    • Turning the edge and then stitching in place with a straight stitch
    • Serging

    While all of the above options have some pros and cons, I think bias facings are a really nice, clean solution of finishing an edge if you’re working with a woven. Its stable and the wear and tear holds up over time.

    I also used this bias facing technique in my recent short-sleeve Simplicity 1364 which was posted recently.

    Before you begin sewing your bias facing:

    Don’t skip the prep work for your armholes, which mainly includes figuring out your seam allowance situation!

    What do I mean by seam allowance situation?

    Most seam allowances are 5/8 inch, with armholes occasionally at 3/8 inch. The width of your bias binding (or bias tape, as I describe in the video) will affect how this technique works, but it can be easily accommodated for. In my video, I used a bias binding that was 1/2 inch wide. The seam allowance, when all was said and done was a scant 3/8 inch in my video.

    How did I calculate that?

    The bias tape is 1/2 wide, folded (1 inch wide, unfolded.)

    Line #1 in the video is sewn at 1/4 inch (at the first fold.)

    The bias binding, when turned and pressed, creates a lip of roughly 1/8 inch before Line #2 is sewn in place.

    If you’d like to stick to a 5/8 seam allowance, I would recommend using a 1 inch wide piece of bias binding (2 inches wide, unfolded); Line #1 stitched at 1/2 inch. 

    How to Sew a Bias Facing, video tutorial | Vintage on Tap

    Step One

    Pin your bias binding in place, time stamp 1:20.

    If you’re using commercially purchased bias binding, unfold one edge of your bias binding and pin it to the right side of your fabric. (If you’re using a simple strip of bias tape that you’ve made yourself, you probably won’t have to unfold an edge.) Do this with right sides together.

    Please note, if you’re working on a curve, please steam your bias tape into an approximate shape of the curve it will be matching before completing Step One.

    Taking the time to press the bias binding into a curve will allow the tape to naturally curve in the direction you want it to lay, making it easier to pin and sew. I go over this step at timestamp 1:11 in the video tutorial.

    Step Two

    After pressing, sew Line #1 of stitching, time stamp 2:17.

    In the sample in the video, I stitched Line #1 at roughly 1/4 inch, which coincided with the memory fold line in the bias tape. If you’re using a wider bias tape, as noted above, Line #2 may be stitched at a different seam allowance.

    How to Sew a Bias Facing, video tutorial | Vintage on Tap

    Step Three

    Press the bias tape closed at the stitch line, and then turn under, time stamp 2:36. Turn the bias tape to the wrong side of the fabric and repin in place.

    If you’re working on a curve, you’ll need some steaming action to ease the bias tape in place. Steam like crazy, aiming to shrink the bias tape as it curves in on itself and have the bias tape lay as flat as possible.

    How to Sew a Bias Facing, video tutorial | Vintage on Tap

    Step Four

    Sew Line #2, closing the bias tape, timestamp 3:25. Make sure you sew Line #2 at a location that works for your garment and that can still close up the bias tape with no problem.

    How to Sew a Bias Facing, video tutorial | Vintage on Tap

    Overall, sewing a bias facing is straight forward.

    I didn’t discover this process until after I’d been sewing a while and only because I thought I was going to tackle something complicated. The name almost hints at it being inherently difficult, but its really not.

    Definitely take the time to make a sample on a scrap of fabric of both the straight seam and curved seams, just to get the hang of it and see if you like the technique and see it being part of your sewing arsenal!

    Hopefully this video made the process a little more straight forward to understand and easy to tackle! Taking a moment to deep dive on new techniques can really build up your knowledge and I’m all about making samples of absolutely everything, just to get better and better at what you do.

    Want MORE sewing tips and advice?

    Get my sewing tips, advice, tutorials, and encouragement right in your inbox!

    Powered by Kit

    How to Sew a Bias Facing, video tutorial | Vintage on Tap

    Do you see yourself using this technique in your future projects? Have you tried this technique before? What do you like or dislike about it?

    Disclaimer: This post contains affiliate links :)


    All the Places, All the Stuff!
    Never miss a post by following me on Bloglovin’!
    Or go mobile- I’m on Instagram and YouTube!


  • Completed: Britex Fabrics and Simplicity 8085

    Completed: Britex Fabrics and Simplicity 8085

    Teaser close up of Simplicity 8085 with Britex Fabrics cotton | @vintageontap

    Vintage Simplicity 8085, Britex Fabrics | @vintageontap

    Vintage pin up, Simplicity 8085 made with Britex Fabrics Italian watercolor cotton | @vintageontap

    Bodice close up, bias binding and Esterwilder pin on Britex Fabric Italian watercolor cotton | @vintageontap

    Back view of Simplicity 8085, bias binding and Britex Fabric watercolor Italian cotton | @vintageontap

    This fabric is a gem at Britex Fabrics- I used Simplicity 8085 to make this piece happen

    Can I say how much I love this dress? The comfortable wrap style of Simplicity 8085 can be both dressed up and dressed down. I decided to go with a stunning Italian cotton from Britex Fabrics that really makes this piece a knock out. I’m actually all ready looking forward for any excuse to wear it!


    Simplicity 8085 was a breeze to sew and for an advanced beginner and intermediate seamstress, you can whip up this design within a few hours after doing pattern adjustments. To read more about it and see additional photos,  please check out the Britex Blog or click on the image below!

    Find out more about Simplicity 8085 and Britex Fabrics | @vintageontap

    Disclaimer: This post was made possible with support from Britex Fabrics! If you’re in San Francisco, please check them out. Their store is a fabric paradise. 

  • How to Sew a Robe: The Seamwork Almada video tutorial

    How to Sew a Robe: The Seamwork Almada video tutorial

    How to sew a robe, the Spring Seamwork Almada Robe | @vintageontap

    If you were curious about how to sew a robe, this video tutorial is perfect for you.

    Working on a string of tricky projects always makes me want to turn my eye to something light, airy, and comfortable. And no matter your sewing level, stitching up the Seamwork Almada robe is simple and quick.

    The Almada robe is a Seamwork Magazine pattern that was released as part of their Intimates issue in 2016. Its comfortable kimono-style makes it a quick make and a nice lounging piece.

    This robe is comfortable and it would also work just as well in a light flannel for cuddling up on the couch when its cold out!

    Enjoying a glass of wine in my Spring Seamwork Almada Robe, learn how to sew a robe with this post! | @vintageontap

    Using a seam ripper on my Alamada Robe, learn how to sew a robe with this post | @vintageontap

    I sewed this kimono robe with a smooth poly/rayon satin.

    I picked this blend specifically for its washing ease and soft print, which for it being a “home” piece, was absolutely paramount. The bias binding trim was self-made from 100% silk, which gives the robe a great pop of color, though the original pattern doesn’t include this trim. Instead, the original pattern uses the bias band as an interior bias facing, but I decided to skip it since the trim is more fun! I covered this section in my video tutorial at 0:48 and more in depth at 3:17.

    Luxe sewing details are always a fun thing to incorporate when you’re considering how to sew a robe, and I decided to add piping on the sleeve hem, since it seemed to make sense with the silk bias band. I go over this in depth at 4:02 in the robe sewing video.

    To buy this pattern, subscribe to Seamwork Magazine (and get $3 off your first month!) by clicking here.

    Or, buy the pattern as a standalone by clicking here.

    Wine afternoon in my Seamwork Almada Robe | @vintageontap

    Wine afternoon in my Seamwork Almada Robe video tutorial | @vintageontap

    Learning how to sew a robe of this fabric type requires a few extra steps.

    Because of the fabric, I opted for french seams throughout to completely cut down on the unraveling issues. For the hem, I did a simple rolled hem with a rolled hem foot I didn’t realize I’ve had for years!

    I also made sure to use only sewing needles and pins that would be maintain the integrity of the fabric, which meant satin-grade pins and thin sewing machine needles.

    Ukulele love with Seamwork's Almada Robe | @vintageontap

    Sewing Spring Seamwork Alamada Robe | @vintageontap

    Curious about my sewing tools? Click below!

    Recommended Sewing Tools by Vintage on Tap

    Learn how to sew a robe, have a completed Seamwork Almada Robe! | @vintageontap

    This Seamwork pattern didn’t stitch up in the suggested time, but I’m very well aware it was because I did some extra work.

    Depending on the type of look you’re going for with sewing this robe, it can stitch up in the approximated 2 hours. Had I decided to make this in a simple woven fabric and just pinked all the seams, this could have been done in the span of a good movie.

    The most complicated thing about this pattern was just the process of trying to wrangle the fabric to stay put when I was cutting it out, which had more to do with the poly/rayon than the pattern.

    Completed Seamwork Almada Robe | @vintageontap

    Completed Seamwork Almada Robe, learn how to sew this robe! | @vintageontap

    I’ve all ready started to wear this robe every day since I stitched it up; its part of my at home “uniform!”

    I recommend this robe if you’re looking to start building up a self sewn wardrobe because its absolutely essential before bed or for early morning coffee. When you’re starting your day and catching up on Instagram (which by the way, are you following me on IG?), this makes for a quick cover up.

    Completed Seamwork Almada Robe | @vintageontap

    If you want to learn how to sew a robe, you’ll be super pleased with this sewing pattern.

    The loose, comfortable design has made it my go-to piece when I wake up in the morning and right before I go to sleep. I definitely recommend you make it ASAP and check out the video above if you want a tutorial of the process!

    Making matching underwear to this robe is a total must. For example, why not make a pair of sexy underwear to go with your new robe? 

    How to sew underwear, made with the Seamwork Geneva pattern | Vintage on Tap

    Cute pair of undies and matching robe? Gorgeous! (Click here to learn how to sew these panties!)

    And don’t forget, get $3 off your first month of Seamwork Magazine by clicking on this link!

    Pin this Post!!

    How to Sew a Robe, The Seamwork Almada | Vintage on Tap


    Do you like what you see?
    Never miss a post by following me on Bloglovin’ or via the Newsletter!
    Or go mobile- I’m on Instagram, YouTube, and Snapchat (?vintageontap)!
    Disclaimer: This post contains affiliate links :)