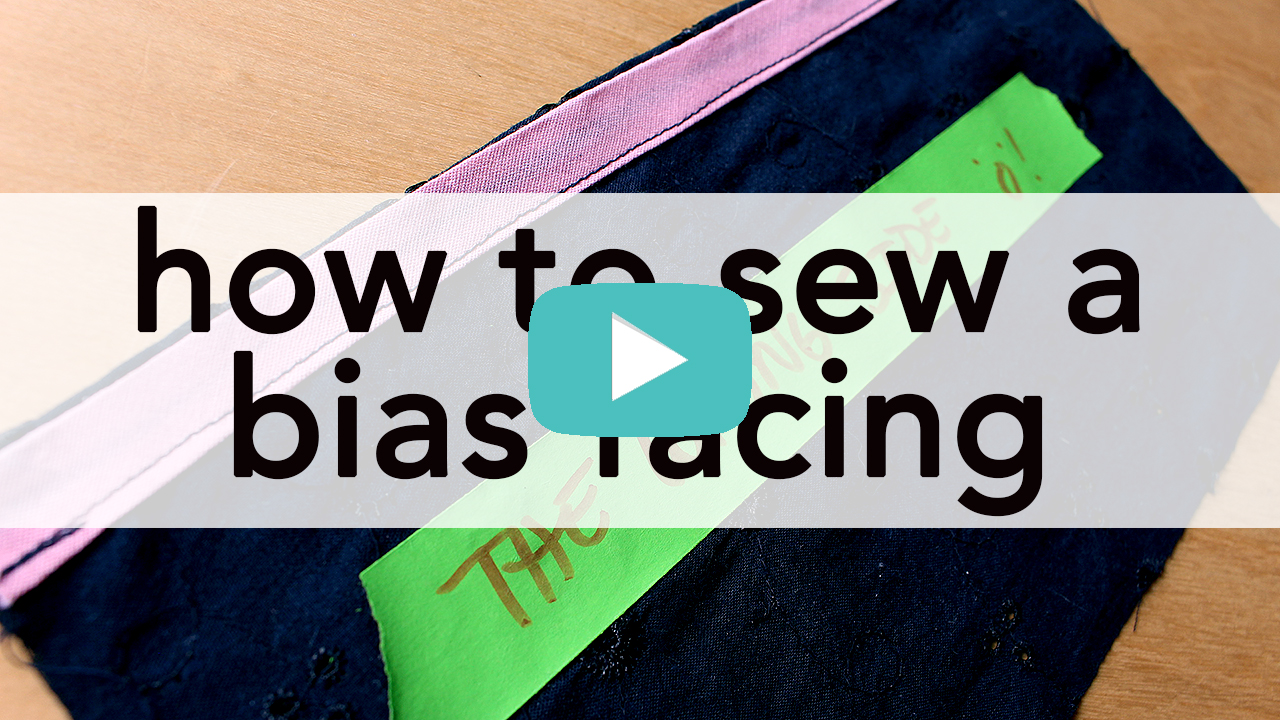
Sewing a bias facing is simple and satisfying.
I actually love how clean and professional the technique is and have used it on almost every type of project. Whether its an armhole or a neckline, it makes for a quick finish.
The most common place you’ll use a bias facing is on an armhole.
There are definitely plenty of ways to finish an armhole, including:
- Sewing a full facing
- Turning the edge and then stitching in place with a straight stitch
- Serging
While all of the above options have some pros and cons, I think bias facings are a really nice, clean solution of finishing an edge if you’re working with a woven. Its stable and the wear and tear holds up over time.
I also used this bias facing technique in my recent short-sleeve Simplicity 1364 which was posted recently.
Before you begin sewing your bias facing:
Don’t skip the prep work for your armholes, which mainly includes figuring out your seam allowance situation!
What do I mean by seam allowance situation?
Most seam allowances are 5/8 inch, with armholes occasionally at 3/8 inch. The width of your bias binding (or bias tape, as I describe in the video) will affect how this technique works, but it can be easily accommodated for. In my video, I used a bias binding that was 1/2 inch wide. The seam allowance, when all was said and done was a scant 3/8 inch in my video.
How did I calculate that?
The bias tape is 1/2 wide, folded (1 inch wide, unfolded.)
Line #1 in the video is sewn at 1/4 inch (at the first fold.)
The bias binding, when turned and pressed, creates a lip of roughly 1/8 inch before Line #2 is sewn in place.
If you’d like to stick to a 5/8 seam allowance, I would recommend using a 1 inch wide piece of bias binding (2 inches wide, unfolded); Line #1 stitched at 1/2 inch.

Step One
Pin your bias binding in place, time stamp 1:20.
If you’re using commercially purchased bias binding, unfold one edge of your bias binding and pin it to the right side of your fabric. (If you’re using a simple strip of bias tape that you’ve made yourself, you probably won’t have to unfold an edge.) Do this with right sides together.
Please note, if you’re working on a curve, please steam your bias tape into an approximate shape of the curve it will be matching before completing Step One.
Taking the time to press the bias binding into a curve will allow the tape to naturally curve in the direction you want it to lay, making it easier to pin and sew. I go over this step at timestamp 1:11 in the video tutorial.
Step Two
After pressing, sew Line #1 of stitching, time stamp 2:17.
In the sample in the video, I stitched Line #1 at roughly 1/4 inch, which coincided with the memory fold line in the bias tape. If you’re using a wider bias tape, as noted above, Line #2 may be stitched at a different seam allowance.

Step Three
Press the bias tape closed at the stitch line, and then turn under, time stamp 2:36. Turn the bias tape to the wrong side of the fabric and repin in place.
If you’re working on a curve, you’ll need some steaming action to ease the bias tape in place. Steam like crazy, aiming to shrink the bias tape as it curves in on itself and have the bias tape lay as flat as possible.

Step Four
Sew Line #2, closing the bias tape, timestamp 3:25. Make sure you sew Line #2 at a location that works for your garment and that can still close up the bias tape with no problem.

Overall, sewing a bias facing is straight forward.
I didn’t discover this process until after I’d been sewing a while and only because I thought I was going to tackle something complicated. The name almost hints at it being inherently difficult, but its really not.
Definitely take the time to make a sample on a scrap of fabric of both the straight seam and curved seams, just to get the hang of it and see if you like the technique and see it being part of your sewing arsenal!
Hopefully this video made the process a little more straight forward to understand and easy to tackle! Taking a moment to deep dive on new techniques can really build up your knowledge and I’m all about making samples of absolutely everything, just to get better and better at what you do.


Comments
2 responses to “How Sew a Bias Facing, Video Tutorial”
Honey, bias binding is going to be my new best friend. I’m all about working smarter and not harder. What a neat way to finish a seam.
Cheers,
Lyric
This finishing technique has legitimately saved me SO MUCH TIME. Trying to turn fabric on tight curves is the absolute worst! Glad this helps.