Tag: tutorial

  • Critical Sewing First Steps

    Critical Sewing First Steps

    This post breaks down the critical sewing first steps you don’t want to miss when you’re starting a new project. 

    I break down my learnings from 20 years sewing experience, trial and error, and tips I’ve picked up in fashion school and along the way.

    It is very important to have a strong start to your project from the moment you pick out your sewing pattern.

    Taking time from the very beginning to set up for success goes a long way at making your projects easy to approach.

    Sewing First Steps: Pattern Foundations [Timestamp 00:36]

    Ask yourself: is this the right pattern for you?

    While there are so many beautiful sewing patterns in the world, taking the time to determine if you’re using the right pattern for your sewing skill level is critical. Some patterns may be too complicated, too intricate, or use techniques you’ve never tried before. This may extend out to using fabric and materials you’ve never worked with before, too.

    Use two tools to deep dive into it: a sewing notebook and the internet, which support your sewing detective work, to learn your project.

    Google the pattern you’re about to make. When doing so, don’t just admire the pretty photos or videos (though those help!) Instead, look for and critically observe other people’s projects, noting other sewist’s comments on complicated aspects of the design, instructions, or even corrections and work arounds. Take copious notes you can refer to over the course of the project.

    It’s critical to parse through what was difficult or easy for the person who made it, learning from their experience before you even start.

    Image of an unfolded paper sewing pattern, being read with a smiling face.

    For example, when I made a bomber jacket, reviews kept stating that the sleeves were cropped, time and time again. I ignored that advice and… their notes proved 100% correct: the sleeves were too short! Had I actually taken my own advice, I could have lengthened them by the recommended couple inches and had a better jacket.

    Once you feel confident that you know where the pitfalls are, you can move onto your sewing mise en place.

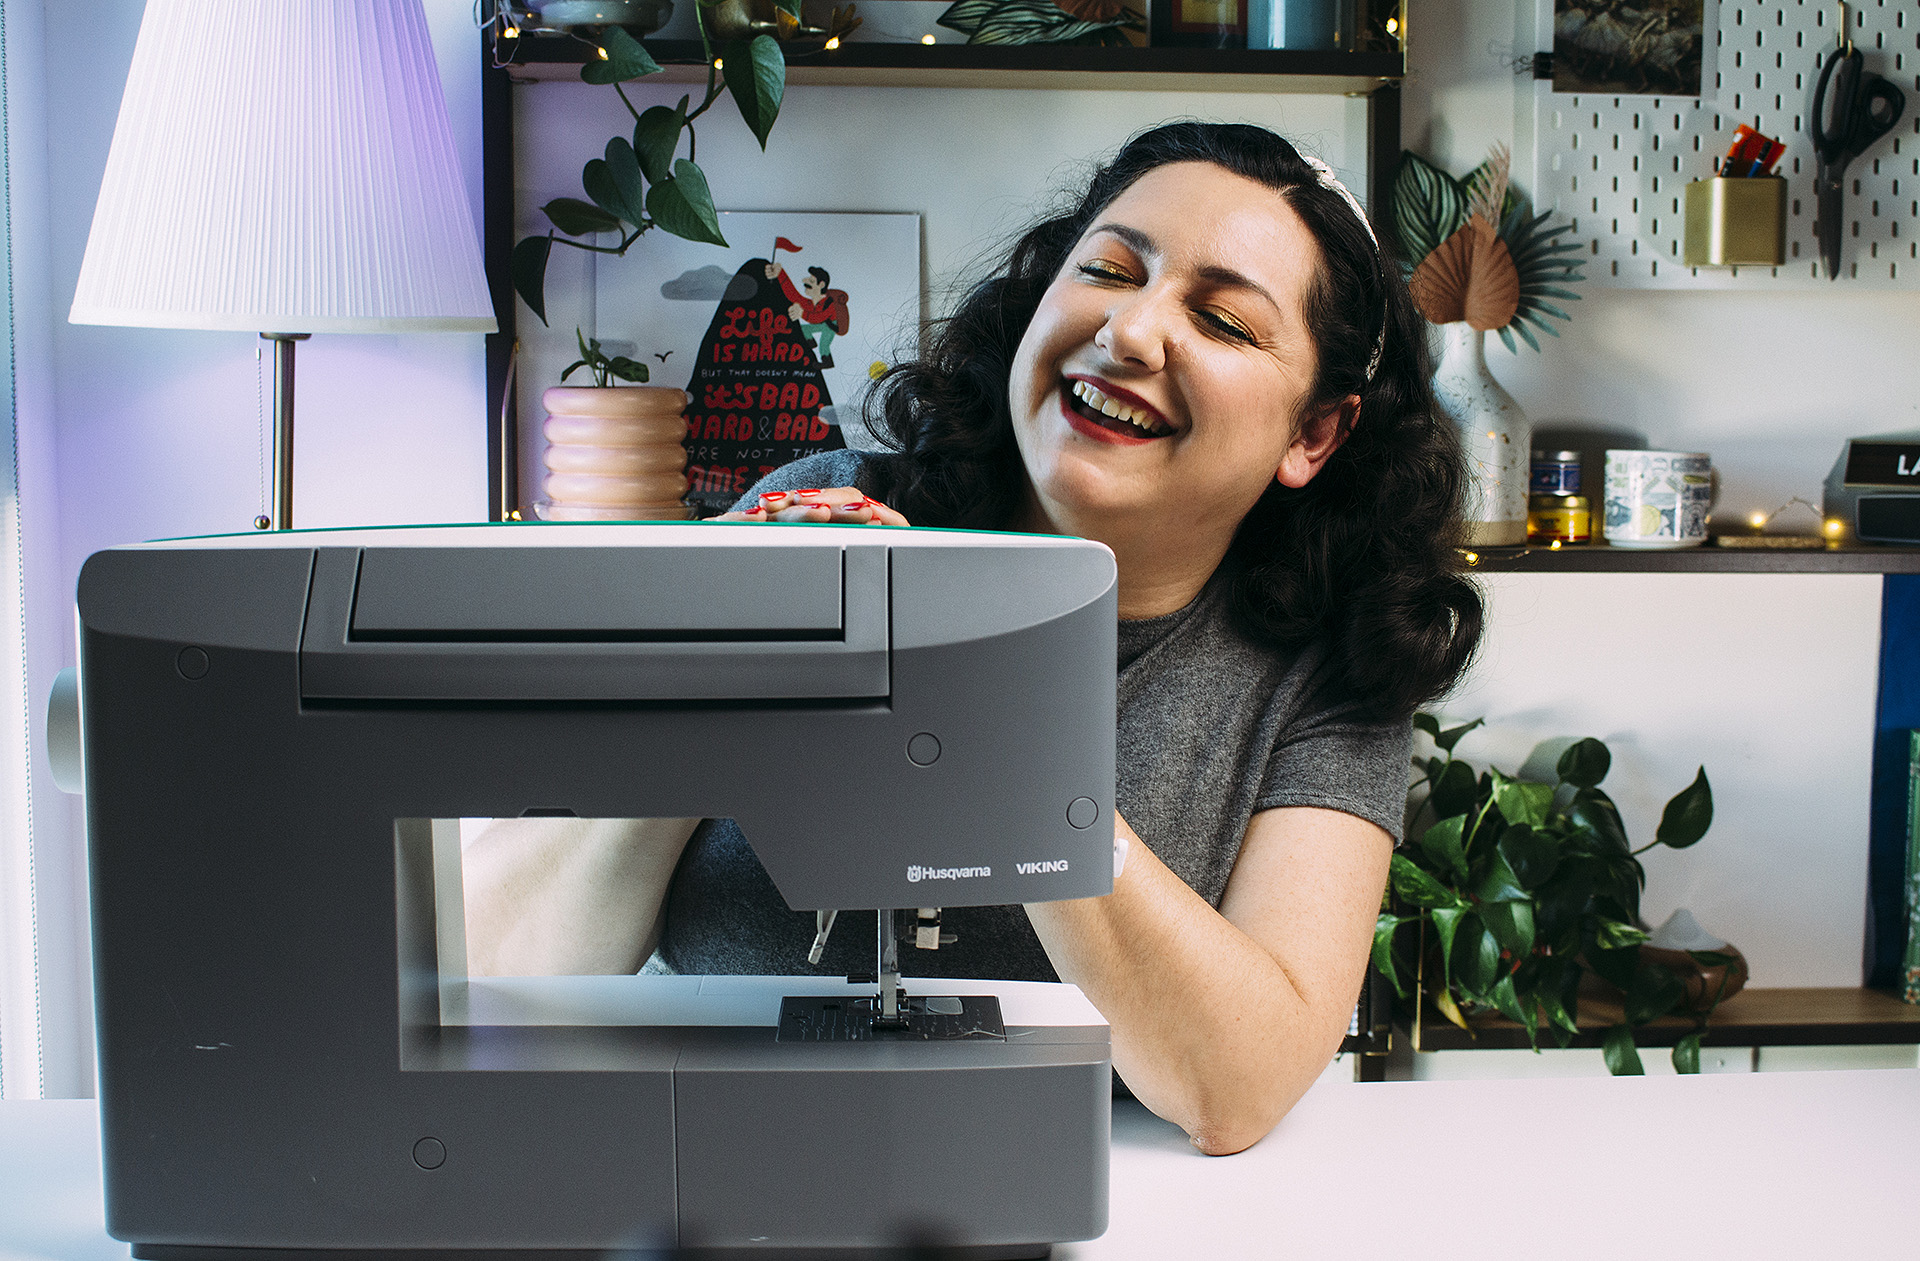
    Laughing, setting up a sewing machine

    Sewing First Steps: Your Sewing mise en place [Timestamp 02:34]

    Mise en place is French for Everything in Place, taken from the cooking world.

    Most people generally understand the importance of getting the sewing space in order, but problems pop up when you’re on a time crunch. Specifically, finding out at the last minute that you’re out of thread and the fabric store closed an hour ago.

    Yes, it has happened to me. Plenty of times.

    Mise en place is more than just all the materials being ready to go- though that’s part of it. It also includes taking inventory of how many items the pattern calls for, what specifically you need (not guessing), and evaluating how long it might take to restock a missing item so you’re not scrambling. 

    For example, this includes making sure your fabric and your pattern pieces are all accounted for. 

    Don’t skip this step.

    It’s easy to skip this step and a lot of people do. This is the difference between your first project and your five thousandth. People who do this professionally do not skip this critical first step: it’s where a lot of unnecessary annoyances and time wasters come, in trying to locate or source a material, or because it’s gone missing in the sewing space, or was accidentally thrown out. 

    Over the shoulder image of a phone displaying a sewing machine manual and diagram, next to a sewing machine

    Sewing First Steps: Setting up your equipment [Timestamp 04:36]

    Most sewing tutorials jump straight into the sewing machine, but it’s important to pause and check out our iron.

    Using a scrap of fashion fabric, adjust your iron’s settings for steam and temperature, validating that they’re correct and won’t damage your raw materials. 

    This is actually something I do before setting up the sewing machine: scorched fabric is easy to spot a mile away, no matter the stitch length or thread tension the garment was sewn with. Take your time here.

    This is also a good time to clean the iron plate for cleanliness.

    Now when it comes to the sewing machine, every machine is different. If you’re brand new to your machine, download the sewing machine manual PDF to your phone for reference during this process. 

    Common settings to check:

    • Needle size for your fabric
    • Stitch length
    • Thread tension
    • Presser foot

    Spend time thinking of all the pattern-specific details you’ll be sewing, like a buttonhole or sewing over interfacing- and test those details out as well. Write this information down to reference over time.

    If you haven’t made a muslin yet, this is the time to make that as well. Check out my tutorials for more details on how to approach your muslins!

    Once your muslin fit is right and you’ve done the recommended steps, you’re ready to put the pedal to the metal and start sewing!

    Hope these details help you on your sewing journey! Let me know down below if you follow these steps or others before you start your project. 

    All the Places, All the Stuff!

    Never miss a post by following me on Bloglovin’!
    Or go mobile- I’m on Instagram and YouTube!

  • How Sew a Bias Facing, Video Tutorial

    How Sew a Bias Facing, Video Tutorial

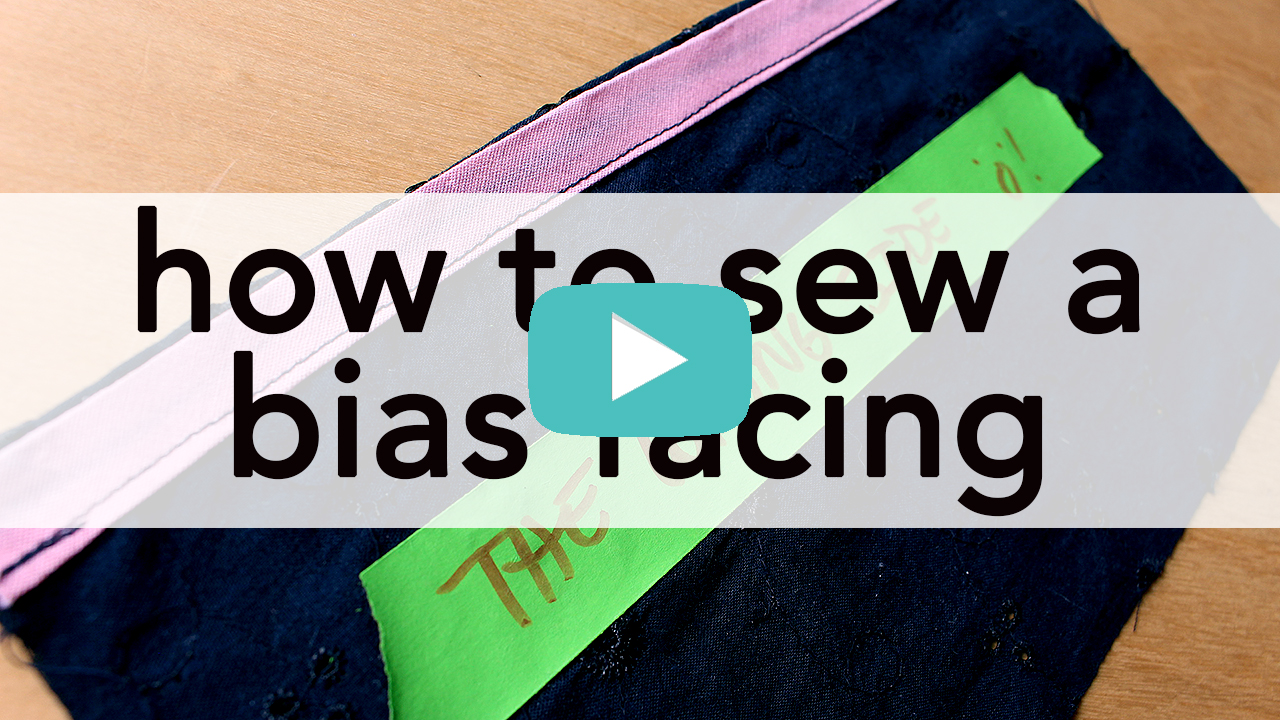
    How to Sew a Bias Facing, video tutorial | Vintage on Tap

    Sewing a bias facing is simple and satisfying.

    I actually love how clean and professional the technique is and have used it on almost every type of project. Whether its an armhole or a neckline, it makes for a quick finish.

    The most common place you’ll use a bias facing is on an armhole. 

    There are definitely plenty of ways to finish an armhole, including:

    • Sewing a full facing
    • Turning the edge and then stitching in place with a straight stitch
    • Serging

    While all of the above options have some pros and cons, I think bias facings are a really nice, clean solution of finishing an edge if you’re working with a woven. Its stable and the wear and tear holds up over time.

    I also used this bias facing technique in my recent short-sleeve Simplicity 1364 which was posted recently.

    Before you begin sewing your bias facing:

    Don’t skip the prep work for your armholes, which mainly includes figuring out your seam allowance situation!

    What do I mean by seam allowance situation?

    Most seam allowances are 5/8 inch, with armholes occasionally at 3/8 inch. The width of your bias binding (or bias tape, as I describe in the video) will affect how this technique works, but it can be easily accommodated for. In my video, I used a bias binding that was 1/2 inch wide. The seam allowance, when all was said and done was a scant 3/8 inch in my video.

    How did I calculate that?

    The bias tape is 1/2 wide, folded (1 inch wide, unfolded.)

    Line #1 in the video is sewn at 1/4 inch (at the first fold.)

    The bias binding, when turned and pressed, creates a lip of roughly 1/8 inch before Line #2 is sewn in place.

    If you’d like to stick to a 5/8 seam allowance, I would recommend using a 1 inch wide piece of bias binding (2 inches wide, unfolded); Line #1 stitched at 1/2 inch. 

    How to Sew a Bias Facing, video tutorial | Vintage on Tap

    Step One

    Pin your bias binding in place, time stamp 1:20.

    If you’re using commercially purchased bias binding, unfold one edge of your bias binding and pin it to the right side of your fabric. (If you’re using a simple strip of bias tape that you’ve made yourself, you probably won’t have to unfold an edge.) Do this with right sides together.

    Please note, if you’re working on a curve, please steam your bias tape into an approximate shape of the curve it will be matching before completing Step One.

    Taking the time to press the bias binding into a curve will allow the tape to naturally curve in the direction you want it to lay, making it easier to pin and sew. I go over this step at timestamp 1:11 in the video tutorial.

    Step Two

    After pressing, sew Line #1 of stitching, time stamp 2:17.

    In the sample in the video, I stitched Line #1 at roughly 1/4 inch, which coincided with the memory fold line in the bias tape. If you’re using a wider bias tape, as noted above, Line #2 may be stitched at a different seam allowance.

    How to Sew a Bias Facing, video tutorial | Vintage on Tap

    Step Three

    Press the bias tape closed at the stitch line, and then turn under, time stamp 2:36. Turn the bias tape to the wrong side of the fabric and repin in place.

    If you’re working on a curve, you’ll need some steaming action to ease the bias tape in place. Steam like crazy, aiming to shrink the bias tape as it curves in on itself and have the bias tape lay as flat as possible.

    How to Sew a Bias Facing, video tutorial | Vintage on Tap

    Step Four

    Sew Line #2, closing the bias tape, timestamp 3:25. Make sure you sew Line #2 at a location that works for your garment and that can still close up the bias tape with no problem.

    How to Sew a Bias Facing, video tutorial | Vintage on Tap

    Overall, sewing a bias facing is straight forward.

    I didn’t discover this process until after I’d been sewing a while and only because I thought I was going to tackle something complicated. The name almost hints at it being inherently difficult, but its really not.

    Definitely take the time to make a sample on a scrap of fabric of both the straight seam and curved seams, just to get the hang of it and see if you like the technique and see it being part of your sewing arsenal!

    Hopefully this video made the process a little more straight forward to understand and easy to tackle! Taking a moment to deep dive on new techniques can really build up your knowledge and I’m all about making samples of absolutely everything, just to get better and better at what you do.

    Want MORE sewing tips and advice?

    Get my sewing tips, advice, tutorials, and encouragement right in your inbox!

    Powered by Kit

    How to Sew a Bias Facing, video tutorial | Vintage on Tap

    Do you see yourself using this technique in your future projects? Have you tried this technique before? What do you like or dislike about it?

    Disclaimer: This post contains affiliate links :)


    All the Places, All the Stuff!
    Never miss a post by following me on Bloglovin’!
    Or go mobile- I’m on Instagram and YouTube!


  • How to Trace Vintage Sewing Patterns

    How to Trace Vintage Sewing Patterns

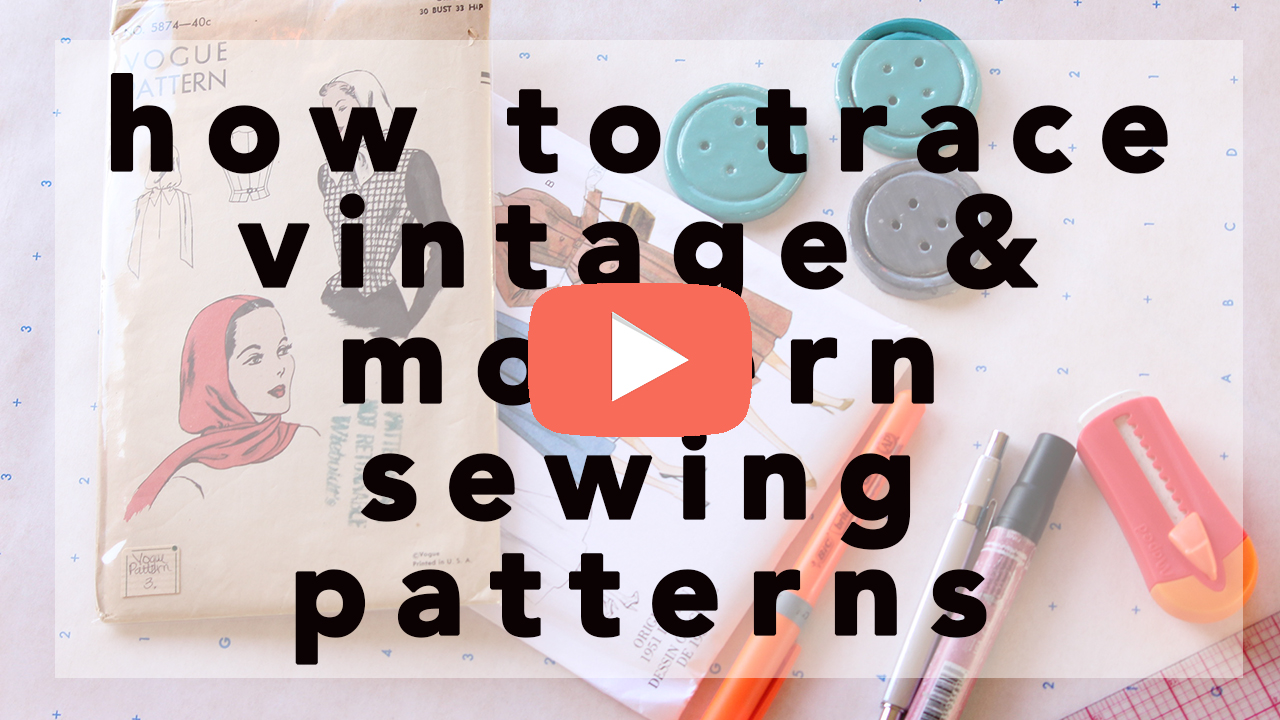
    How to trace Vintage Sewing Patterns, a tutorial | Vintage on Tap

    If you’re looking for how to trace vintage sewing patterns, my video has you covered!

    Yes yes, the video is a little bit on the longer side, but I go into it. The pros and cons, what tools I use, and why I even bother to trace all my modern ones, too. Its definitely a labor of love, but as I say in the video, keeping the original intact is a Big Deal for me, especially when patterns can easily go out of print or I just don’t want to spend time re-taping a PDF.

    Vintage patterns, on the other hand, should always be traced to keep the original in as pristine condition as possible. Browsing the sewing community, I know there are some outliers who go balls-to-the-wall and just use their originals and to them I say… you’re breaking my heart!

    Time Stamps for a specific pattern-type:

    • 6:38 for PDF patterns
    • 9:37 for commercial patterns
    • 14:24 for vintage patterns

    Patterns used in this tutorial were:

    Tools I used in this tutorial:

    Definitely let me know if this video was helpful for you! I’m considering doing more tutorials in 2017 and making them a regular segment of my YouTube channel. Last year, I received so many questions on how to trace vintage sewing patterns that I couldn’t resist making it my “first” sewing related video of the year (not counting my resolutions post!)

    Do you trace your sewing patterns? Why or why not?


    Do you like what you see?

    Never miss a post by following me on Bloglovin’!
    Or go mobile- I’m on Instagram, YouTube, and Snapchat (?vintageontap)!
    Disclaimer: This post contains affiliate links :)