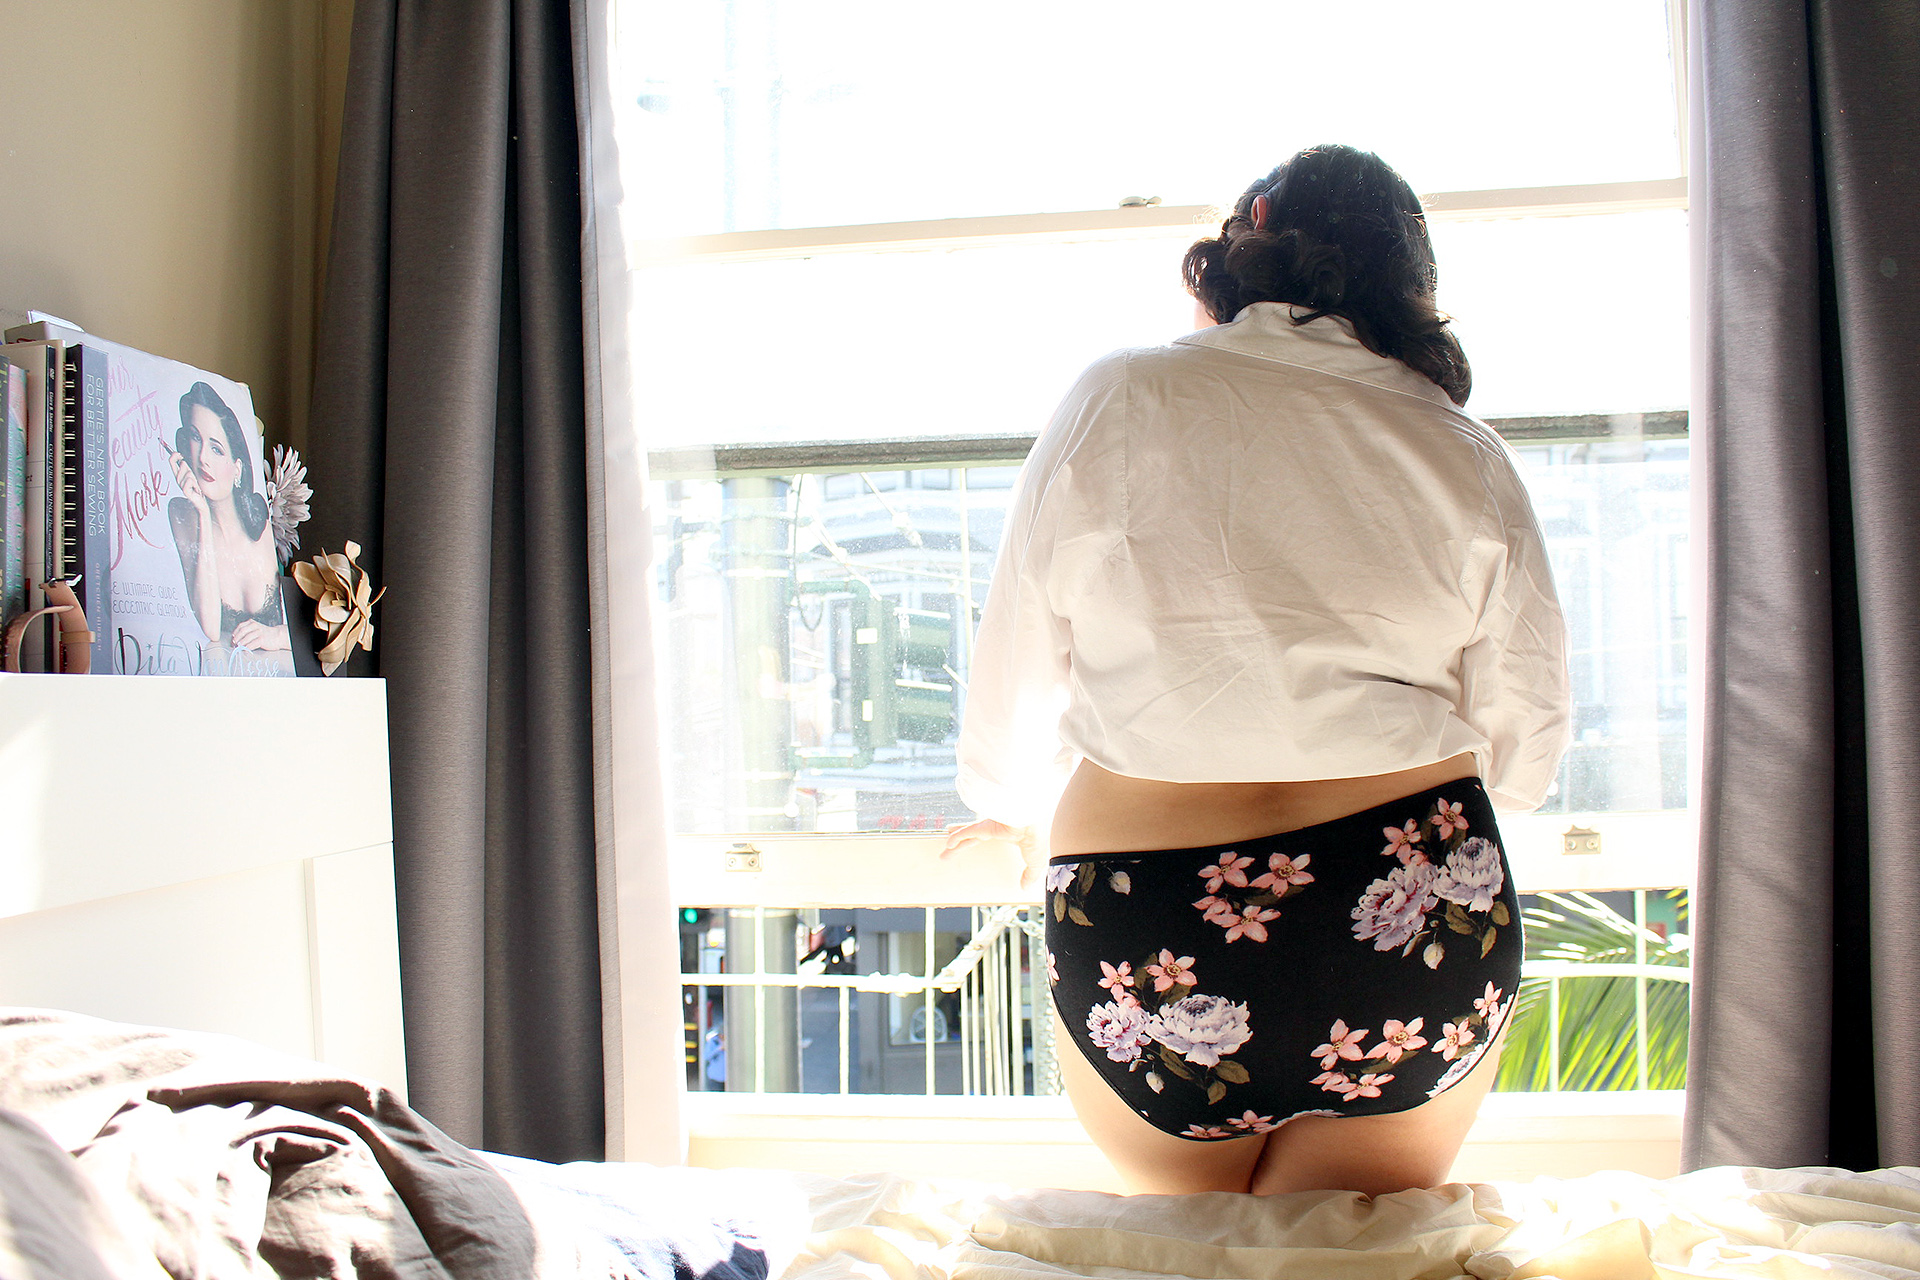
Learning how to sew underwear is easier than you might think.
Between brightly colored elastic and happy jersey prints, learning how to sew underwear is meditative. Most websites will talk about how great these types of projects are at using up scraps, how they’re quick and easy to do, you know, practical stuff. Me, on the other hand, like to sew undies for one main reason:
Sewing my own underwear means that I can wear outrageously loud prints on my bootie every single day.

I’m actually a huge sucker for the Victoria’s Secret PINK line, with it’s bright and funky prints, so this is 100% on-brand for me. The PINK briefs usually go on sale on a regular basis: 5 pairs for $30 (£22 // €25), which in the grand scheme of things isn’t ridiculous, but since I try to be a Me Made girl, making them myself just made sense. Especially when a fun jersey print can be insanely inexpensive.

Enter the Seamwork Geneva undies.
For this particular video walkthrough, I decided to use a slightly more demure fabric print, picked up from a local San Francisco shop. It was also a great opportunity to pull out a little bit of stretch lace that I’ve had in my sewing stash for a while to make View B.
To be honest, I was extremely impressed by this pattern, mainly because of how straight forward it was. It’s simple enough that it could be stitched up in an afternoon, but also leaves enough room for variation and for you to play around with the design.
Examples of things you might want to switch up:
- Fabric type, including sewing with lycra, nylon, cotton, or polyester blends
- Using all over lace, or just lace appliqués
- Elastic type (as I did) using fold over or decorative
- Creating visual interest with color blocking
Buy Geneva here.

Tips for Sewing the Seamwork Geneva Panties
Tip #1: Get comfortable with jersey and stretch needles and pins
While switching out your sewing machine needle to a more appropriate needle makes sense for knits, most people aren’t aware that they should also switch out the rest of their notions! These include both pins and hand sewing needles that might be used for basting. I discuss needles more in depth at 2:50 in the video.
Why?
Using universal (sharp) pins, sewing needles, and hand sewing needles will stab holes into your fabric, which over time will begin to run (similar to pantyhose.) Ball point needles and pins, however, are dull enough that they part the fibers, which helps the integrity of the fabric remain intact at the stitch line.
You can purchase the same sewing needles and pins I used for this project, over on my Recommended Sewing Tools page!(Amazon)

Tip #2: Plan out your lace motif (View B)
Taking how to sew underwear to the next level means LACE! Take a moment to decide on the repeat that you’d like to feature on your Seamwork Geneva undies, and what your desired motif looks like mirrored to the opposite side of the underwear.
In my View B of the Seamwork Geneva, I spent some time “mapping out” how I wanted my lace to look on either side of center panel. Things I looked out for:
- Is there a full, equal amount of the repeat on both sides of the center panel?
- How does the stretch lace look “reversed”?
- Does the placement of the repeat make sense for my seam allowances?
Keep in mind that you can use a similar lace cut out technique anywhere on the panties that you might like! Since I made View B, my lace was strictly on the sides of the center panel. However, adding a giant circle lace piece on the bootie piece could have totally been possible! Pin the lace in place with your ball point pins, zig zag along the outside as shown at 0:58 in the video, and cut out the underlying fabric for that peak-a-boo reveal.

Tip #3: Chose your elastics wisely and sew slowly.
It’s extremely temping to start sewing up a storm as you’re nearing the finish line, but be careful! You’ll thank yourself later by slowing down and being cognizant of maintaining a straight and steady stitch line.
There are several types of elastic you can use for your garment, and I highly recommend the following article by Colette Patterns about sewing lingerie elastic for additional information:
When learning how to sew underwear, keep in mind that the elastic you chose should be comfortable to wear, so test it against your wrist before committing to it:
- Does it have a comfortable amount of stretch?
- Does it itch or potentially aggravate?
- Does it have a good level of bounce back and recovery?
For the pair of Geneva panties I made for this post, I decided to use fold over elastic, which fits smoothly and comfortably against the skin, and also creates an encased seam. I cover this elastic insertion at 4:45 in my walkthrough video.

The Seamwork Geneva pattern is a great staple to make comfy undergarments at home.
The fit is great, though it does run a little bit on the large size, so please keep that in mind when starting out your project.
You can also have a lot of fun picking both classic and crazy knit fabrics to use, but be sure that the crotch lining is 100% cotton to protect your personal bits!
Also, making underwear matching other boudoir inspired fashion is a total must. For example, why not make a pair that matches a Seamwork Almada robe?
Cute pair of undies and matching robe? Gorgeous! (Click here to learn how to sew this kimono robe!)


