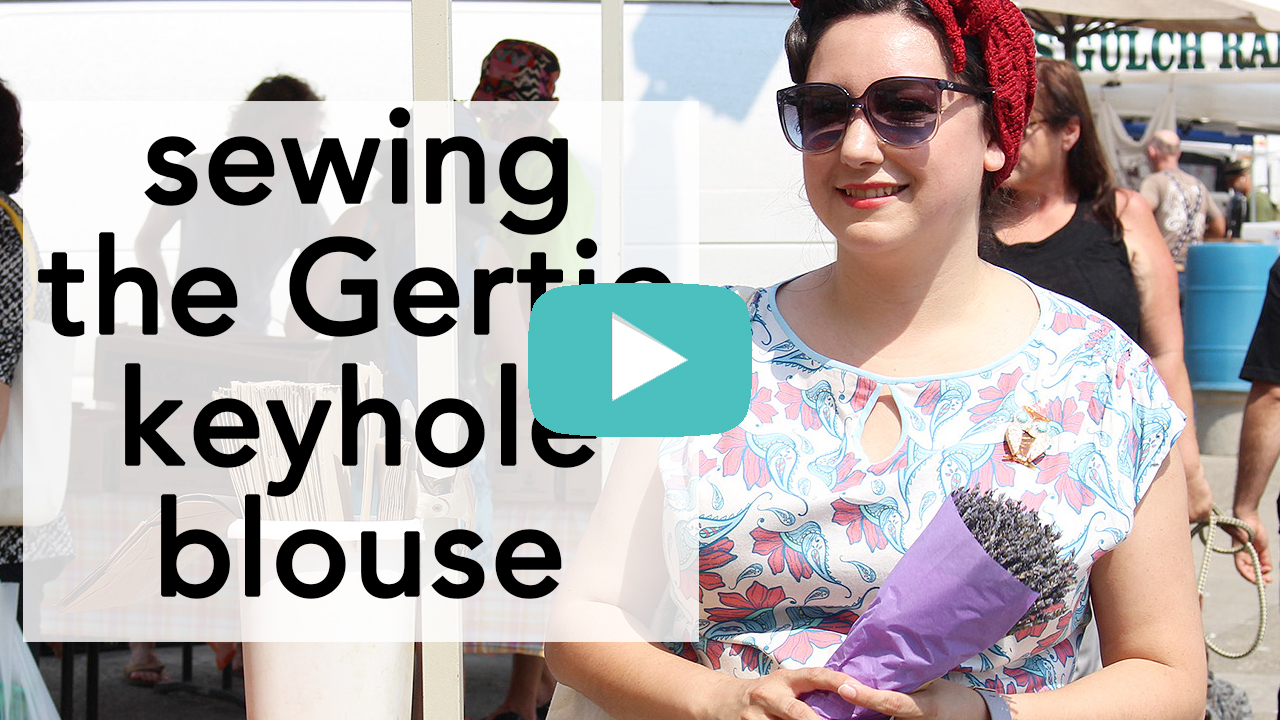
Any excuse for bias binding is a good one.
When I spied the bias binding detail along the neckline of the Gertie keyhole blouse, I knew I had to have it.
The design, from Gertie’s New Book for Better Sewing, is a short sleeve piece with a button down back and self-drafted adjustments outlined in the book. The gathers at the shoulder are really beautiful and super flattering, and the keyhole detail gives this blouse a gorgeous 1930s and 1940s look.

I’ve been in search of a well-fitting, multi-purpose blouse for a while.
To be dressed up or dressed down, to be worn with a pair of blue jeans or tucked into a wool pencil skirt, a well-fitting basic can be a game changer (think of the modern t-shirt and how comfortable and classic it is.)
Vintage-style basics can sometimes be on the plainer side- and to be honest, I’m 100% happy with it!
Why?
Because if you find something that works, you can make tons of it– in all types of fabrics, all types of colors, and then you’ll have a hearty wardrobe to pick from and mix and match.
The closest I’ve gotten to it in my recent sewing experience, is my Seamwork Astoria sweater, which I’ve already made five versions of (and I could use a few more, btw.)

Sewing the Gertie keyhole blouse is easy- but there’s a little bit of pattern drafting that has to happen before you get started.

Getting started sewing this 40s style keyhole blouse is a piece of cake.
Before getting started, the usual prep has to get done! Includes, but isn’t limited to:
- Tracing the Bow Tie blouse from the New Book For Better Sewing and making your initial muslin. (Not sure how to trace nested patterns? Click here to learn how!)
- Getting your bias binding situation sorted out, either bought or self-made.
- Laundering and prepping your fabric
The fabric I used was printed from MyPatternDesigns, which graciously donated this fabric for use.
I printed this fun paisley design onto organic cotton sateen, which sewed up like a dream and laundered well. The colors did bleed slightly, but I think that’s more due to how I hung my fabric to air dry. I would recommend air drying this fabric flat.

Step One: Get your prelim stitches in place.
There are a couple different stitch considerations to keep in mind when getting everything set up.
Stay stitch the neckline and the keyhole.
While the instructions in Gertie’s book do not mention stay stitching, I always recommend it as standard practice and just Good Sewing.
Taking the minute or two to make sure your neckline, which is one of the most important parts of your garment, stays put can save you hassle down the road.
After determining your appropriate stitch settings, sew a line 1/4in away from the raw edge to provide a little bit of stability.

Be super conscious of your gathering stitches and how you intend to “finish” them.
Covered at timestamp 3:39 in the video, do a couple backtacks at normal stitch length before lengthening your stitches to basting/gathering length.
Why?
The backtack at normal length will become an anchor point, at which to push your gathers towards and so your gathers don’t “fall off” the threads.
Once the gathers are gathered, tie the threads as closely possible to the stitches and then with a normal stitch length, sew a straight perpendicular line across all gather stitches, backtacking over each gathering line. This way, your gathers will stay in place and not shift around over time, at timestamp 3:51.


Step Two: Sew the side seams, shoulders, and back closure
Sewing the side seams and shoulders are pretty straight forward- but when it comes to the back closure… the sky is the limit!
The original Bow Tie blouse featured a button placket right up the back, which looks lovely. As I discussed on Patreon, I decided that I wanted a quick and easy zipper to not have to worry about buttoning the back of my piece.
At timestamp 5:03, I used my adjusted pattern pieces to accommodate a lapped zipper, and stitched that in place.


Step Three: Bias the neckline… but start with the keyhole!
There are so many different ways to stitch in bias binding- but no matter what, take your time!
Remember that the bias bound neckline is what makes this piece, so a twisted and wonky bias strip can make things look “off.”
The bias binding is inserted on this particular blouse at timestamp 5:23, taking care to insert the bias binding on the keyhole first. I went step by step in the following order:
- Pinned the bias binding in place (5:23)
- Sewed the first stitch line, close to the first fold on the bias tape
- Pinned the bias tape closed (to the inside, 5:58)
- Pressed the bias tape with steam to keep it from wiggling or twisting
- Hand sewed the bias tape closed


All in all, the Gertie keyhole blouse is a really cute retro sewing piece.
I love how quickly it came together (in an afternoon!) and how much fun it is to wear– I get a lot of compliments on it and I feel like the waist tapering really gives it a great silhouette.
And I admit, I’ve worn it at least once a week since I’ve made it. There, I said it!!


