Category: Hand Sewing

  • How (and why!) to use Tailor’s Tacks, Video!

    How (and why!) to use Tailor’s Tacks, Video!

    How to use tailor's tacks, thread loop | Vintage on Tap

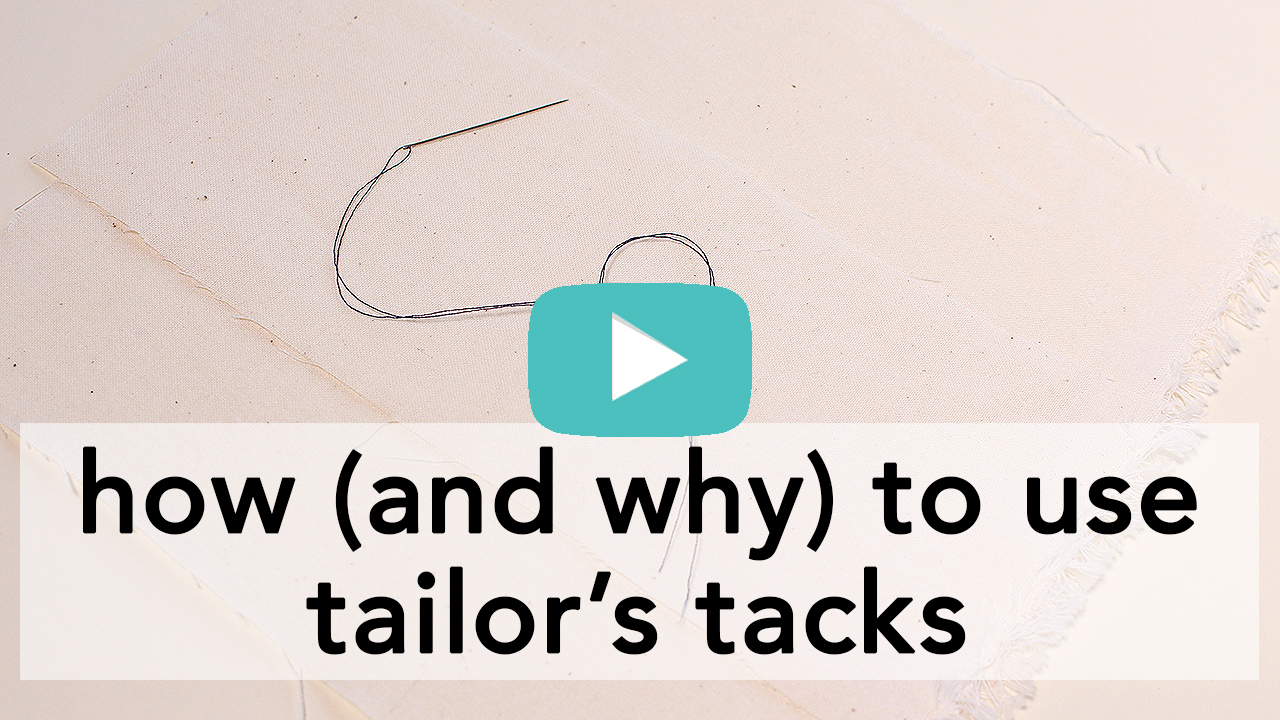
    Tailor’s Tacks might seem difficult, but I promise you, they’re amazing.

    Generally considered couture, they’re a great way to mark your fabric pieces during the sewing process.

    Tailor’s tacks carry this unfortunate stigma of being time consuming and just “ew, hand sewing”- but attention to detail counts in sewing, even down to the pattern markings. 

    Nobody wants a giant hole in their expensive fashion fabric.

    At least I THINK most people don’t want that.

    One of the most common fabric marking tools is a piercing awl, which is all well and good, except for its single purpose: piercing a hole in your beautiful fabric.

    Common places the awl might be used? Dart end points and pivot points, all areas that receive a huge amount of stress when worn. Adding an unnecessary hole to a high stress point is less than ideal.

    In the same vein, dress maker’s wheels also pierce fabric and (in general)- the less holes you pierce into your fabric the better.

    “But it’s just a tiny hole.”

    Taking the time to avoid points where fibers may become damaged over time will protect the integrity of your garment over the long haul.

    Think of your favorite pair of nylons or a yummy nylon bra. A tiny hole or snag in that will cause unraveling and before you know it, there’s a giant hole where there wasn’t one before.

    The second most common fabric marking tools are water-soluble markers.

    Water-soluble markers are great for knits and garments that will be laundered repeatedly. However, depending on the type of garment you’re making, laundering and water submersion might not be what you’re into.

    There’s a full list of fabrics that should probably avoid water and unnecessary moisture such as wools, silks, and special occasion fabrics. A pink or blue mark at a dart point is not cute, especially when you can’t wash it out.

    Tailor’s chalk might be a good option as replacement to a water soluble marker, however pattern pieces may need to be marked individually, which can also become time consuming.

    Practice your tailor’s tacks before rolling them out for a garment.

    A few practice tries on a couple scraps of fabric only take a few minutes and you’ll be using tailor’s tacks in no time!

    How and Why to Use Tailor's Tacks | Vintage on Tap

    Step One: Consider the thread and needle combination.

    Chose thread that will stand out against your fabric. Black fabric? White thread. Grey fabric? Yellow or red thread. Chose something that will be bright and easy to use instantly (no more searching for awl piercings!)

    The needle you use to create the tailor’s tacks should match the fabric you’re working with, in a similar way that your sewing machine needle matches your fashion fabric. Thin needles for delicate fabrics and chiffons, thicker needles if you’re using a denim or thick wool.

    Double your thread, but don’t knot it.

    Tailor Tacks tutorial | Vintage on Tap

    Step Two: Create your tailor’s loop.

    Push your needle through the fabric, leaving an inch to two inch tail, and pull your needle back up through your fabric to make a stitch.

    Tailor Tack's tutorial | Vintage on Tap

    Double back your needle to the starting point, again pulling your needle back up through your fabric, leaving a one inch loop.

    Snip your loop and snip the new tail, leaving an inch or two.

    How to use tailor's tacks, thread loop | Vintage on Tap

    Tailor's Tacks, what they look like | Vintage on Tap

    Step Three: Pay special care when marking multiple layers.

    When marking multiple layers, start by following the video above.

    Snip the tail and loop.

    Slowly separate the layers of fabric, evenly spacing out the threads. Snip between the fabric layers.

    Tailor's Tacks, what they look like | Vintage on Tap

    Tailor's Tacks, what they look like | Vintage on Tap

    Mishaps occasionally happen when you make a tailor’s tack.

    Tangled threads while making your loops, or even pulling the completed threads out by accident. They happen! But.

    Remarking tailor’s tacks is quick and easy and sure as hell beats piercing the sh*t out of your fabric for no reason.

    Even better, the more you practice marking your fabric in this way, the faster it’ll be.

    Tailor's Tack Tutorial, Learn how to Do Tailor's Tacks! | Vintage on Tap

     Pin this Post!!

    Learn how and why to use Tailor's Tacks in your sewing process! | Vintage on Tap

    Do you have a favorite way to mark your fabric that I haven’t mentioned? Leave it in the comments below!


    All the Places, All the Stuff!
    Never miss a post by following me on Bloglovin’!
    Or go mobile- I’m on Instagram and YouTube!
    Subscribe to Vintage on Tap on YouTube!

  • Sewing Vintage Linings, Butterick B5824 [Collab + Video]

    Sewing Vintage Linings, Butterick B5824 [Collab + Video]

    Lapel shot, Butterick B5824 | Vintage on Tap

    Pinup and Vintage style coat, sewing vintage linings | Vintage on Tap

    Beautiful fabric used when sewing a vintage lining | Vintage on Tap

    A coat is only as good as its lining.

    Crazy, I know, but lining a winter coat (especially a twirly one!) can make all the difference when its cold outside and you’re working with heavy fabrics that might lend themselves to fraying. A little boucle, a little tweed, lots of wool- all of it can fray like crazy and a lining that can make the inside as beautiful as the outside can make a world of difference.

    Of course, depending on the type of coat that you make and your local climate, the lining can vary in composition. Charmeuse, silk, cotton- so many different fabrics exist with properties that will support your lifestyle.

    For my Butterick B5824, I went with a polyester- wait whaaaat? But yes! Living in San Francisco can be chilly, but not terribly cold, so with a cotton underlining in my coat, I knew a simple polyester fabric would suffice, as long as it was silky enough to not cling to me as I walked.

    Butterick B5821, Red leopard twirly coat by Christina from Gussets and Godets | Vintage on Tap Butterick B5821, Red leopard twirly coat by Christina from Gussets and Godets | Vintage on Tap Butterick B5821, Red leopard twirly coat by Christina from Gussets and Godets | Vintage on Tap

    This Twirly Coat was in Collaboration with the beautiful Christina from Gussets and Godets! Her coat is gorgeous.

    The red jacket is such a stunning piece and it suits her 100%! Definitely head on over to her post about this to see more photos from her photoshoot, because not gunna lie, she’s rocking it!

    The red makes this VAVAVOOM- and of course the leopard print faux fur lapel gives it that little extra Vintage Girl twist. In regards to sewing linings, she bagged her lining, which is a different technique than I cover in my YouTube video. Bagging a lining can be a bit of a mind game, but she makes it look easy and it helps things stitch up so much faster, too!

    Christina and I went back and forth over what jacket to make for the past couple months for this collab and I’m so glad we went with this one! Granted, lots of hold ups (on my end!) in terms of when we would post our jackets, but in the end, it all came together. During the jacket research part of this project, we also were super shocked at the lack of jacket patterns out there that were super vintage inspired. In the end, we just had to go with Gertie’s design.

    This is my third collaboration for the blog so far and it’s always super fascinating to see how our garments could be from the same pattern, but turn out so differently!

    Baby the Stars Shine Bright umbrella, Butterick B5824, sewing a vintage lining | Vintage on Tap

    Adjusted waist tie, Butterick B5824, with a small peek of the pocket | Vintage on Tap

    Happy in my new plaid coat, Butterick B5824 | Vintage on Tap

    Back view, walking away in my new Butterick B5824 | Vintage on Tap

    Butterick B5824, Interior view | Vintage on Tap

    I took a deep dive into sewing vintage linings for the first time with Butterick B5821.

    It wasn’t as tricky as anticipated, and I’m so happy that I was able to create a video to show others how to do it as well!

    Using my own vintage coats, as well as a 1940s reference book, I taught myself one of the many old school ways of getting this done and I’ll be using that technique moving forward as I work on my 2017 goal of making more coats.

    Lapels, Gertie B5824 | Vintage on Tap

    Beautiful fabric used when sewing a vintage lining | Vintage on Tap

    Interior, lining view after sewing a vintage lining | Vintage on Tap

    I’m so proud to continue to learn new skills, like how to sew more authentically vintage.

    This is such a huge component to my sewing and to my experience as a seamstress. There are thousands of ways to get a technique done- so even after 15 years of sewing, I am still near the tip of the iceberg of everything I can learn and improve upon.

    Recently I got a YouTube comment about how and why I spend so much time doing the tedious things, versus finding the happiness in just sewing and to be honest, it’s the tedious things that bring me joy in what I sew. All of them build up on each other and simply cranking out a project for the sake of cranking it out isn’t very me. I savor the process of doing it by hand and being authentic in my approach.

    Disclaimer: This post contains affiliate links :)

     
    Do you like what you see?
    Never miss a post by following me on Bloglovin’!
    Or go mobile- I’m on Instagram, YouTube, and Snapchat (?vintageontap)!